PDC Module 2 - Meeting the Landscape
Welcome to Module 2 of the full Permaculture Design Course. This modules focuses primarily on the survey/observation stage of design, exploring the land and community aspect. What you’ll find on this page is:
Your course content
Documents to use during live sessions
Useful handouts
Additional learning resources
Your assignments and course work
The quiz to test your learning and a feedback form
Enjoy your learning journey.
Course content
Course slides
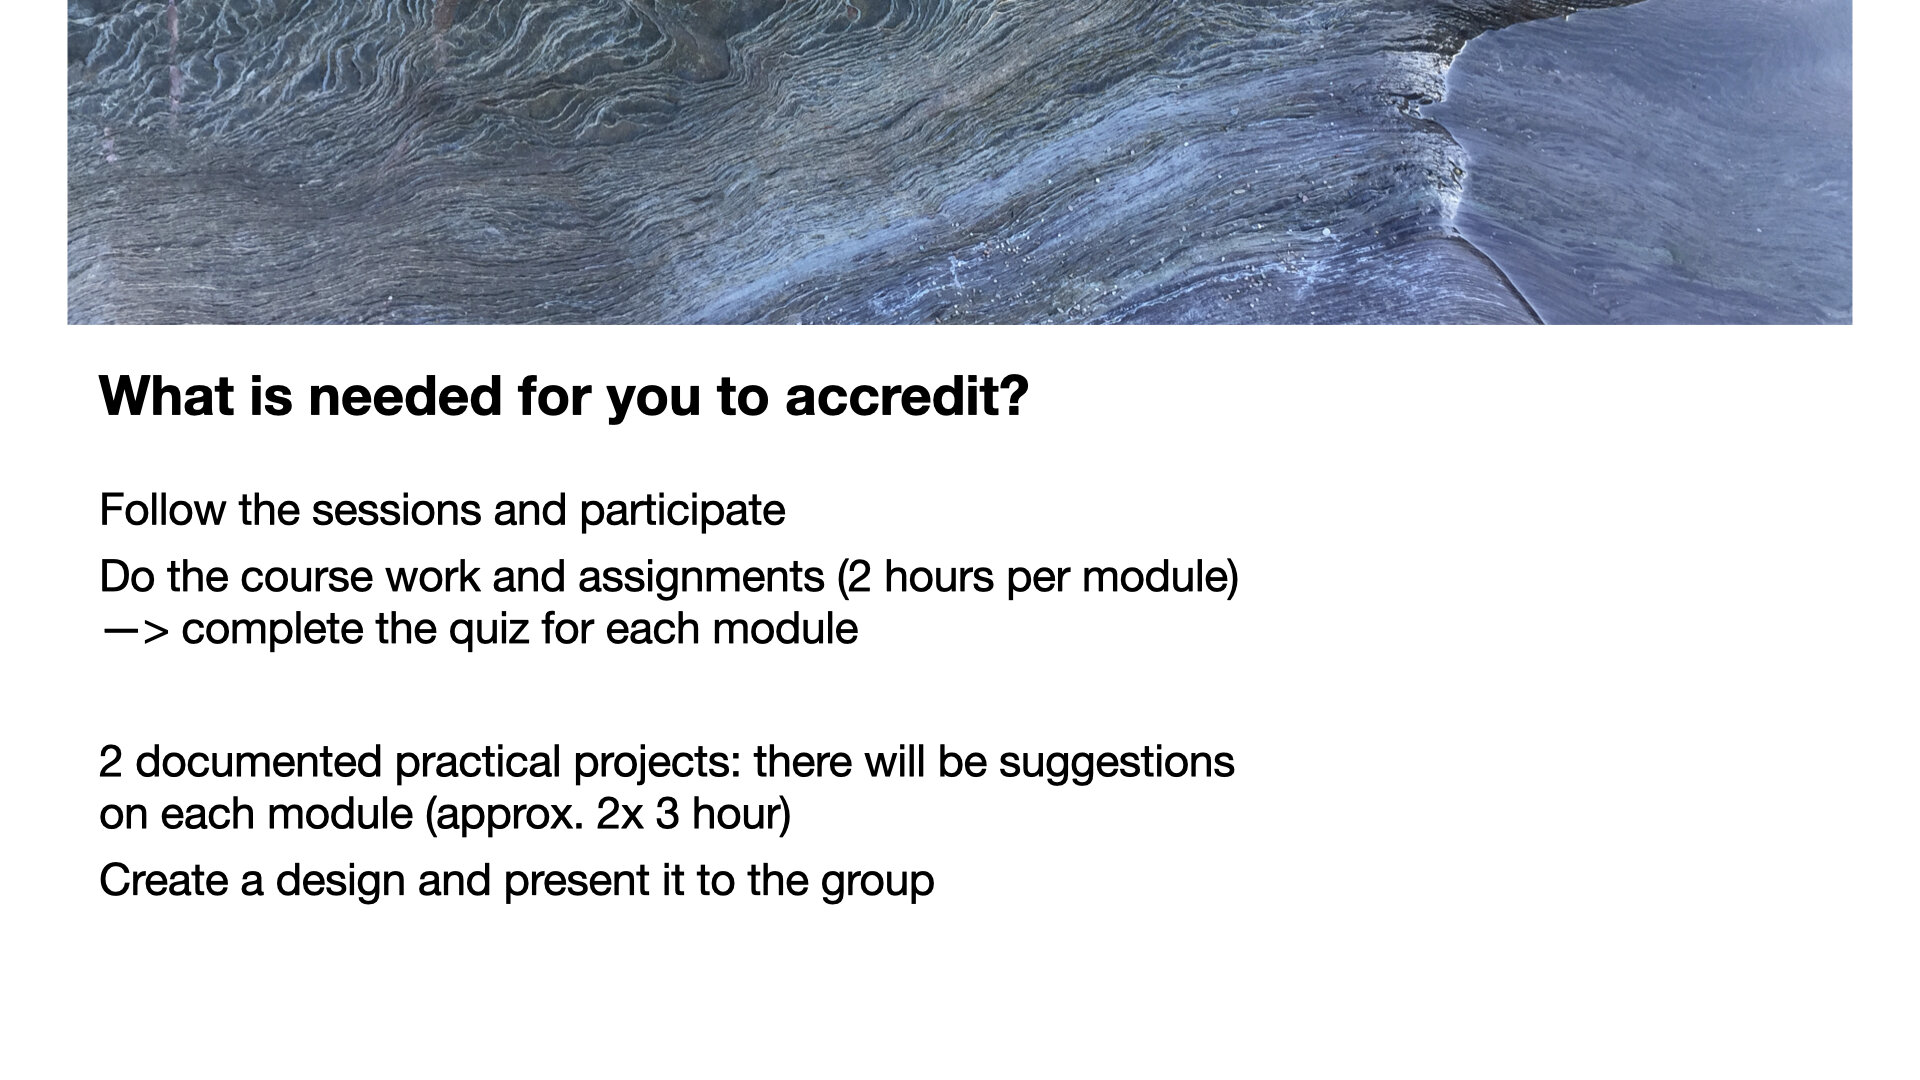
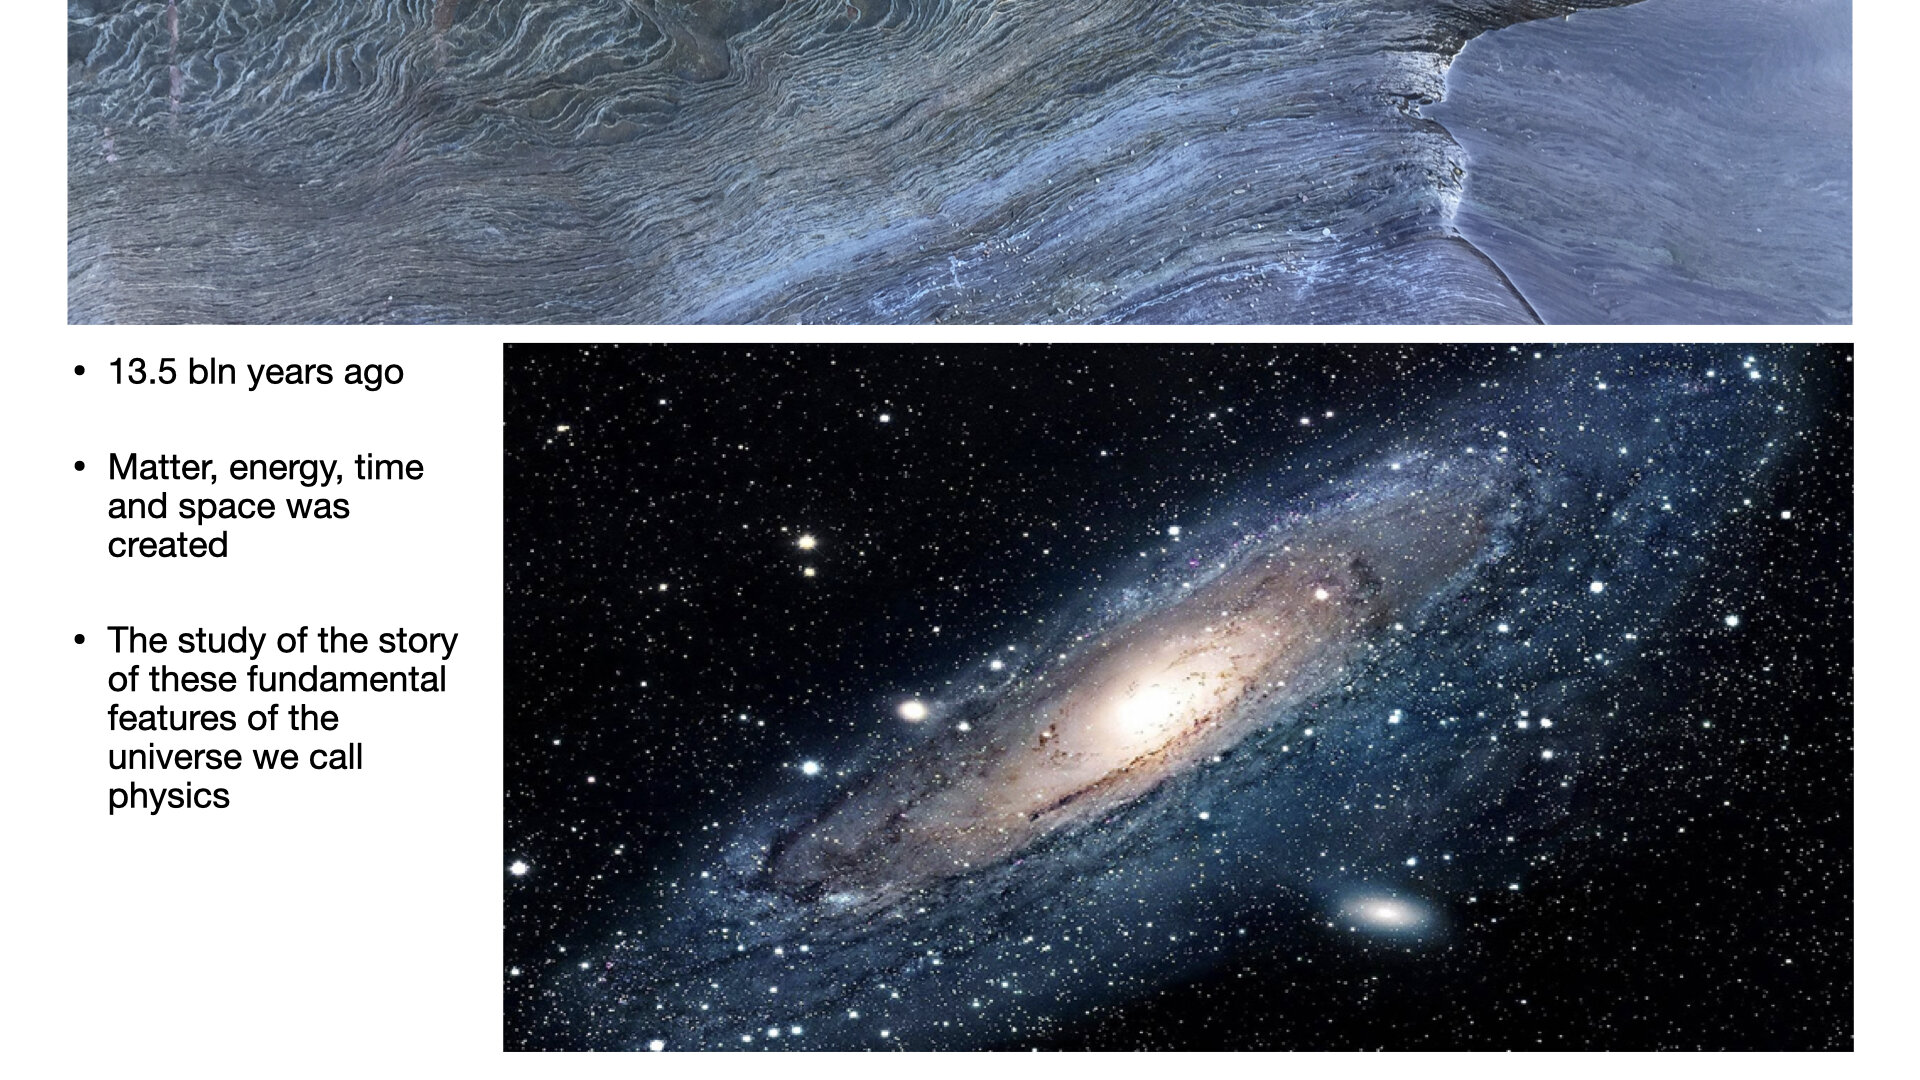

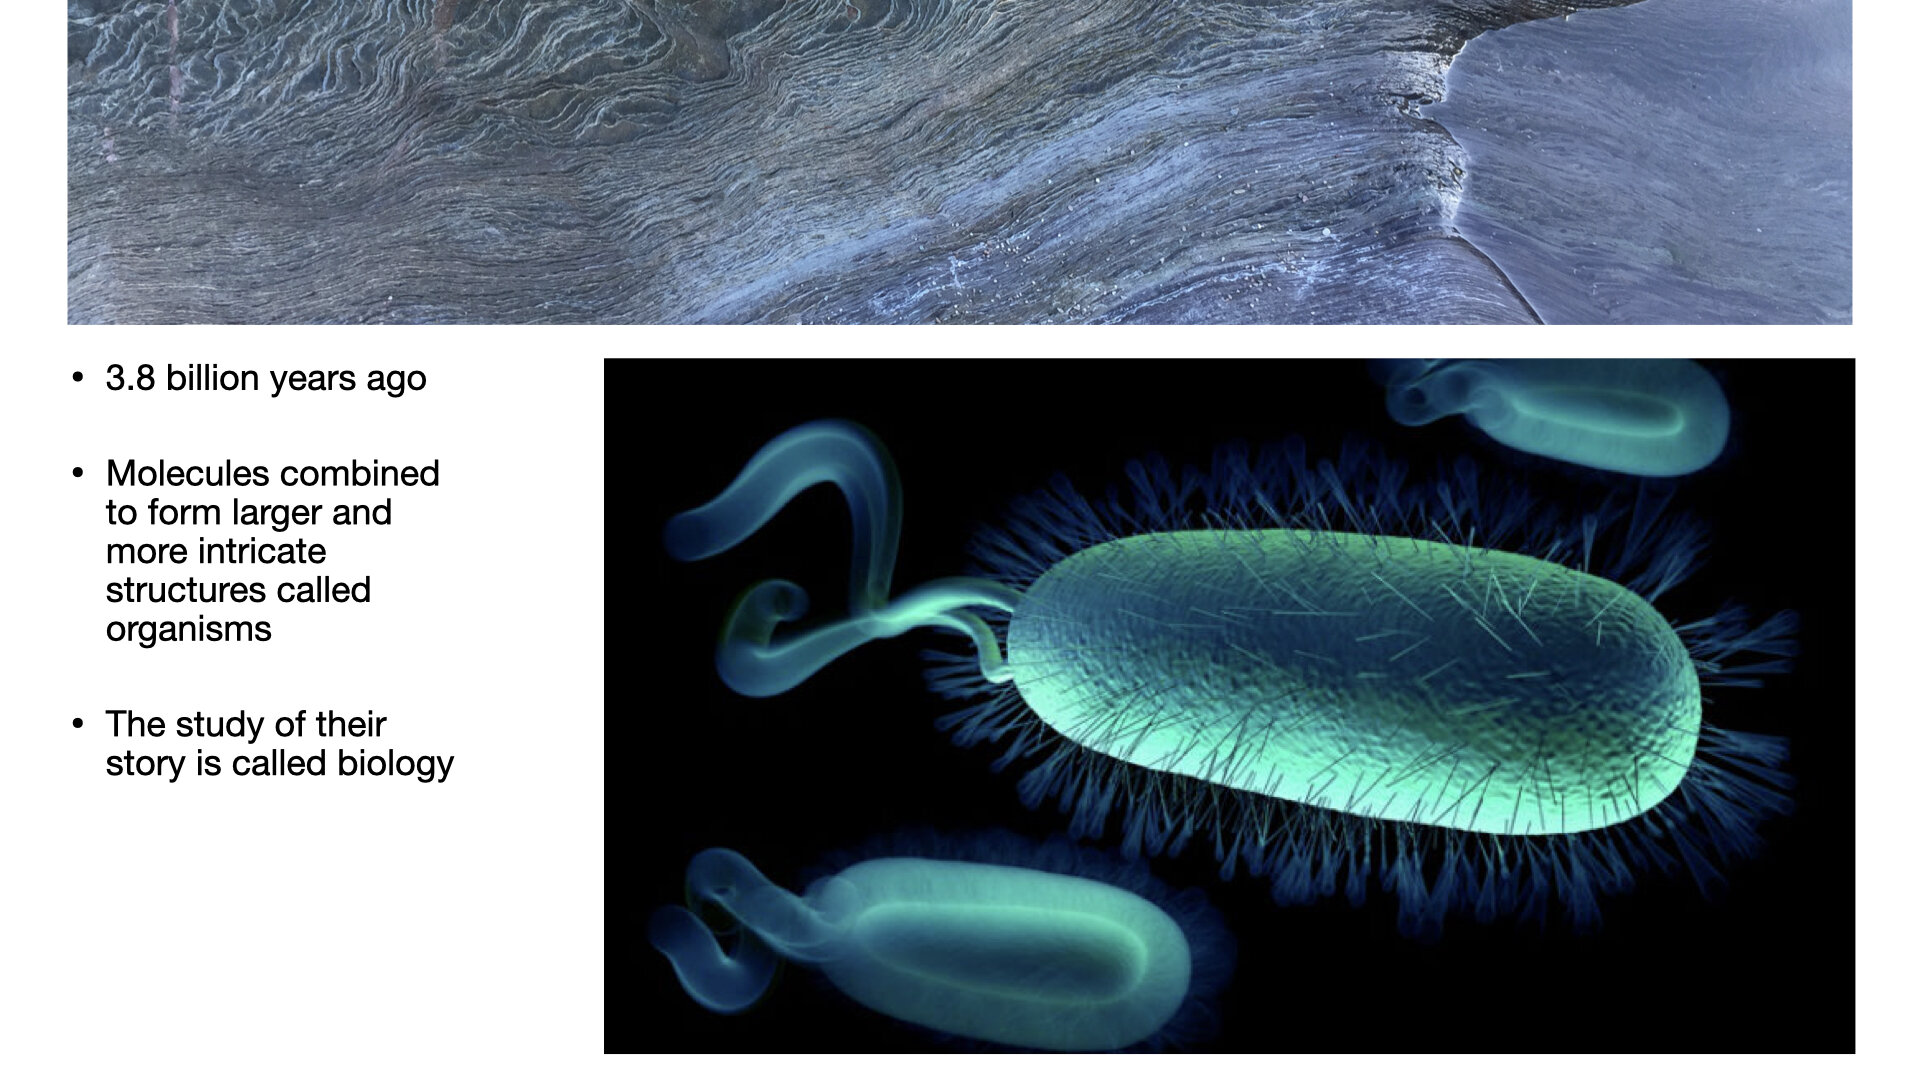
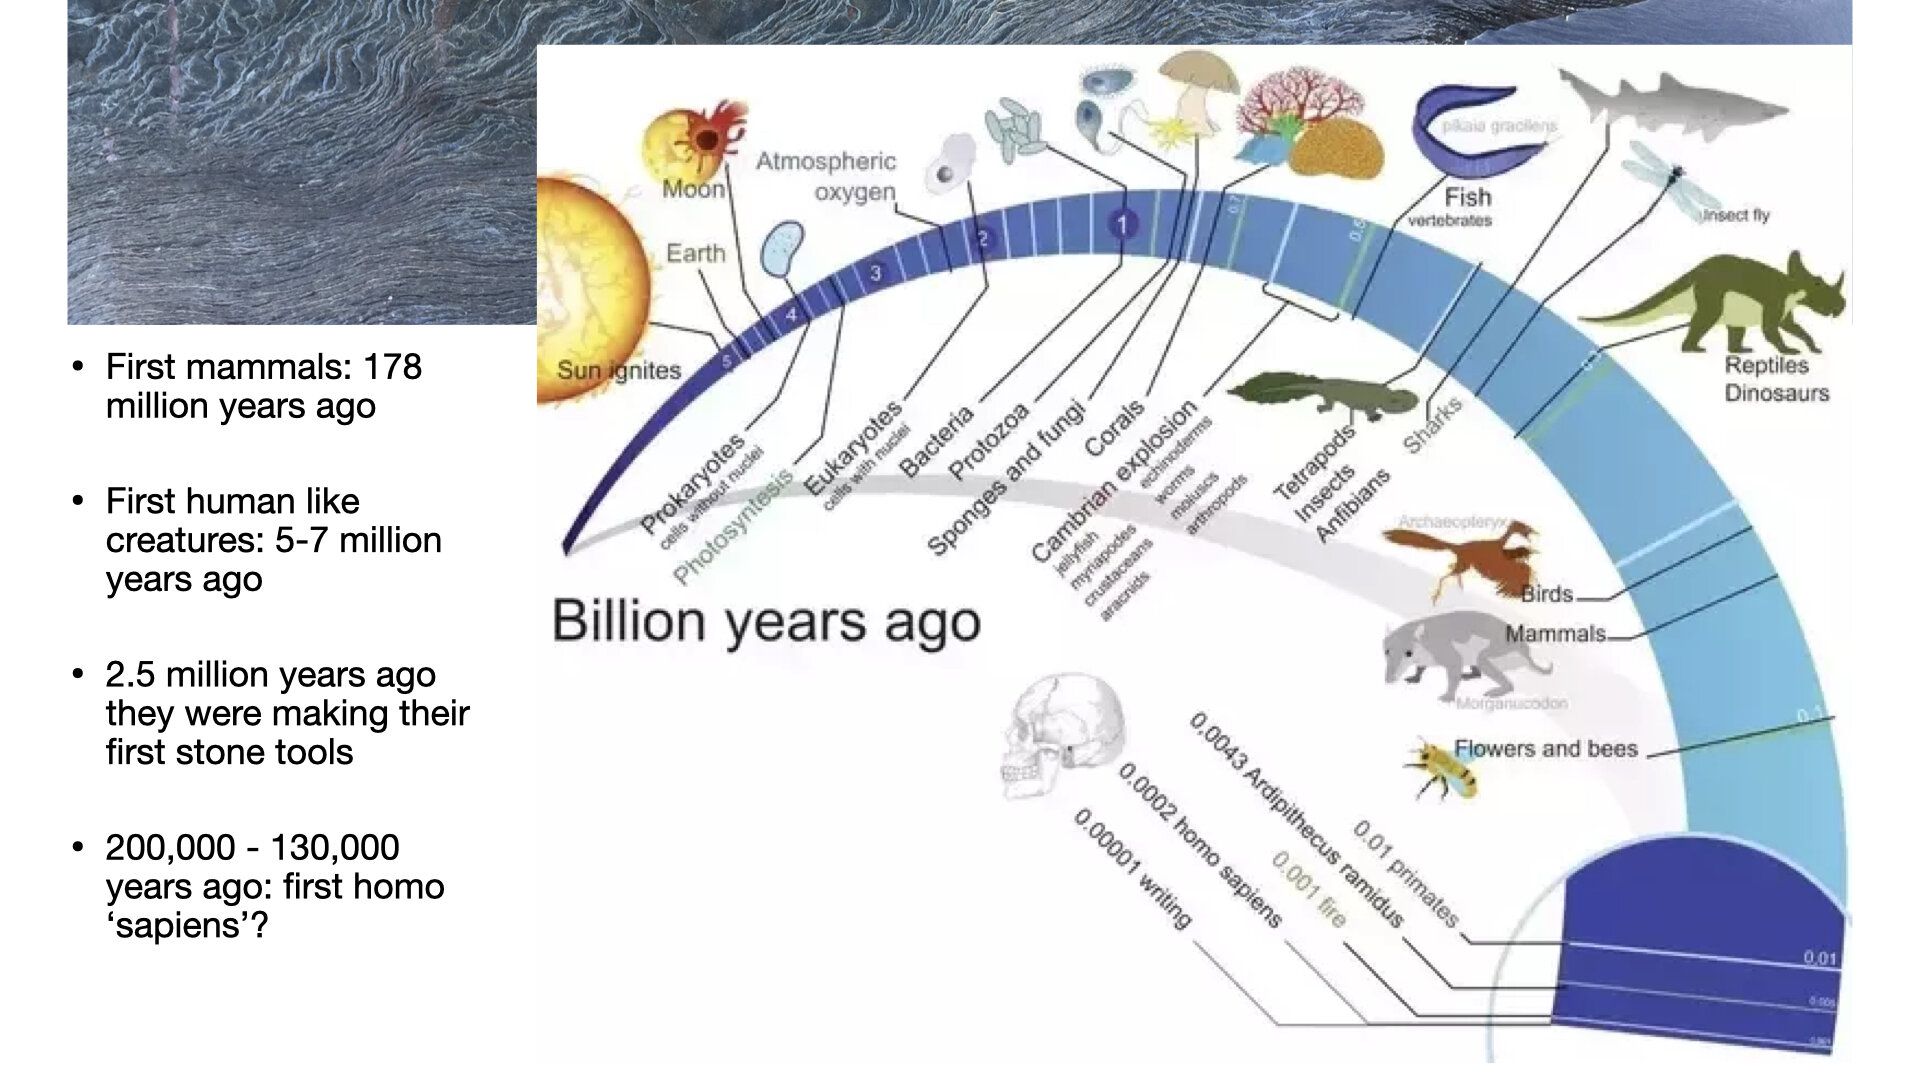
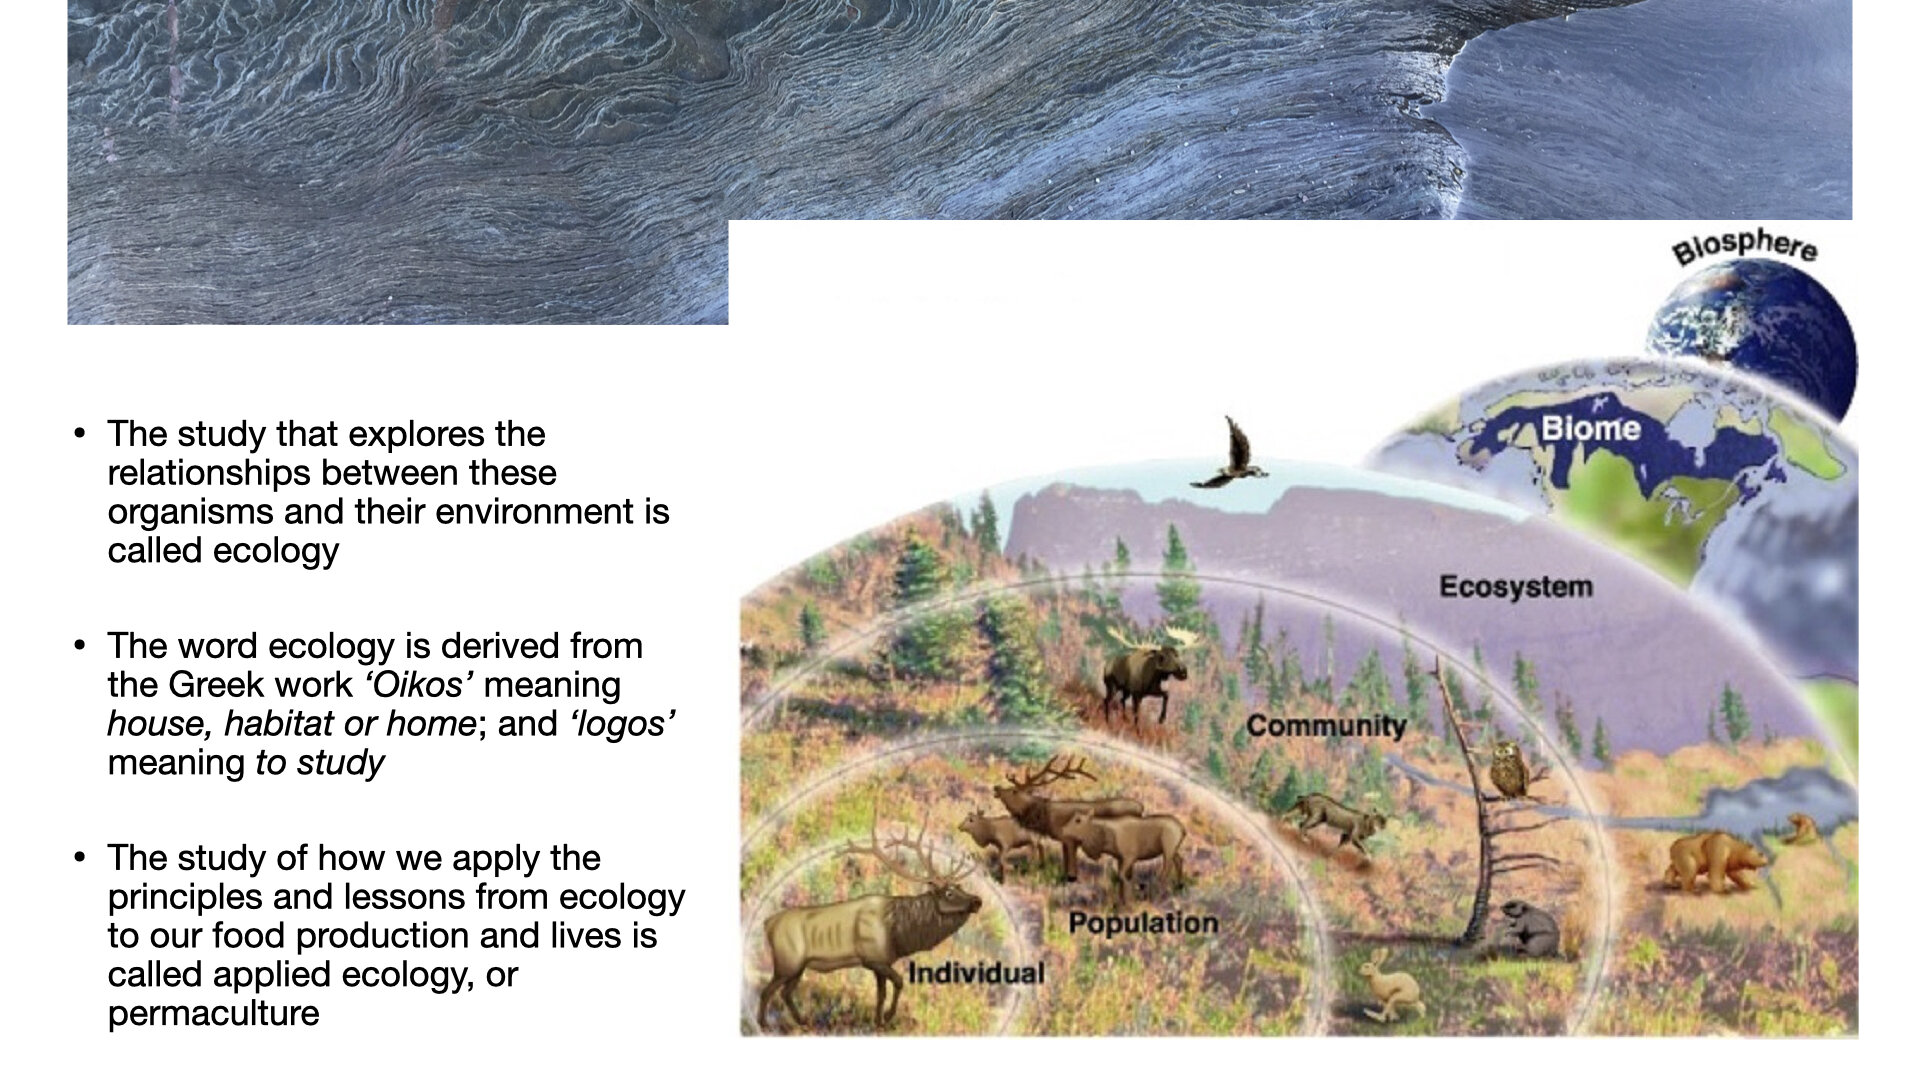
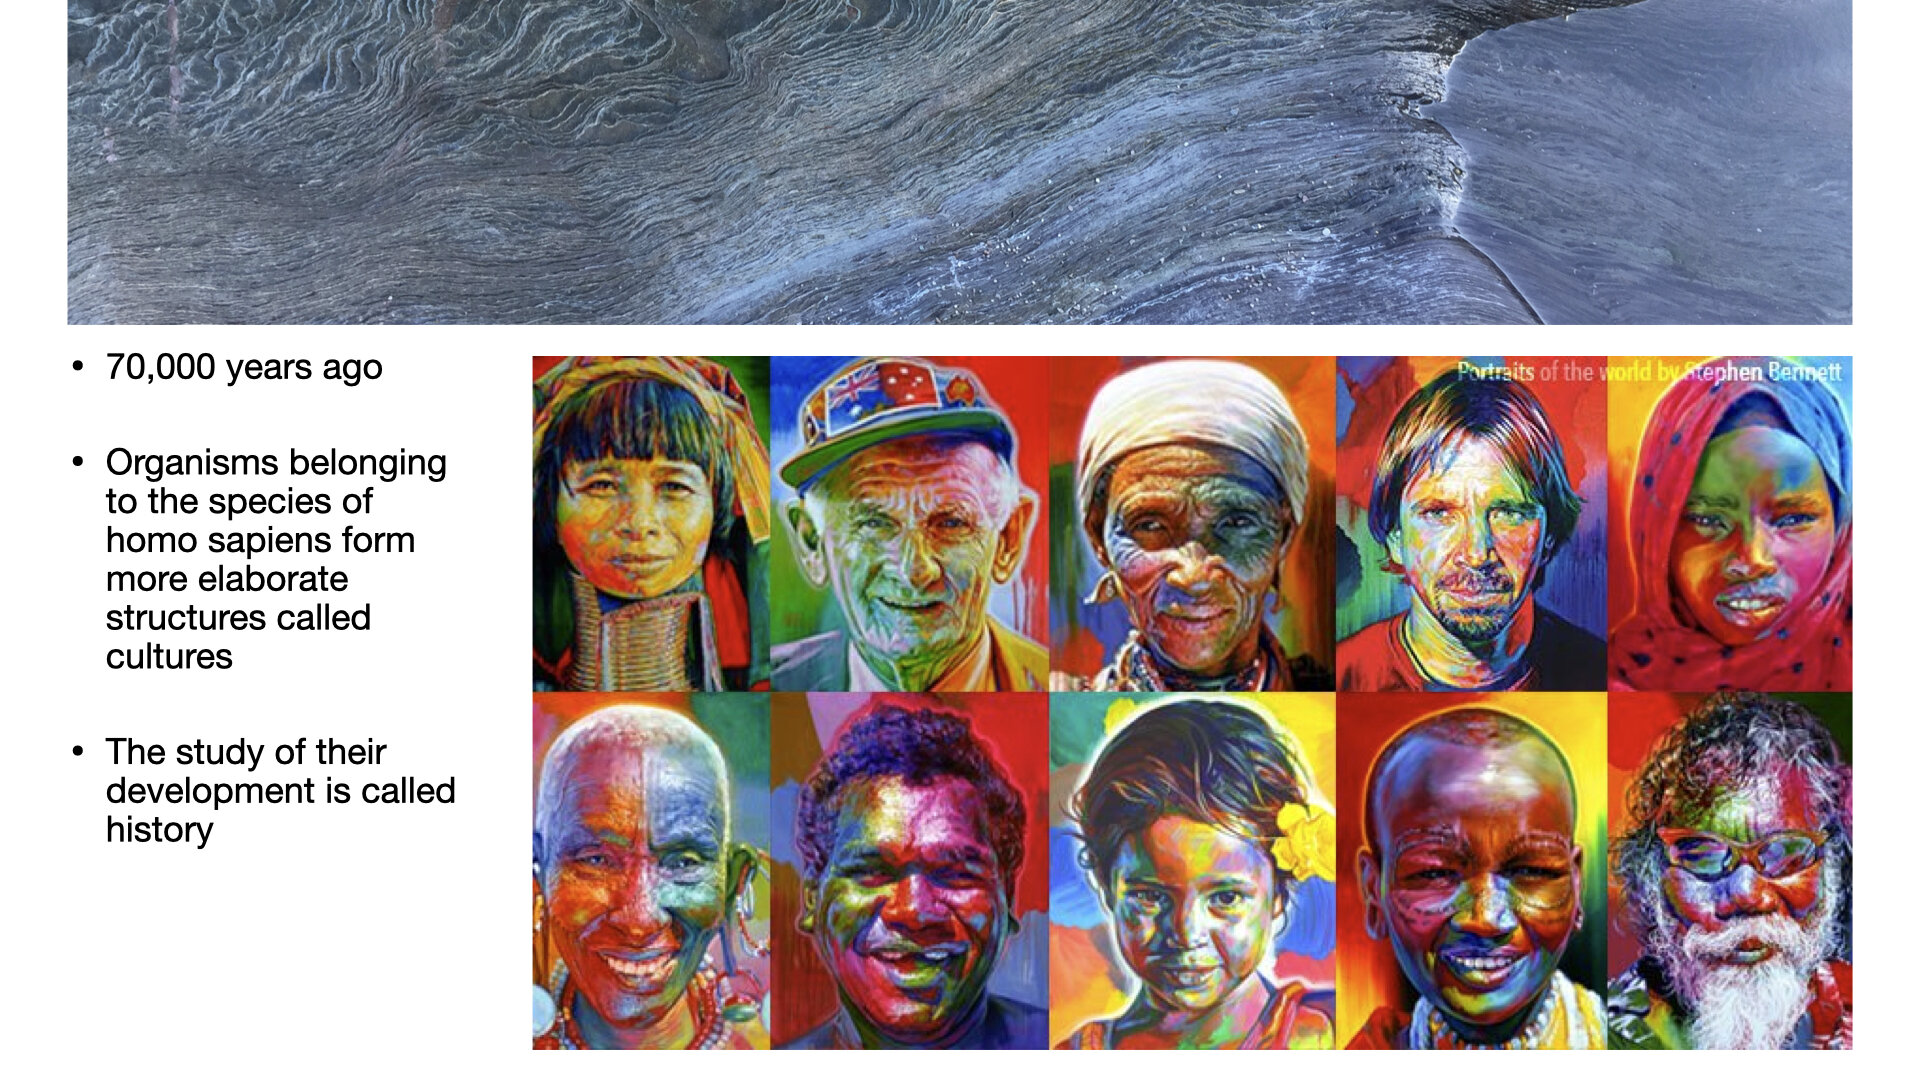
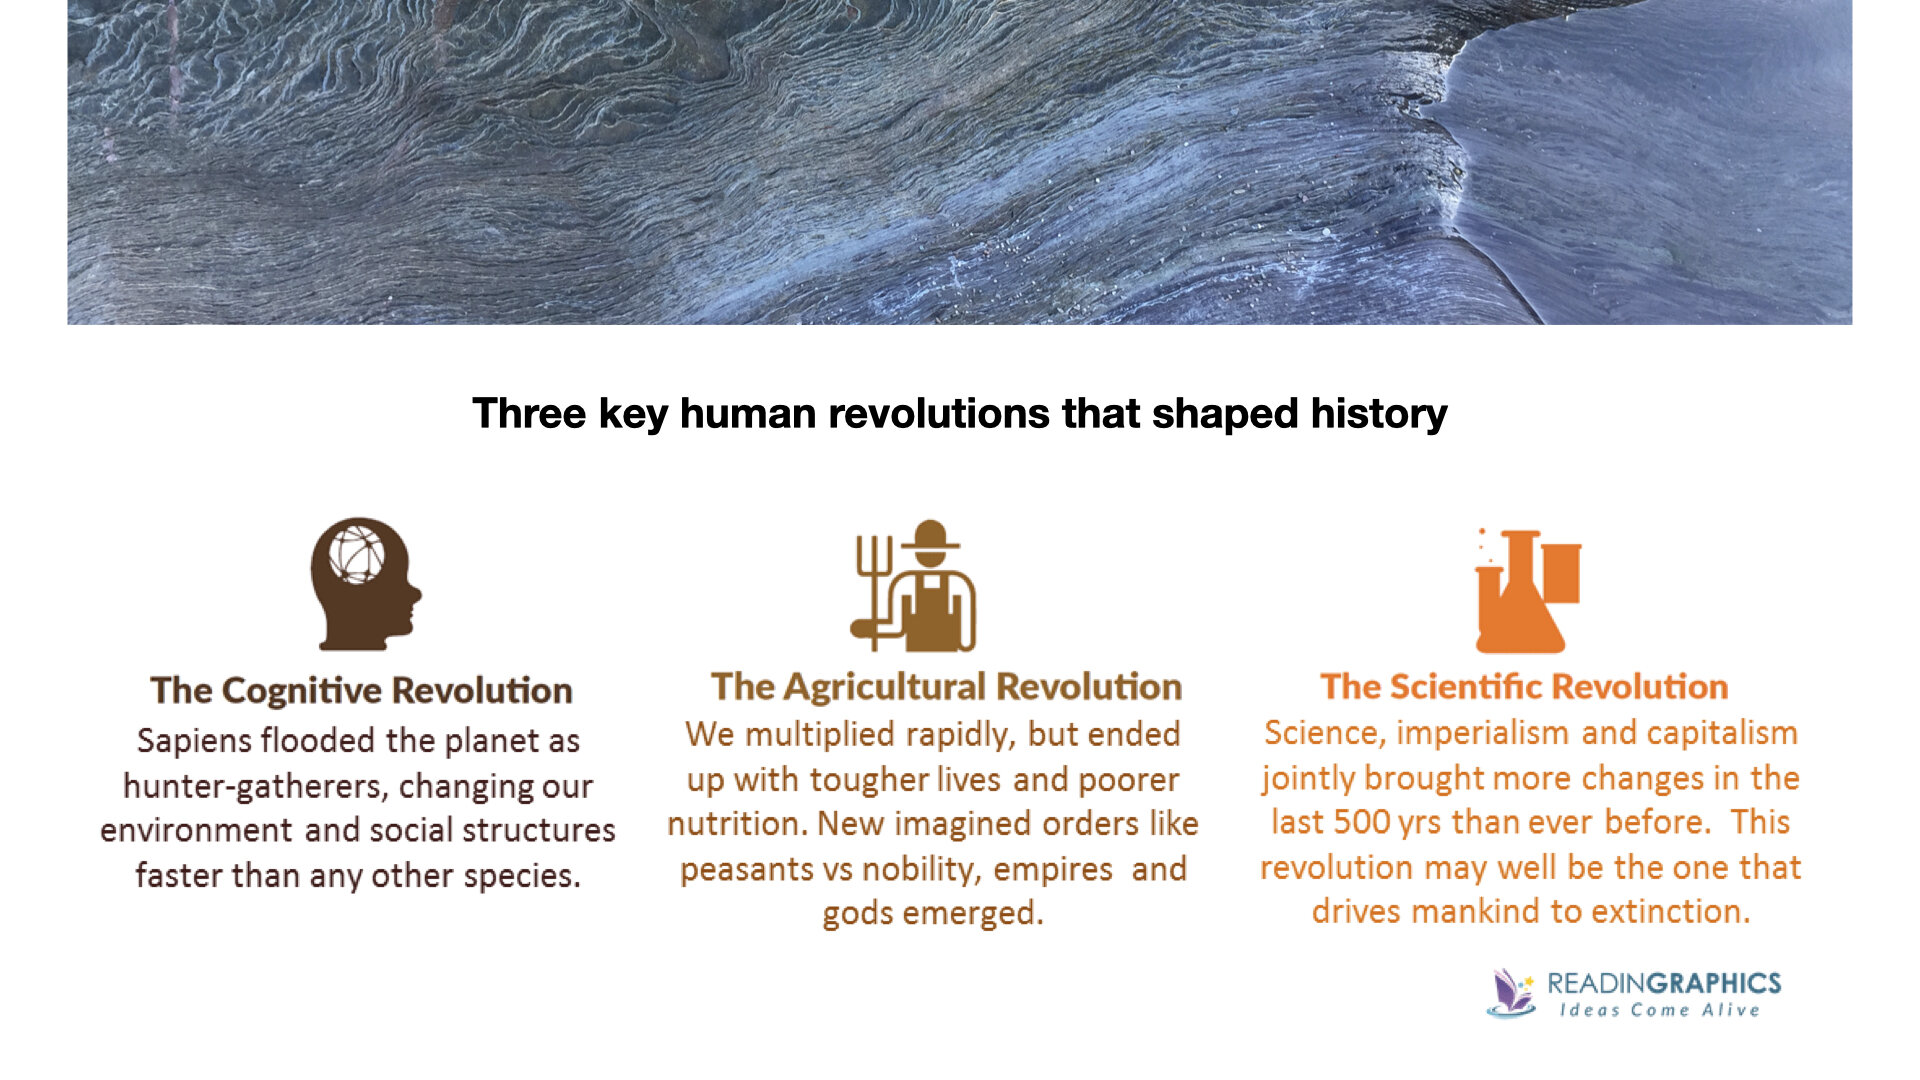
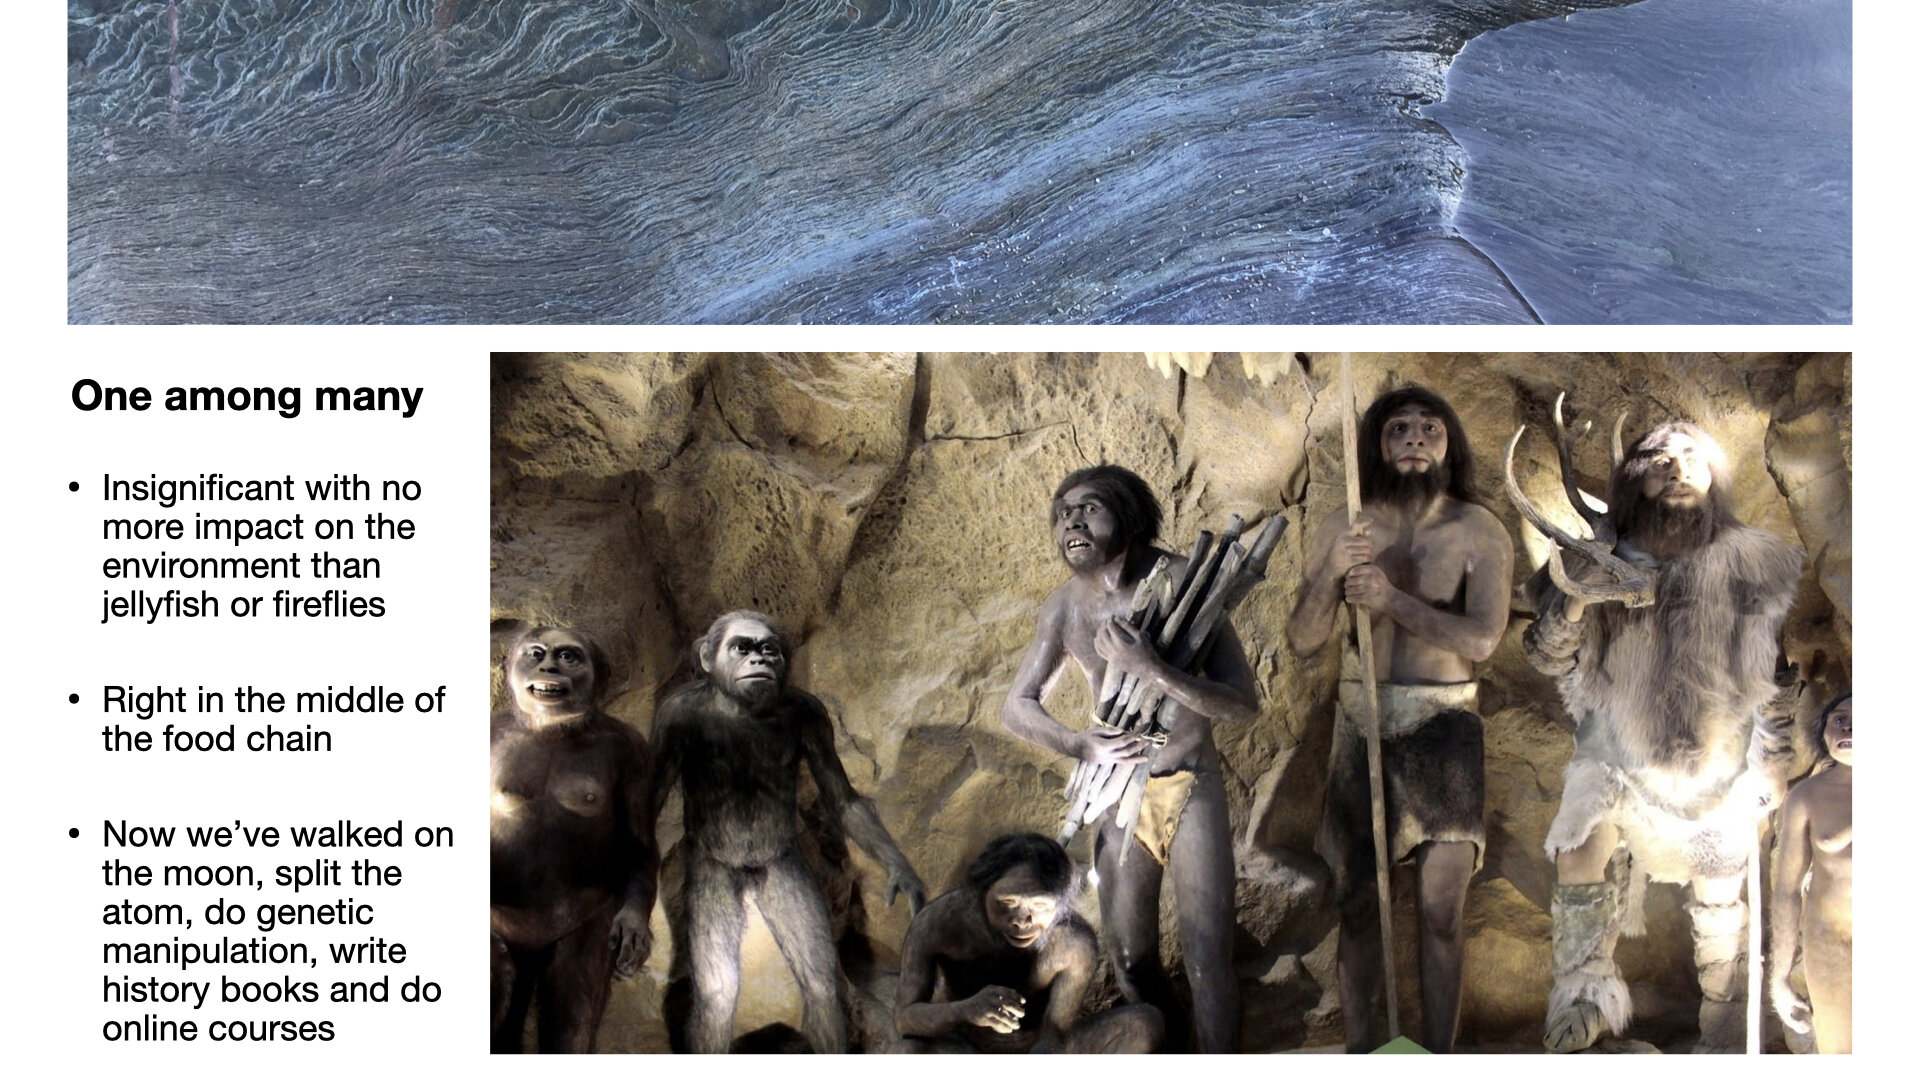
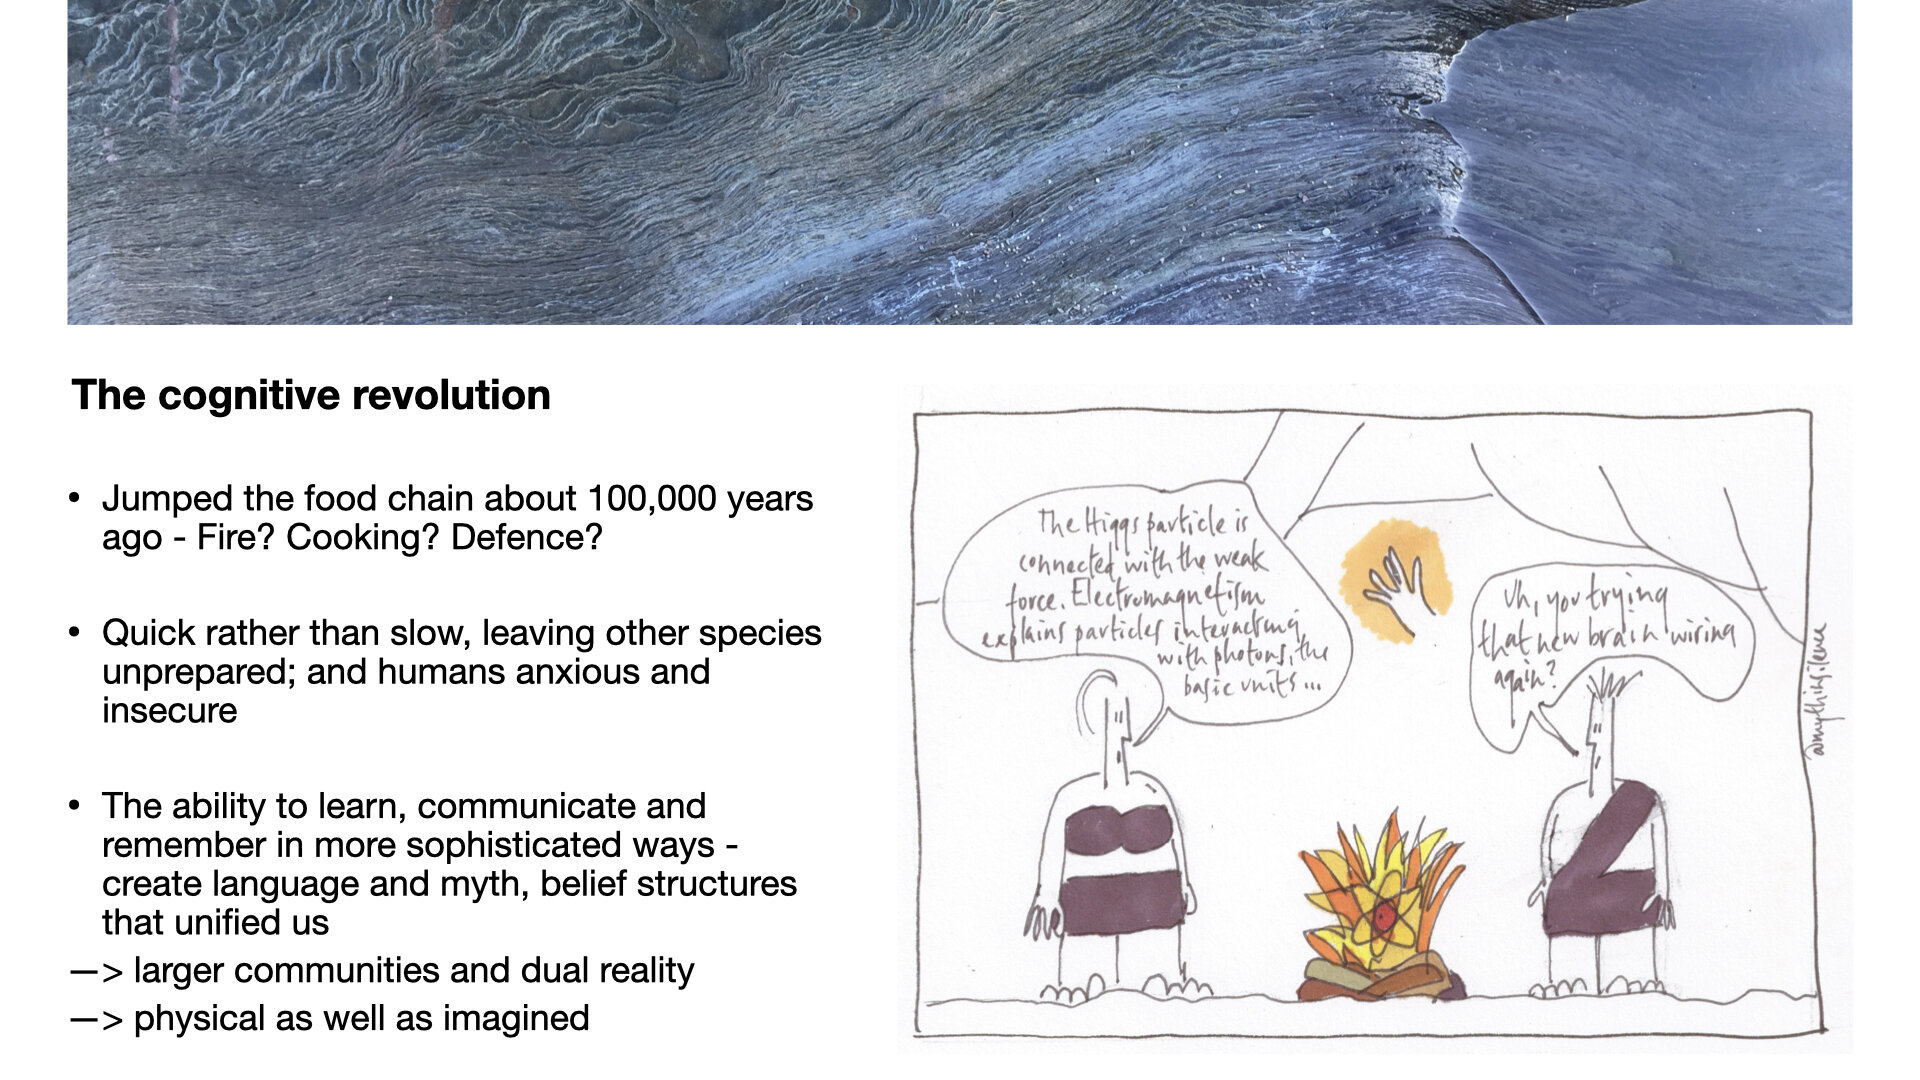
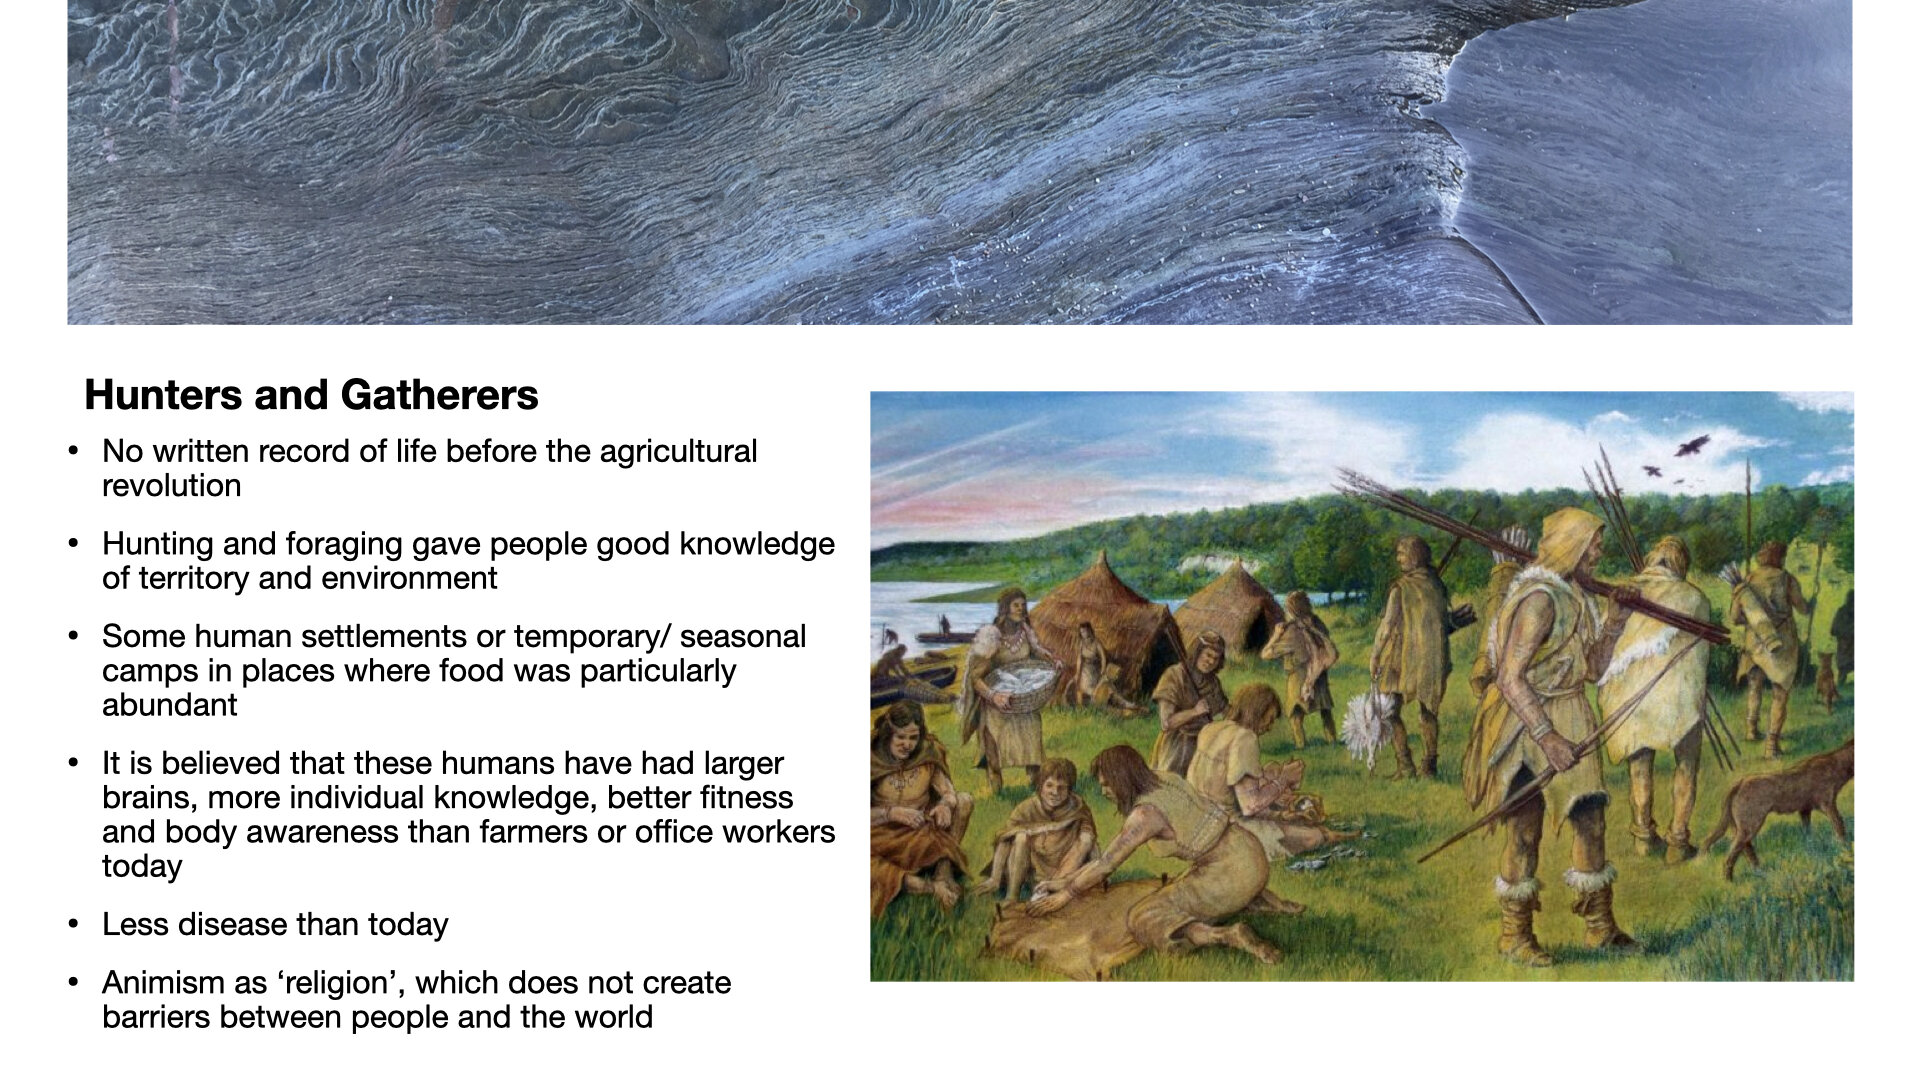
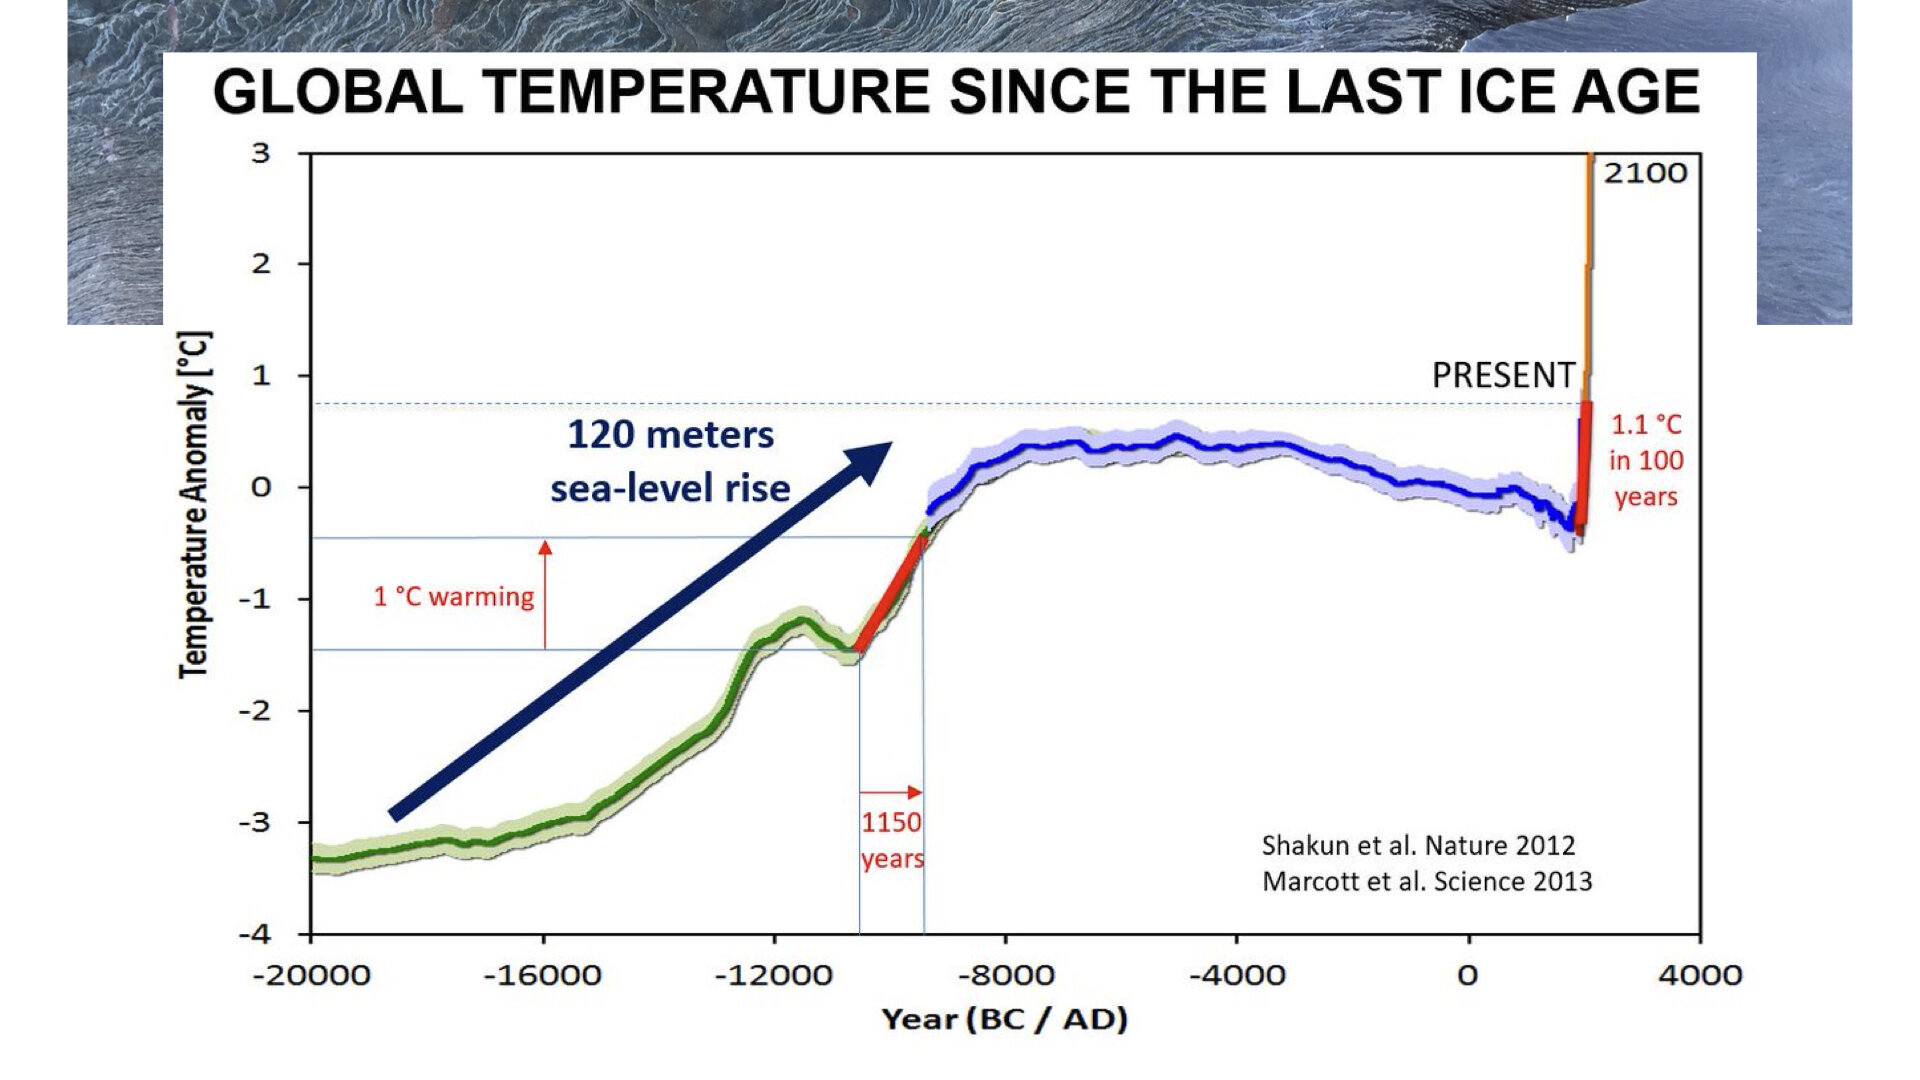
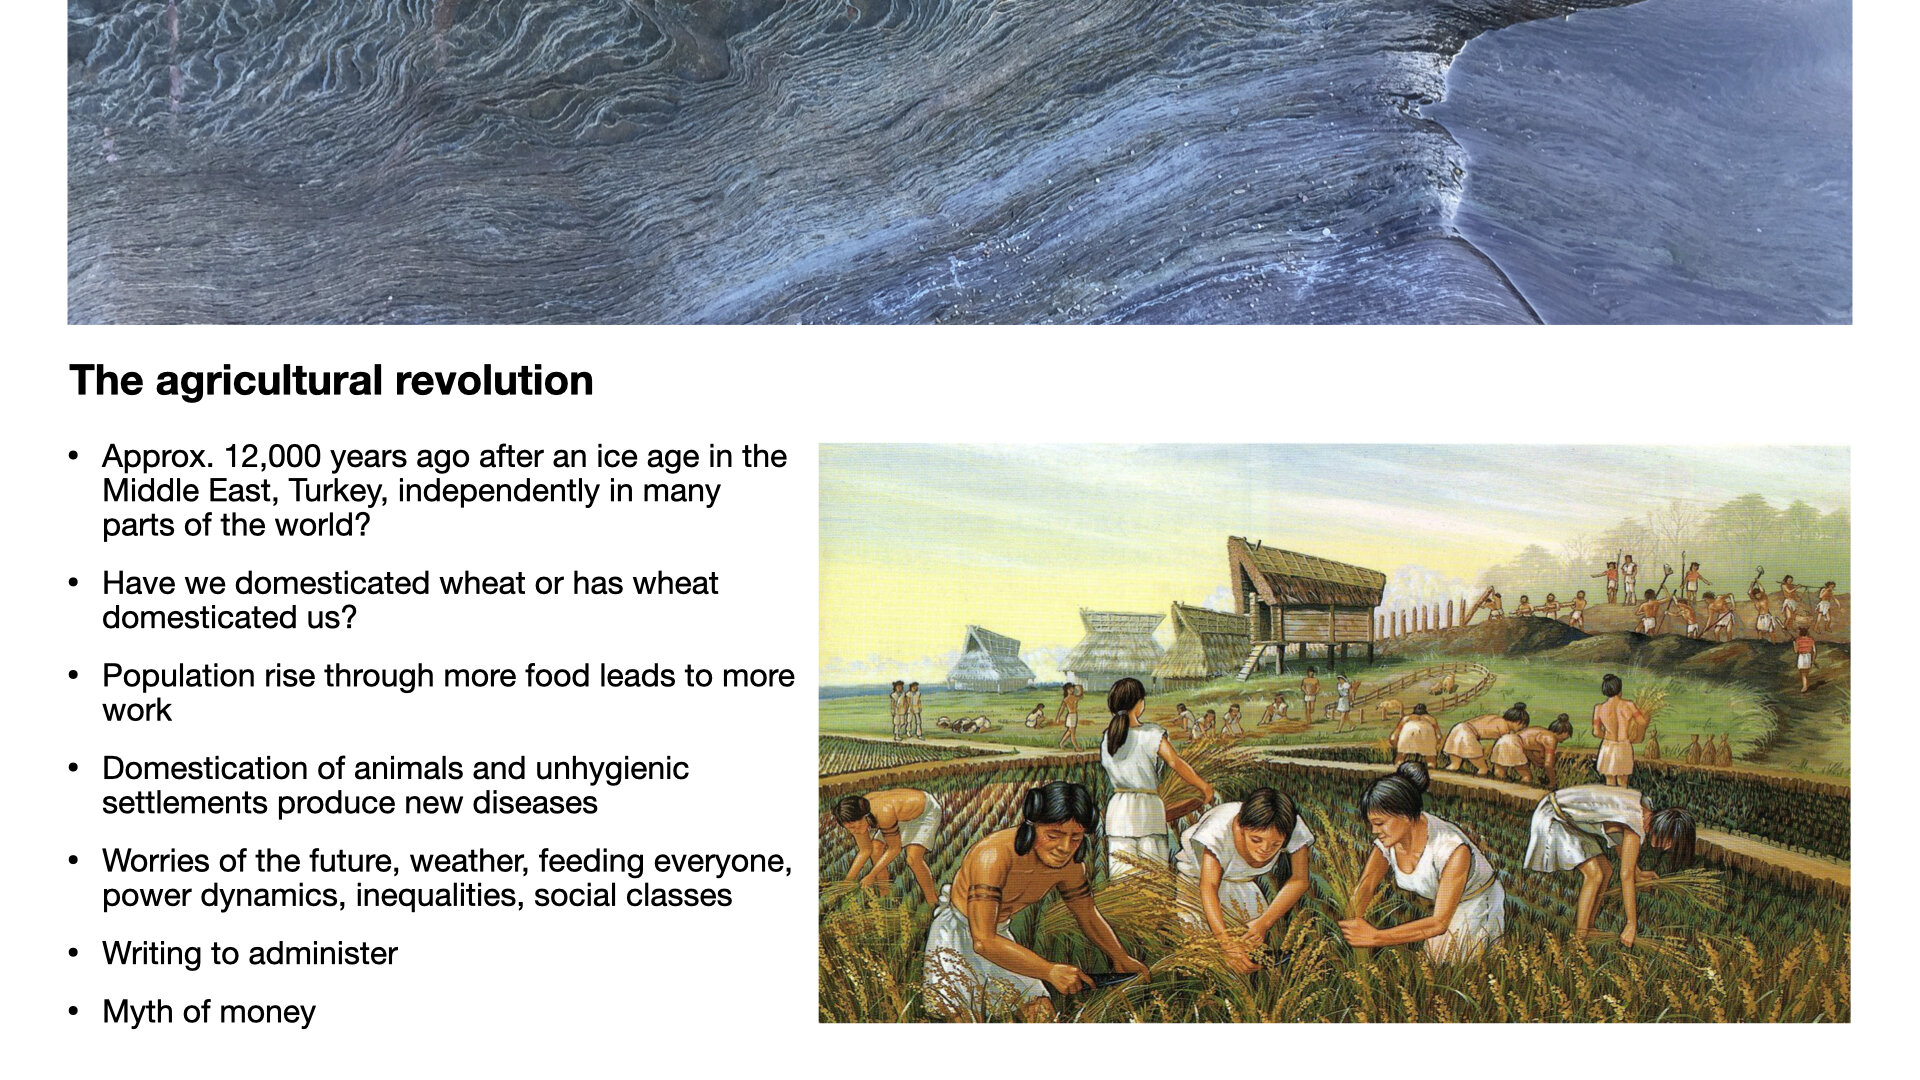
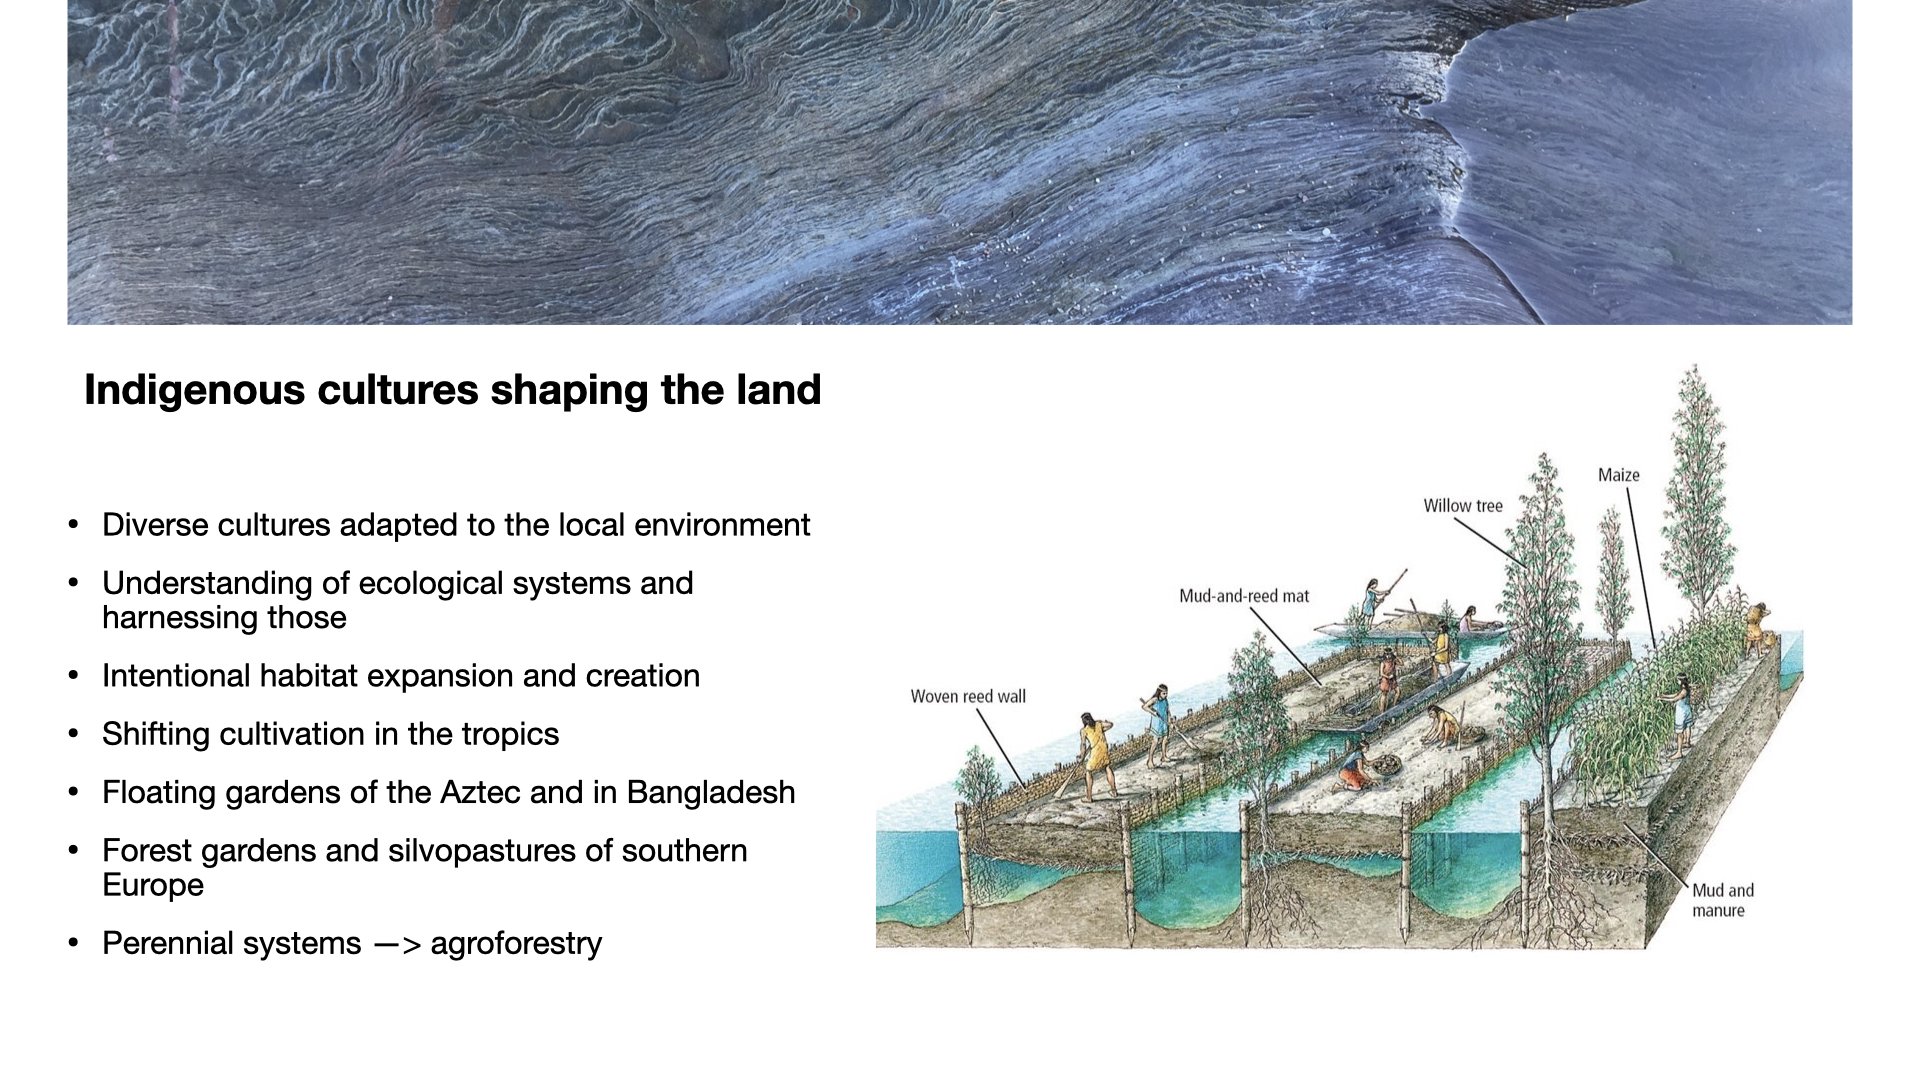

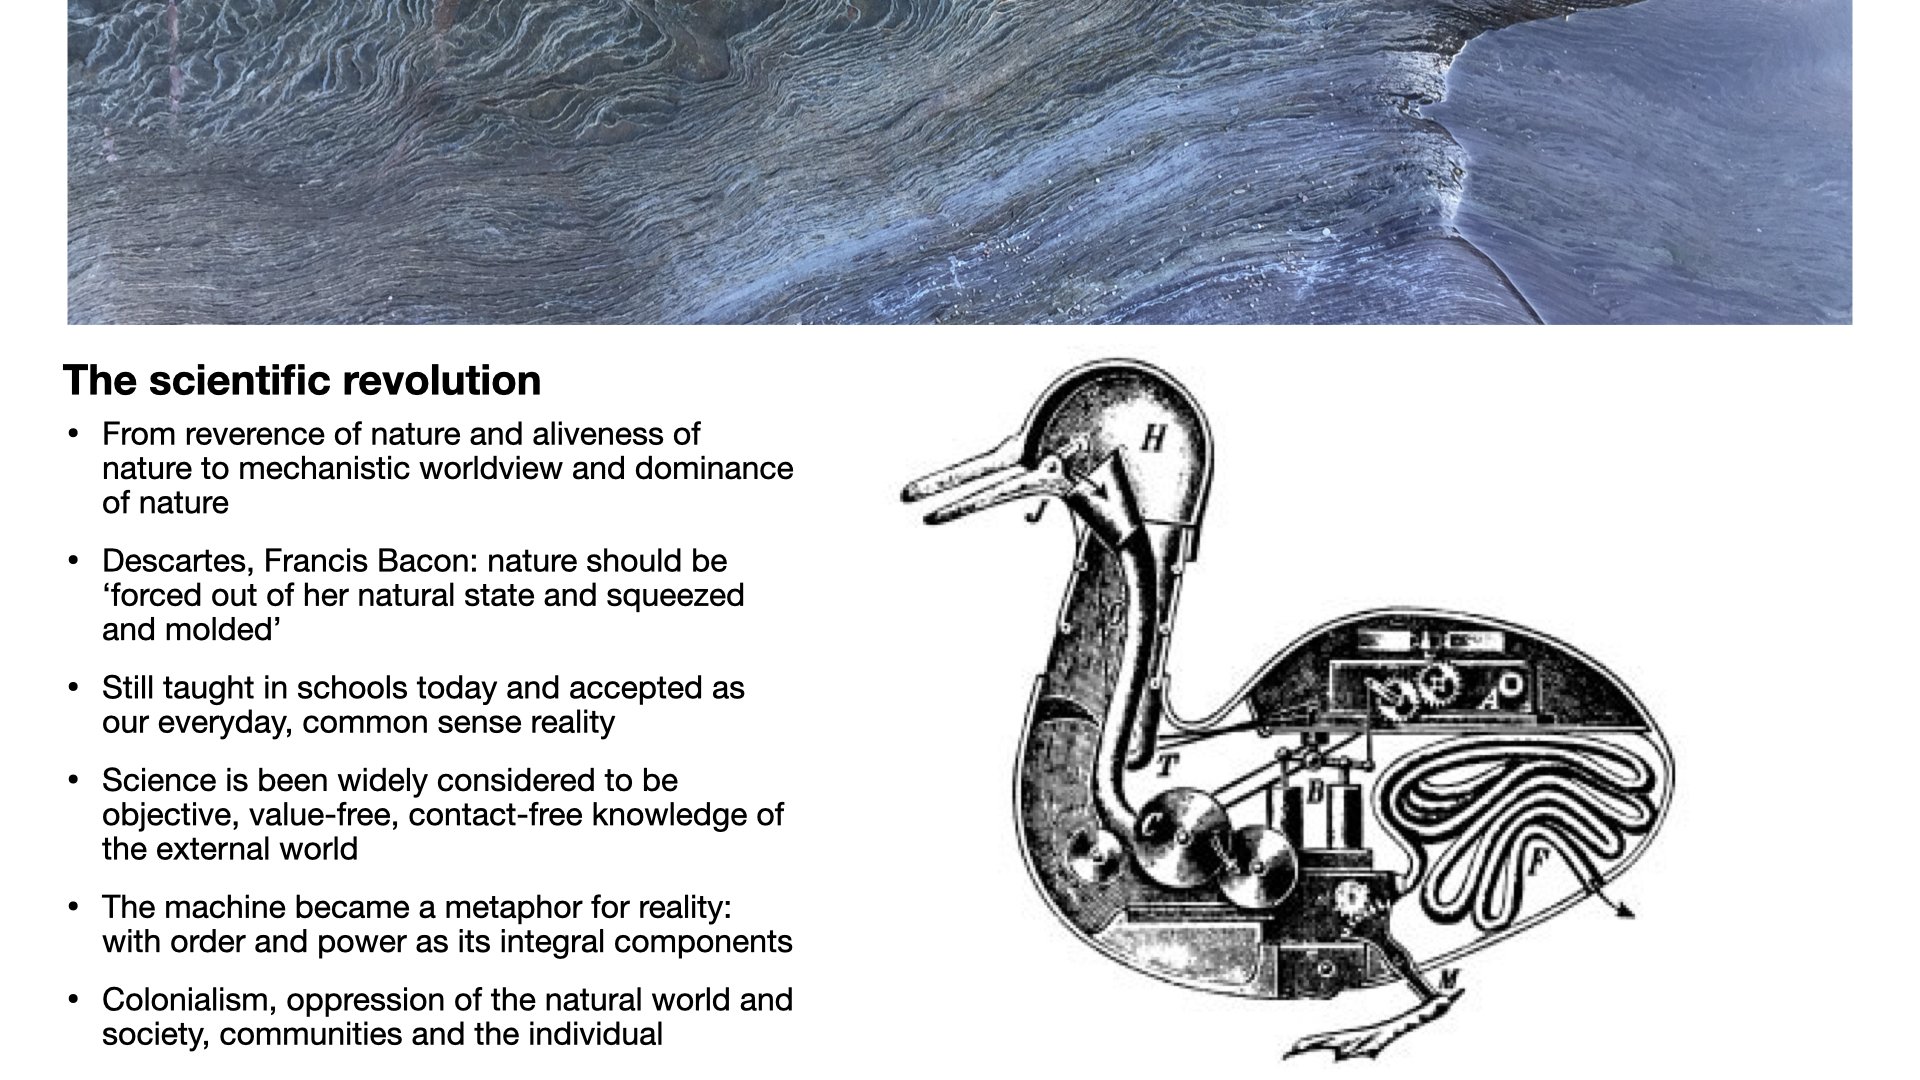

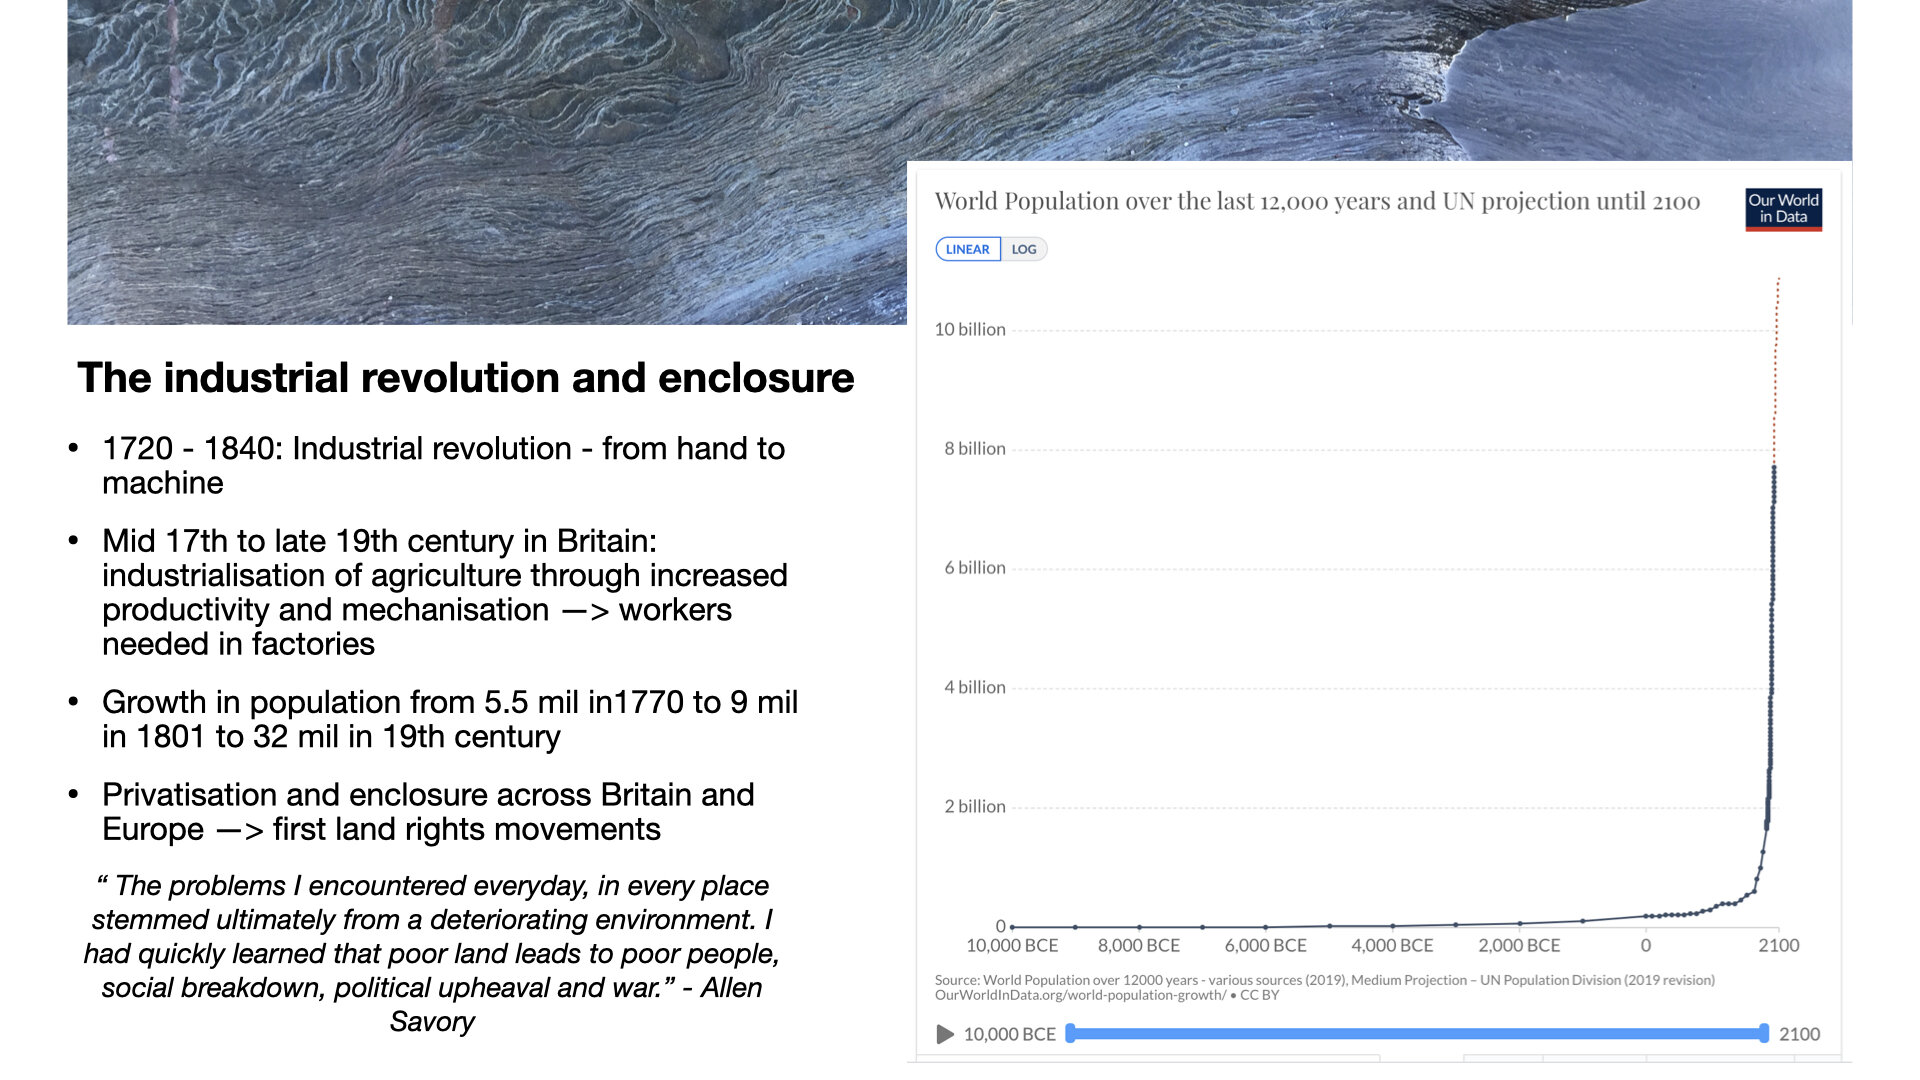
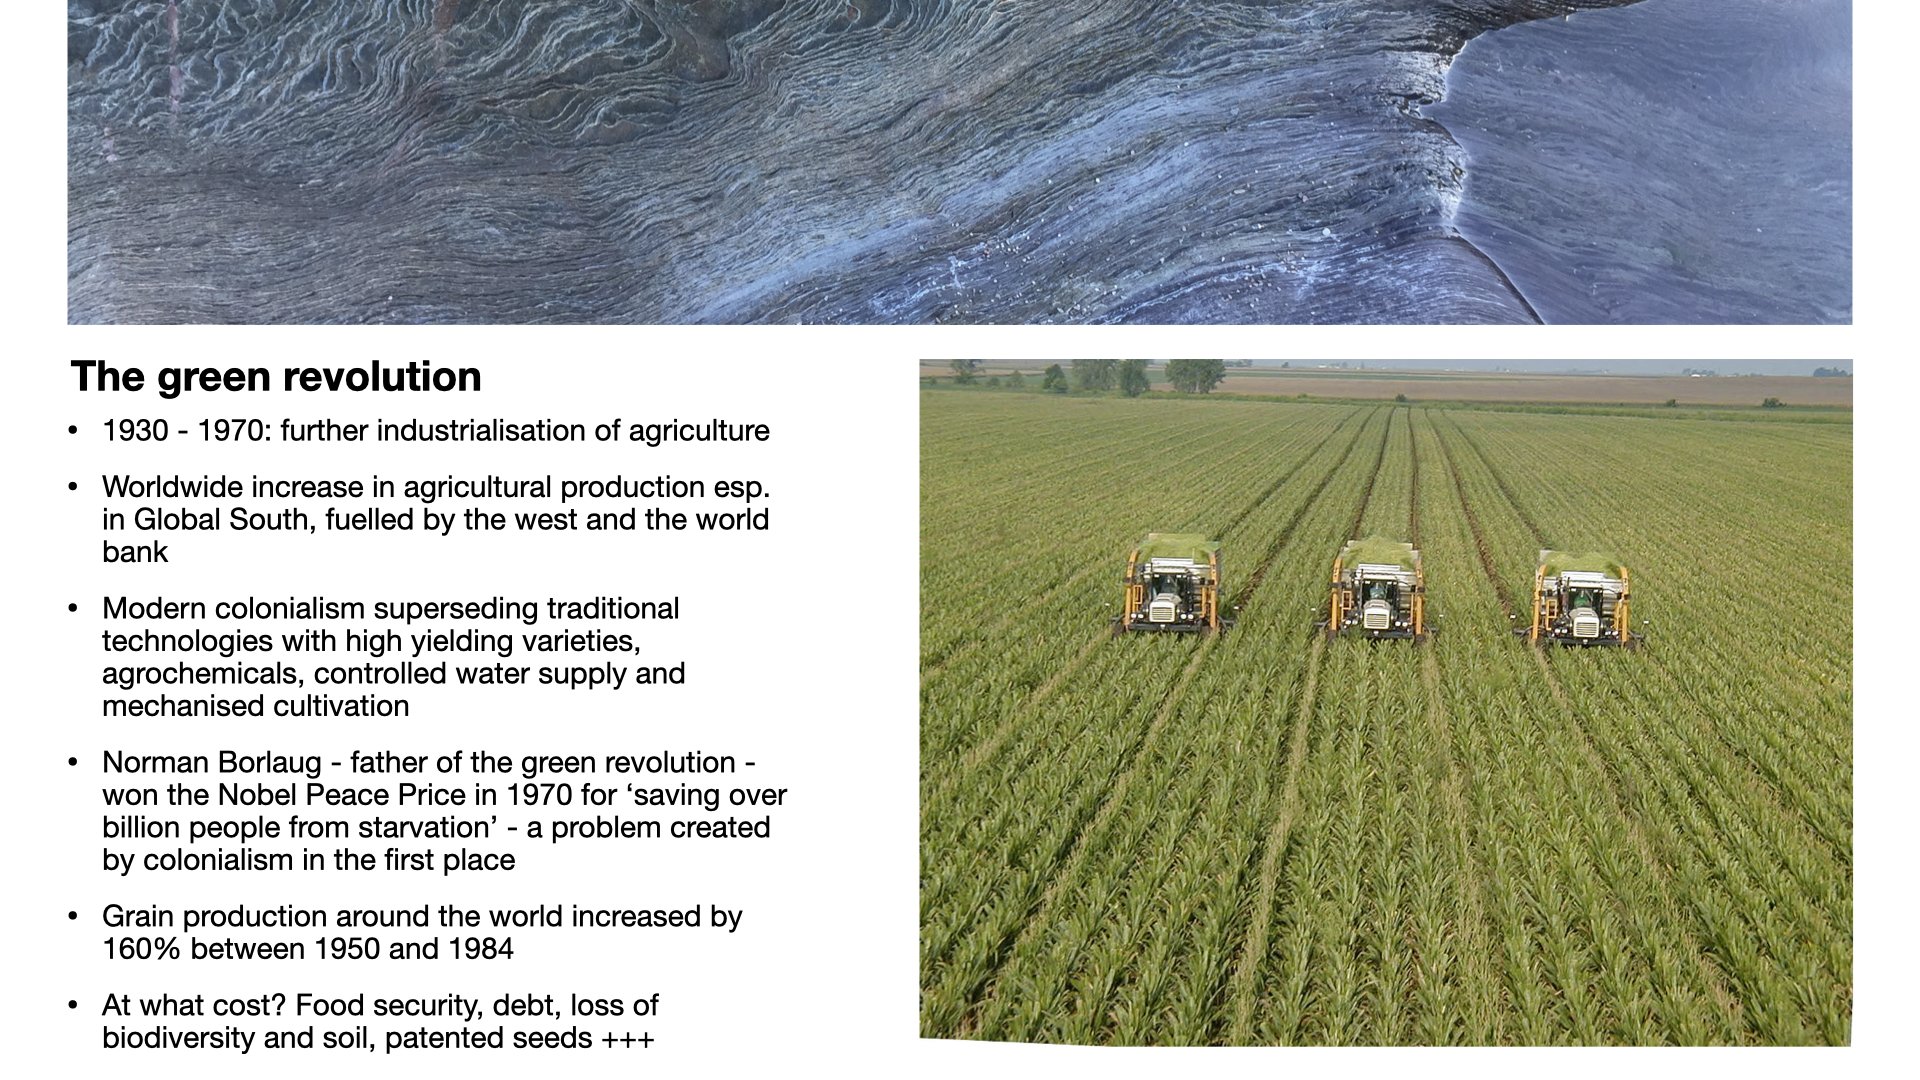
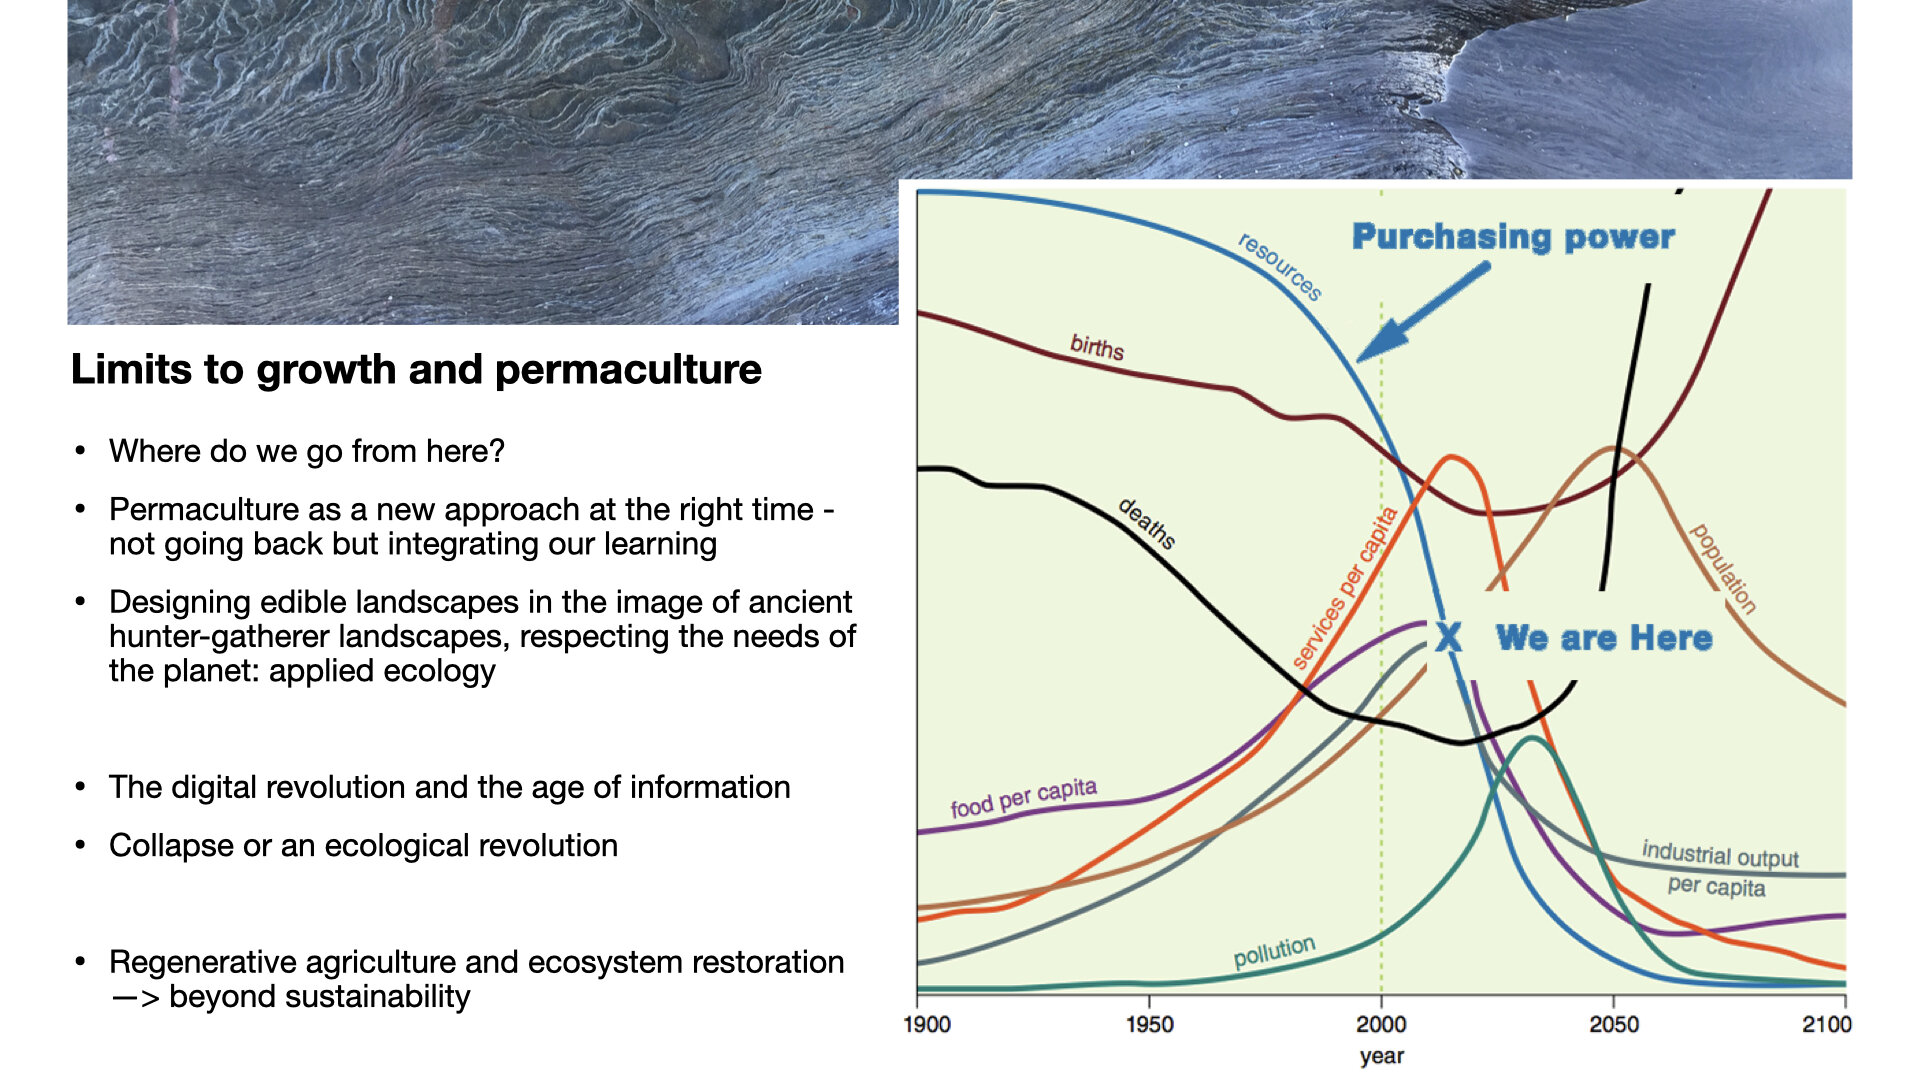
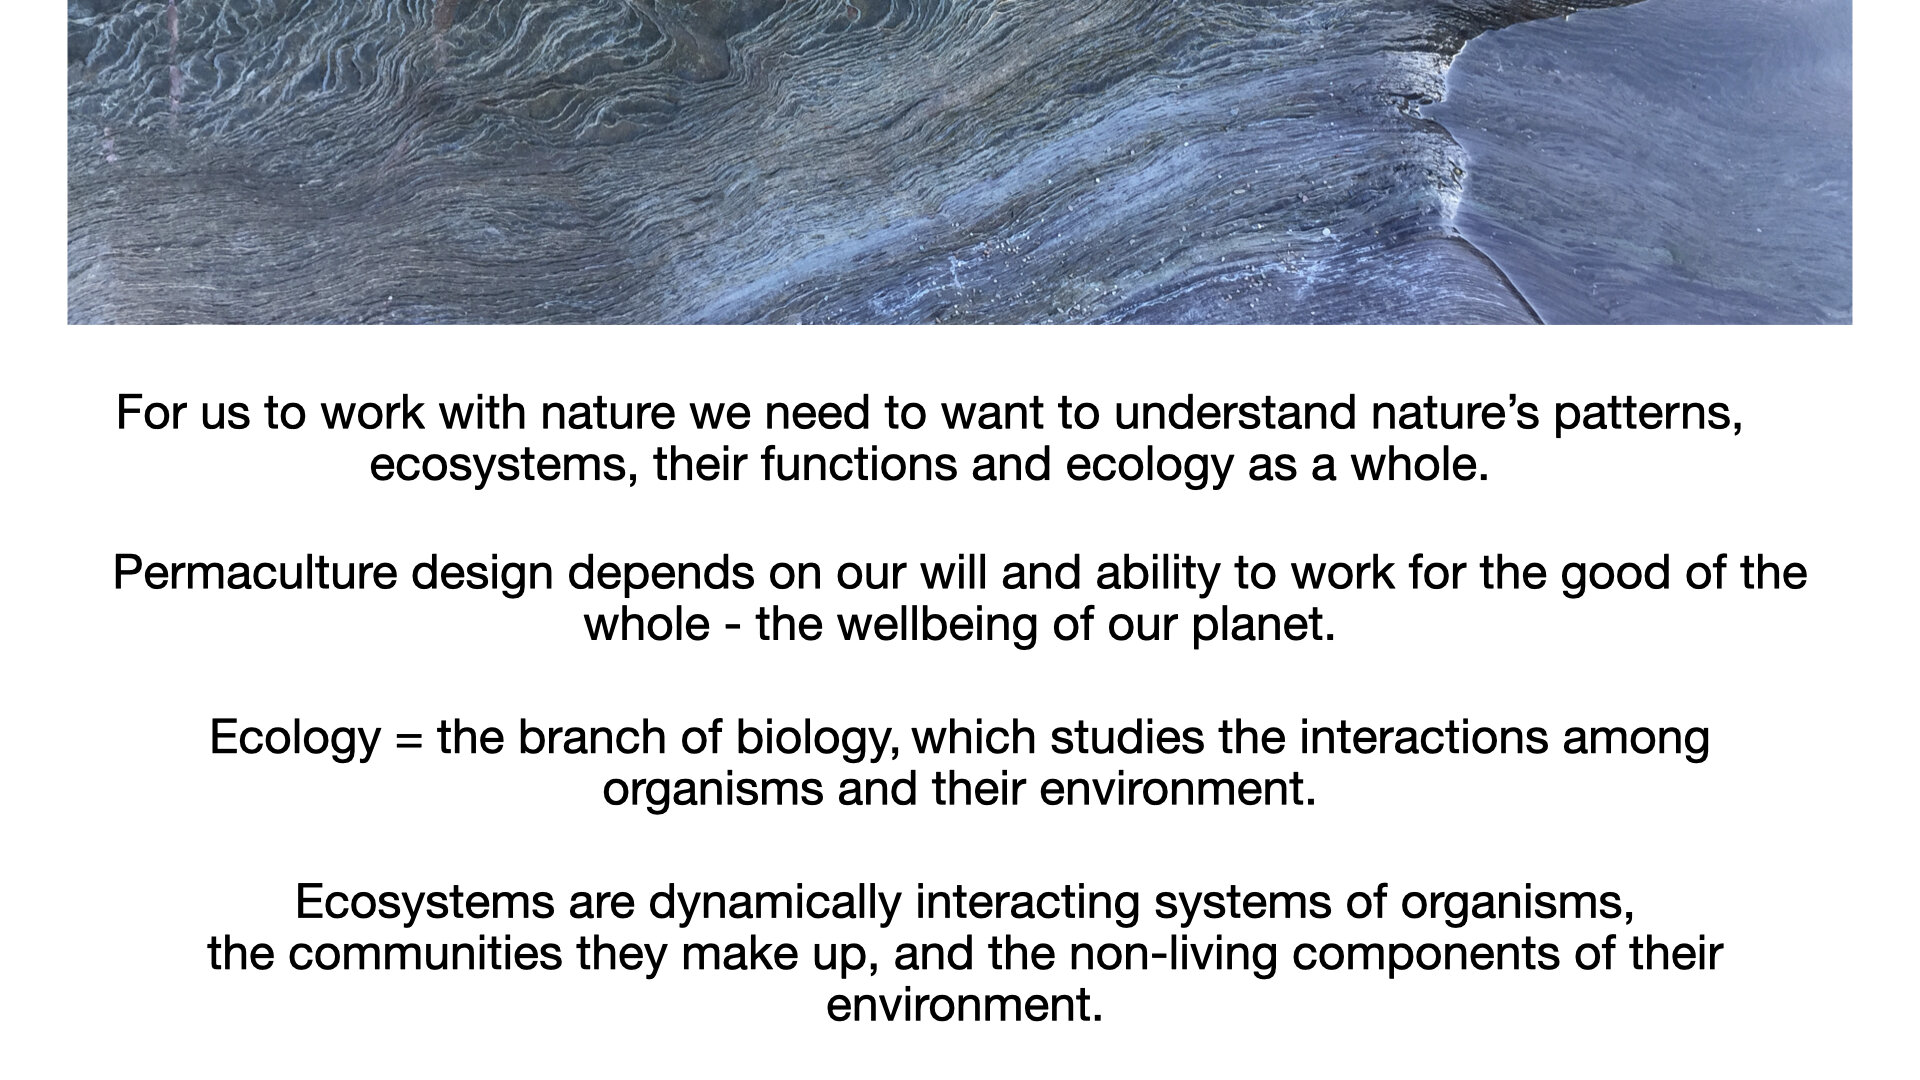
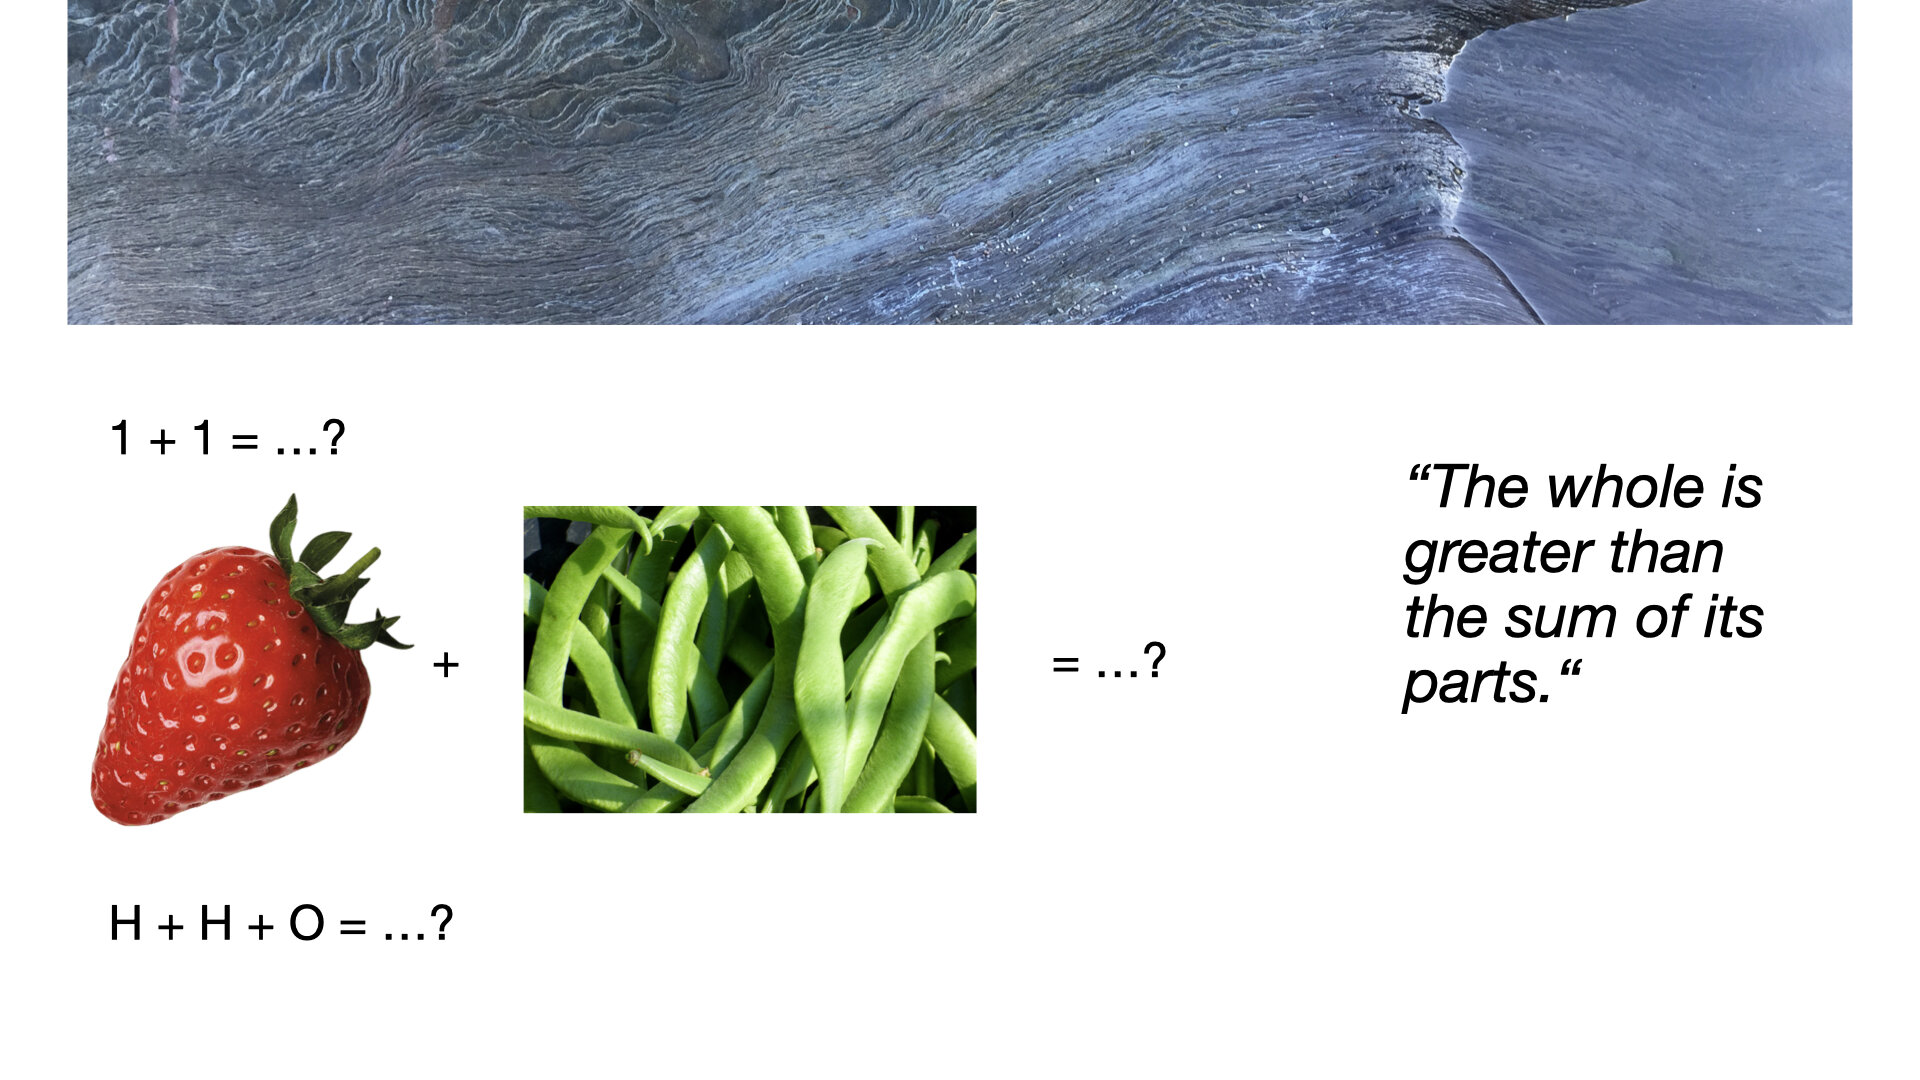
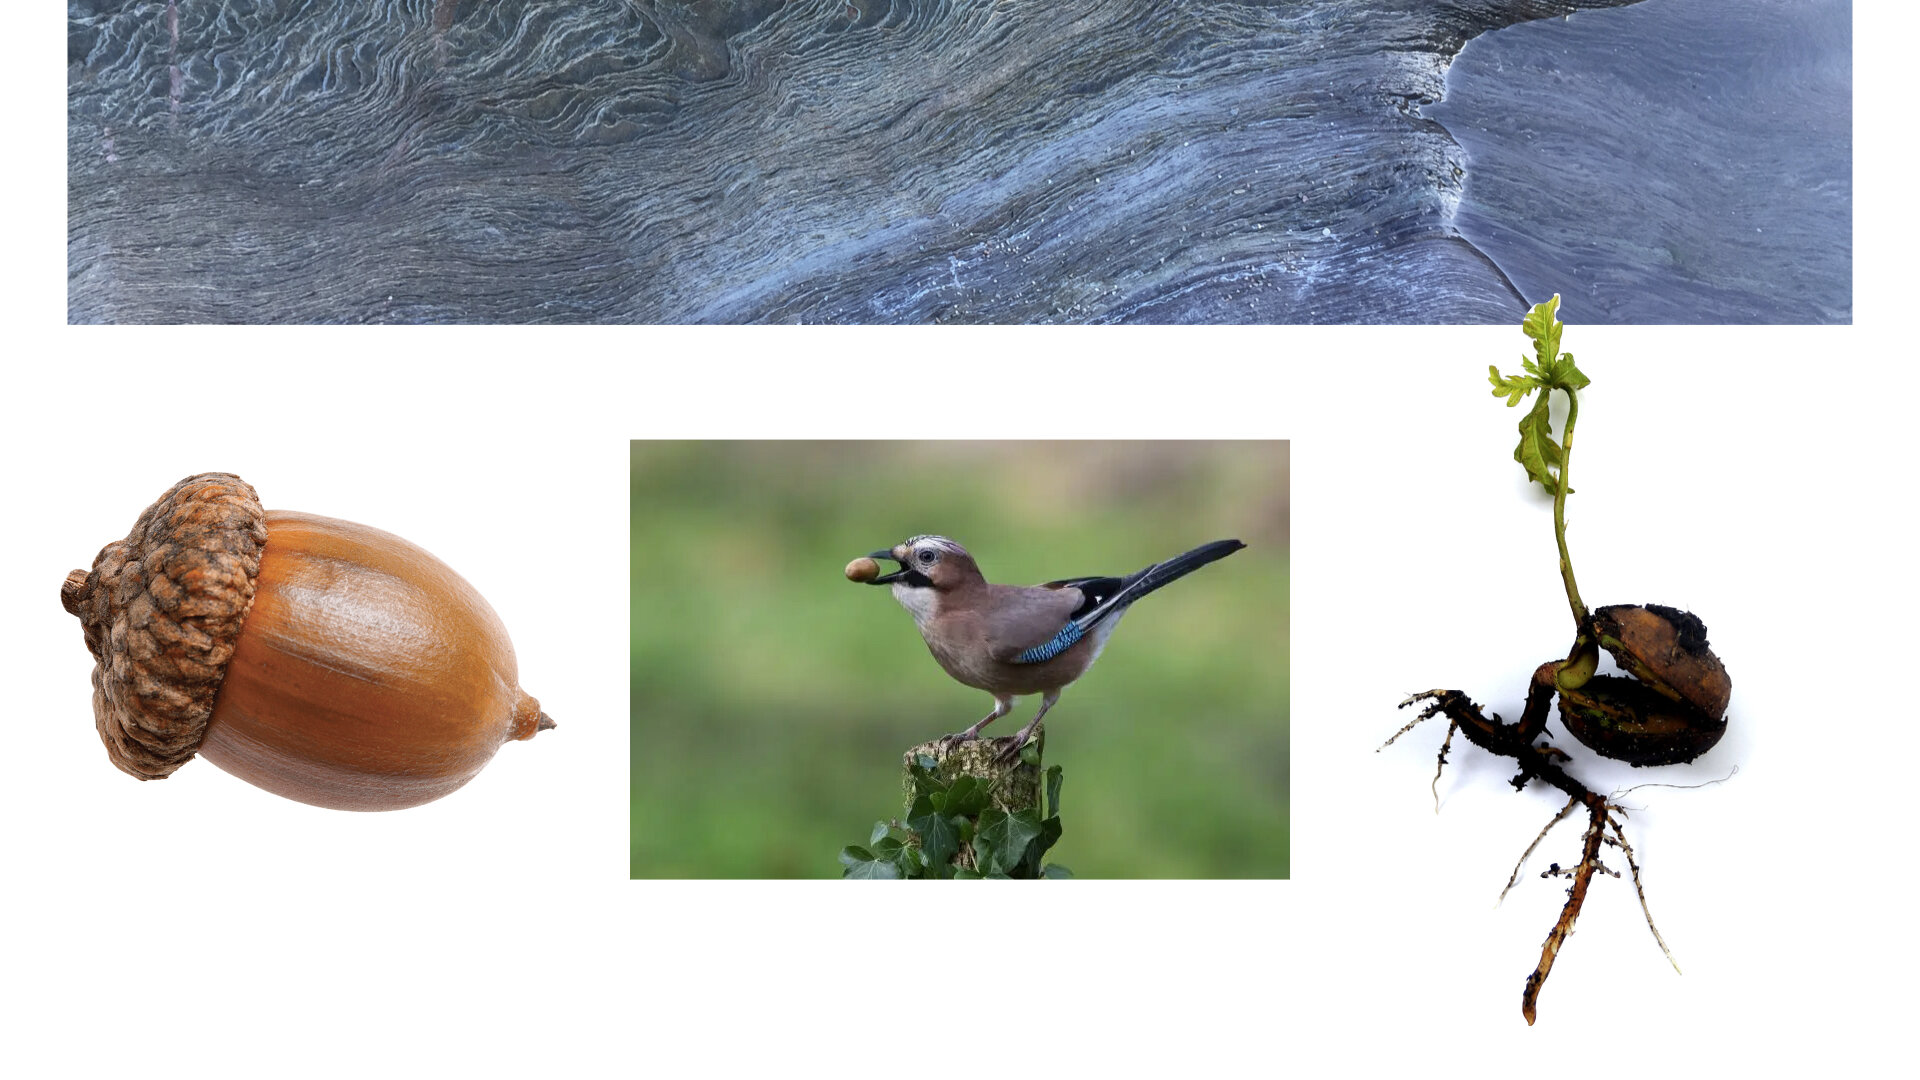
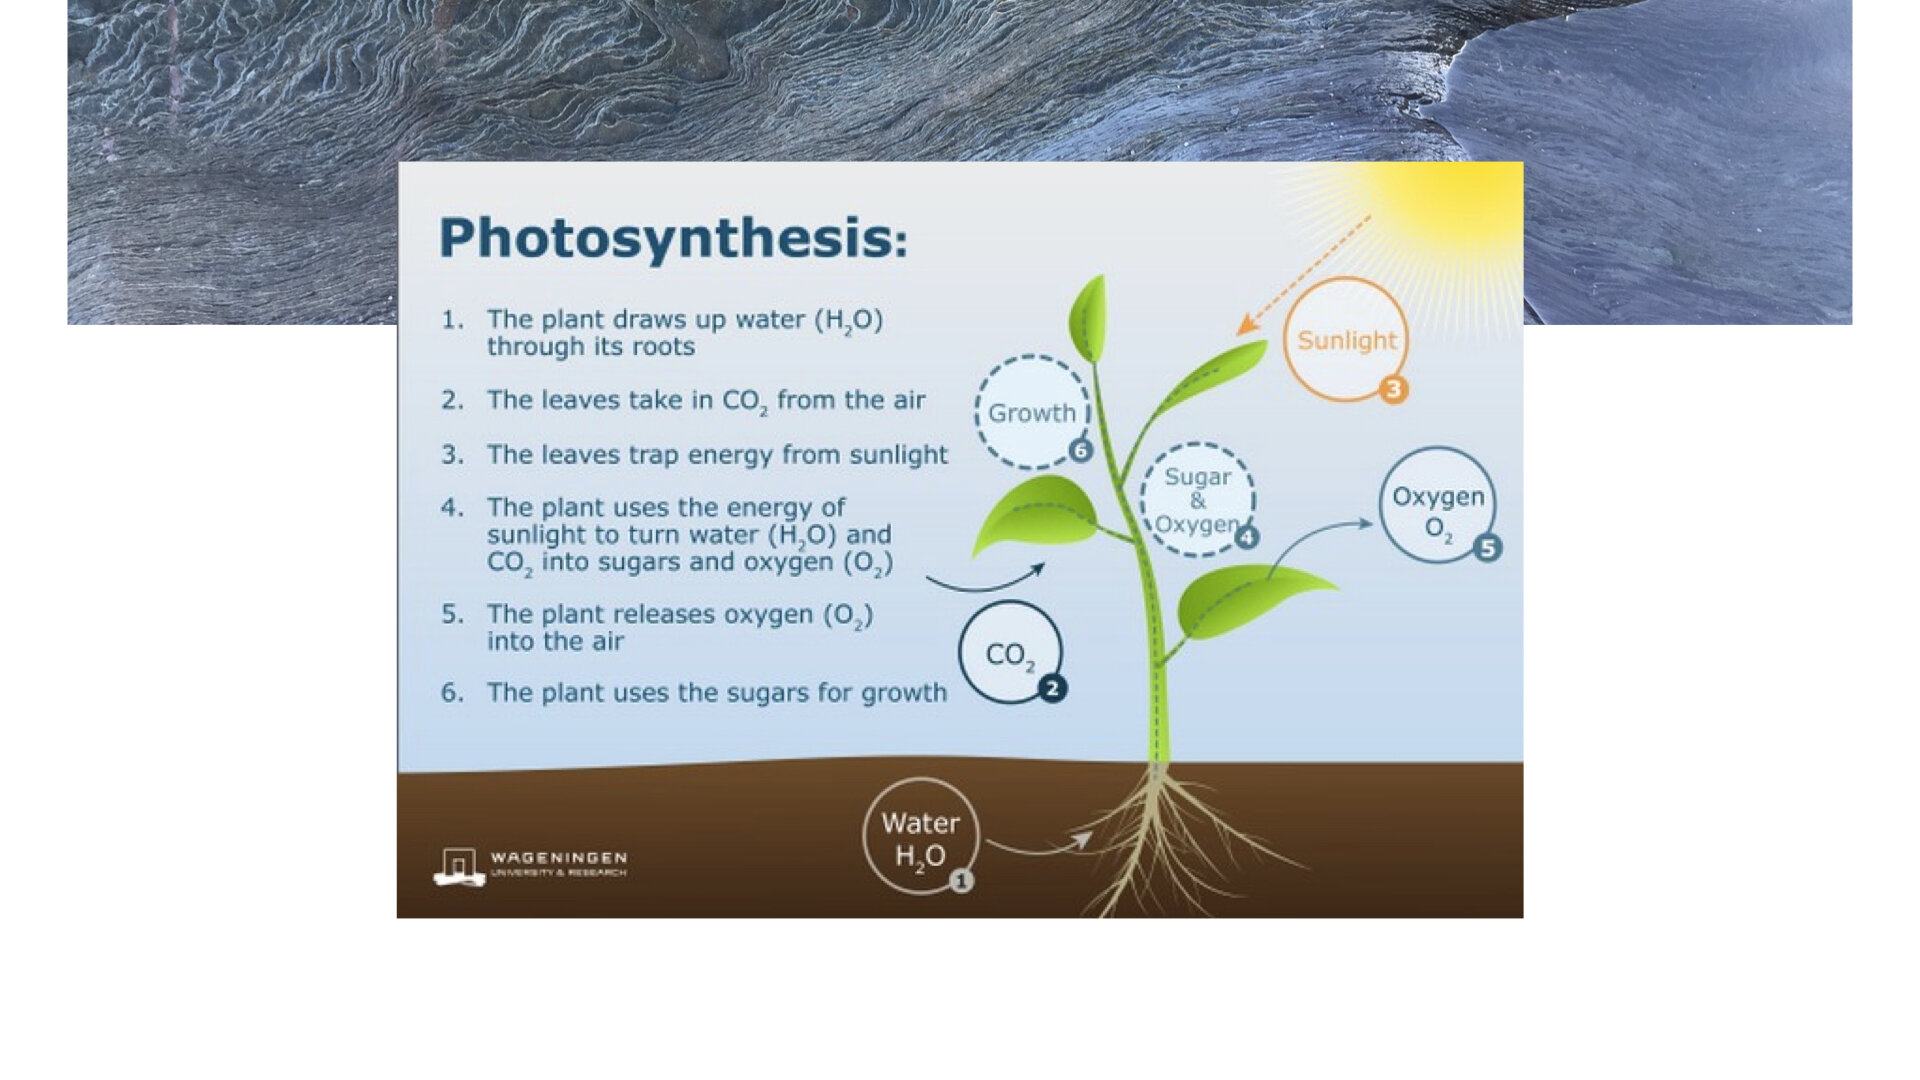
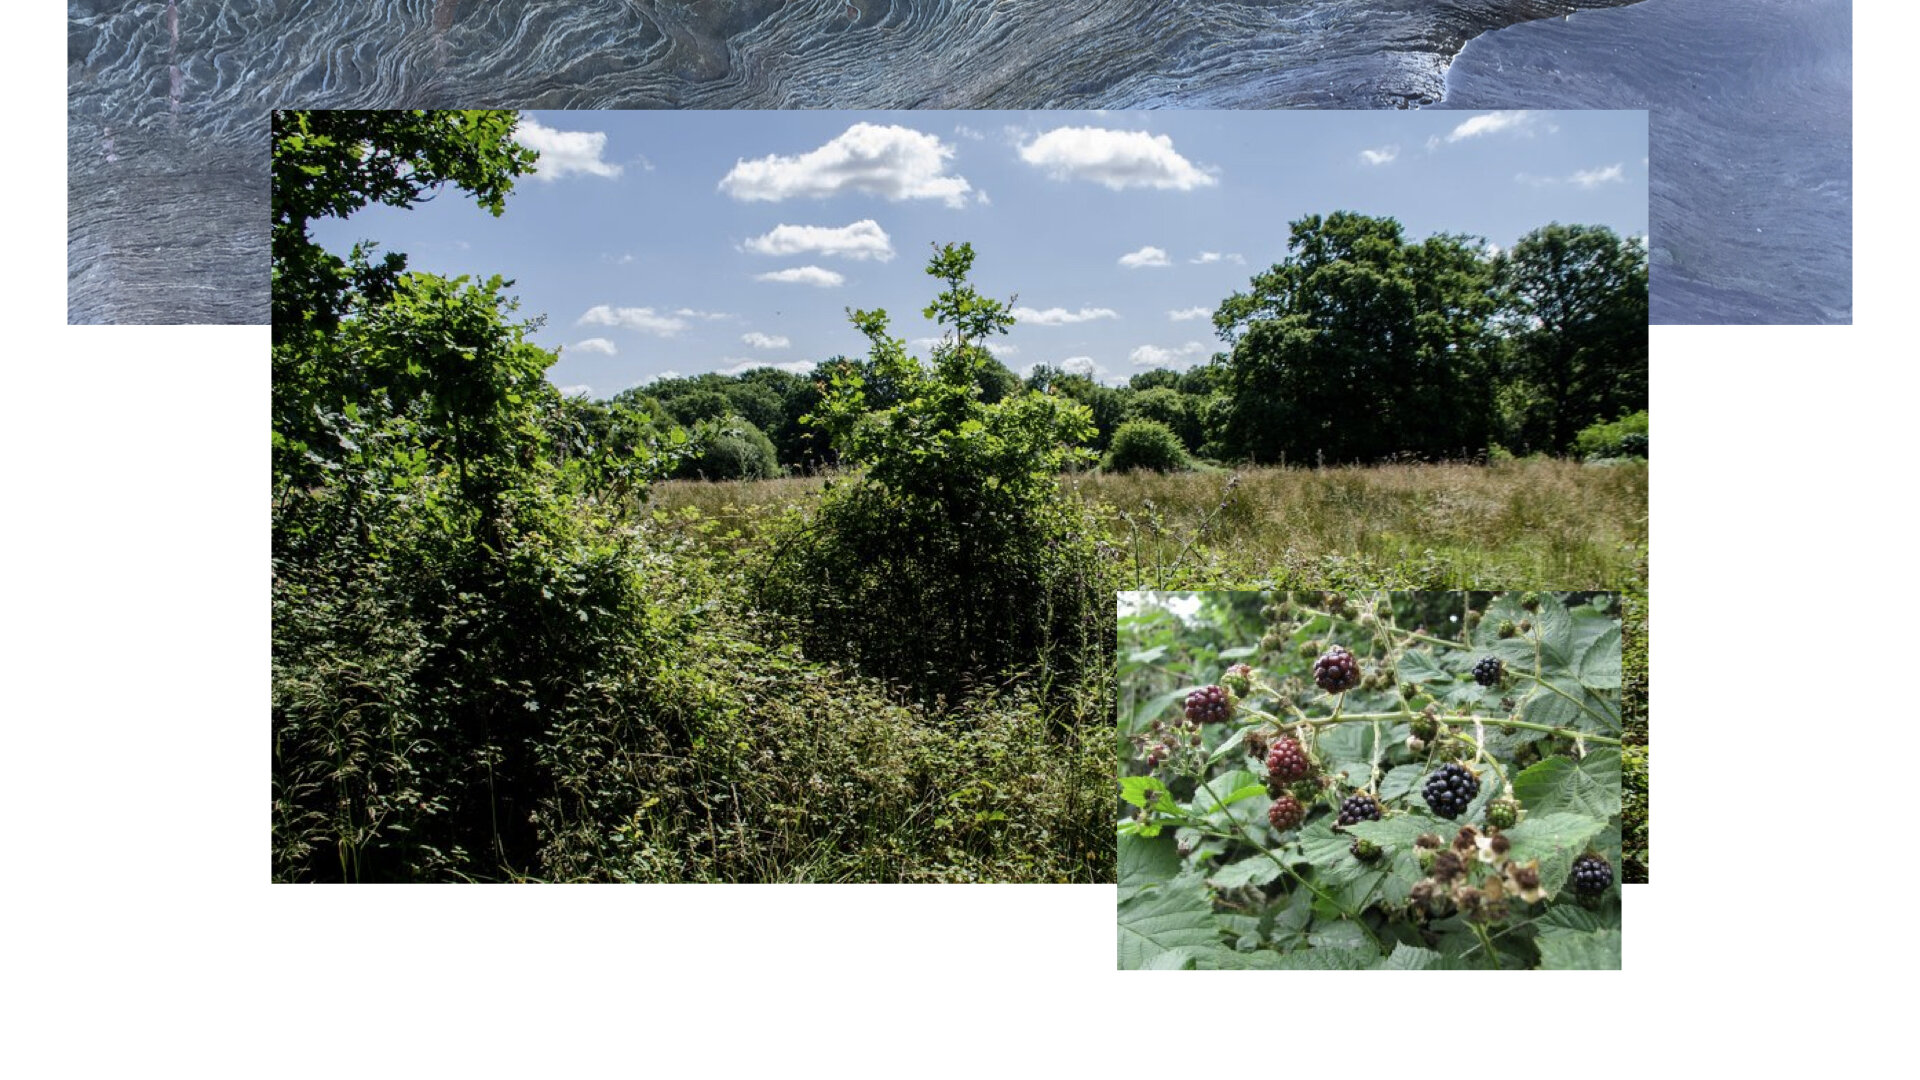
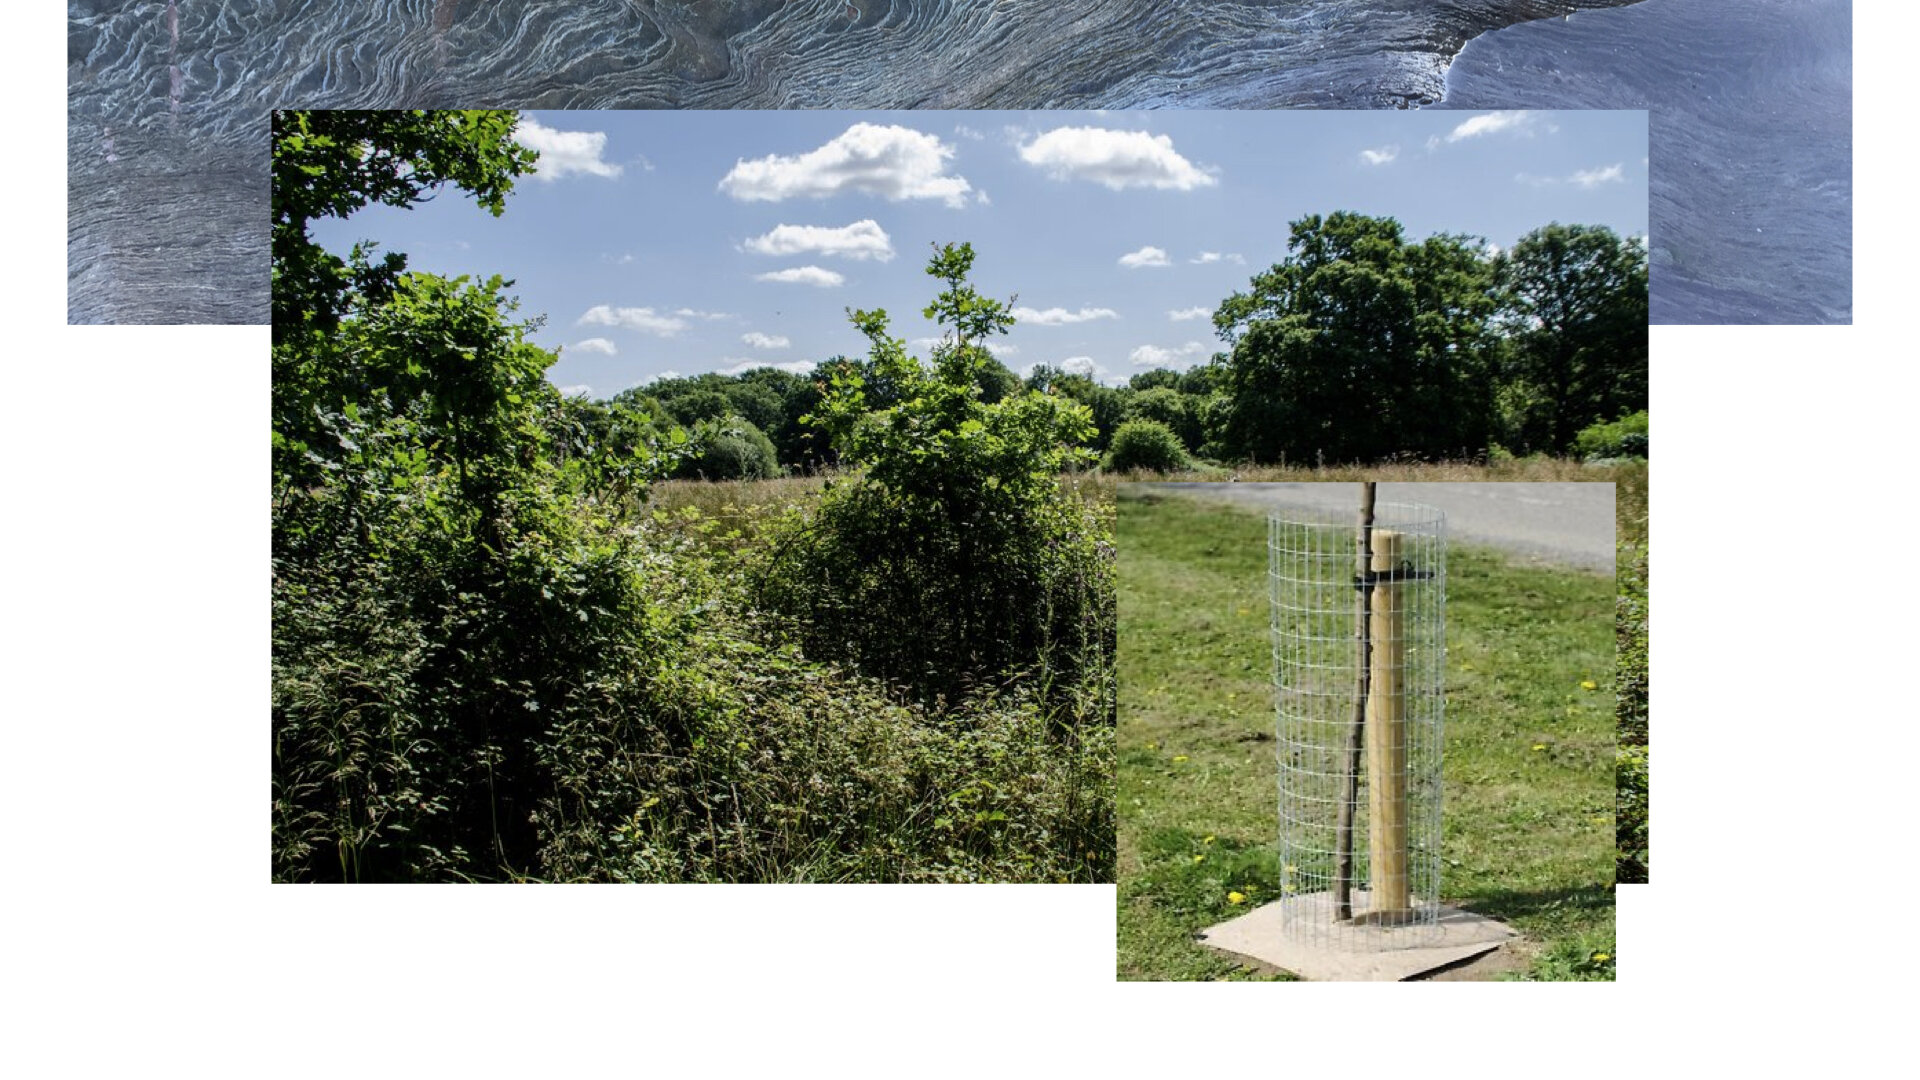
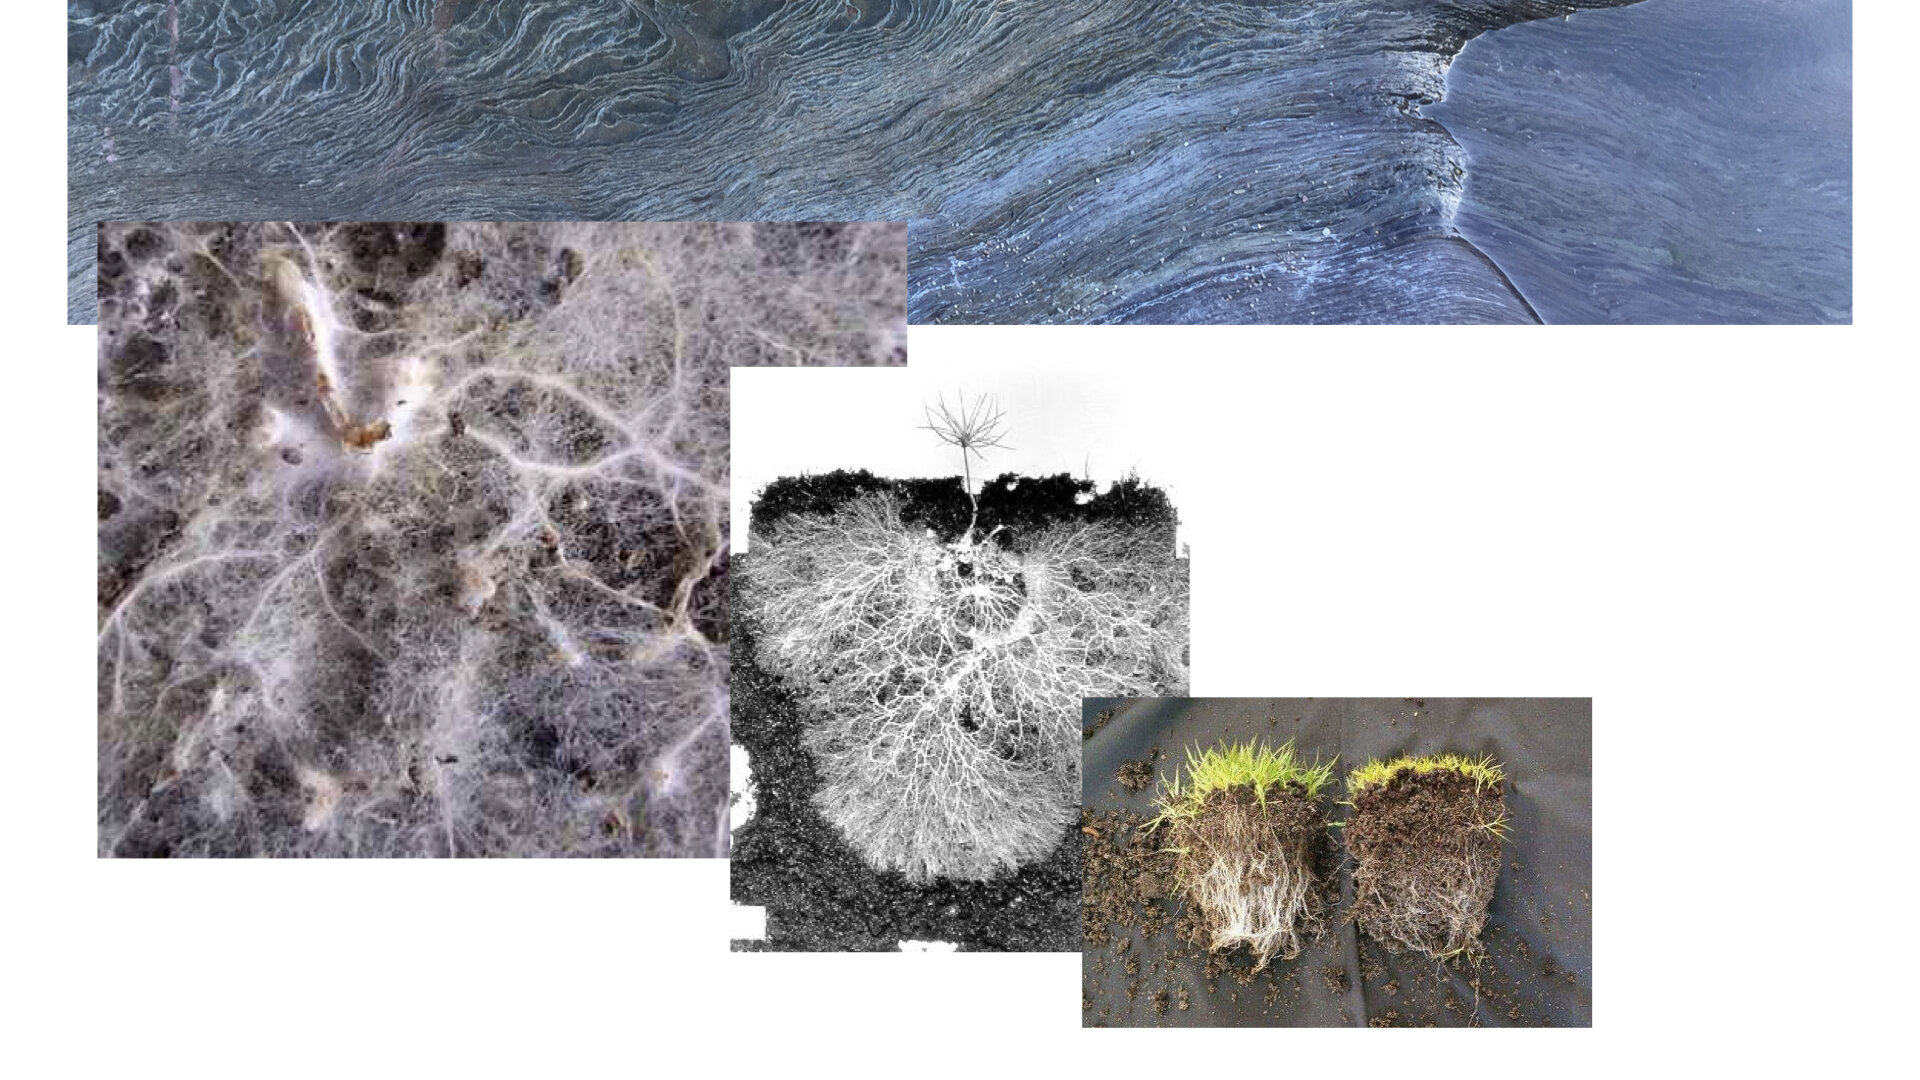
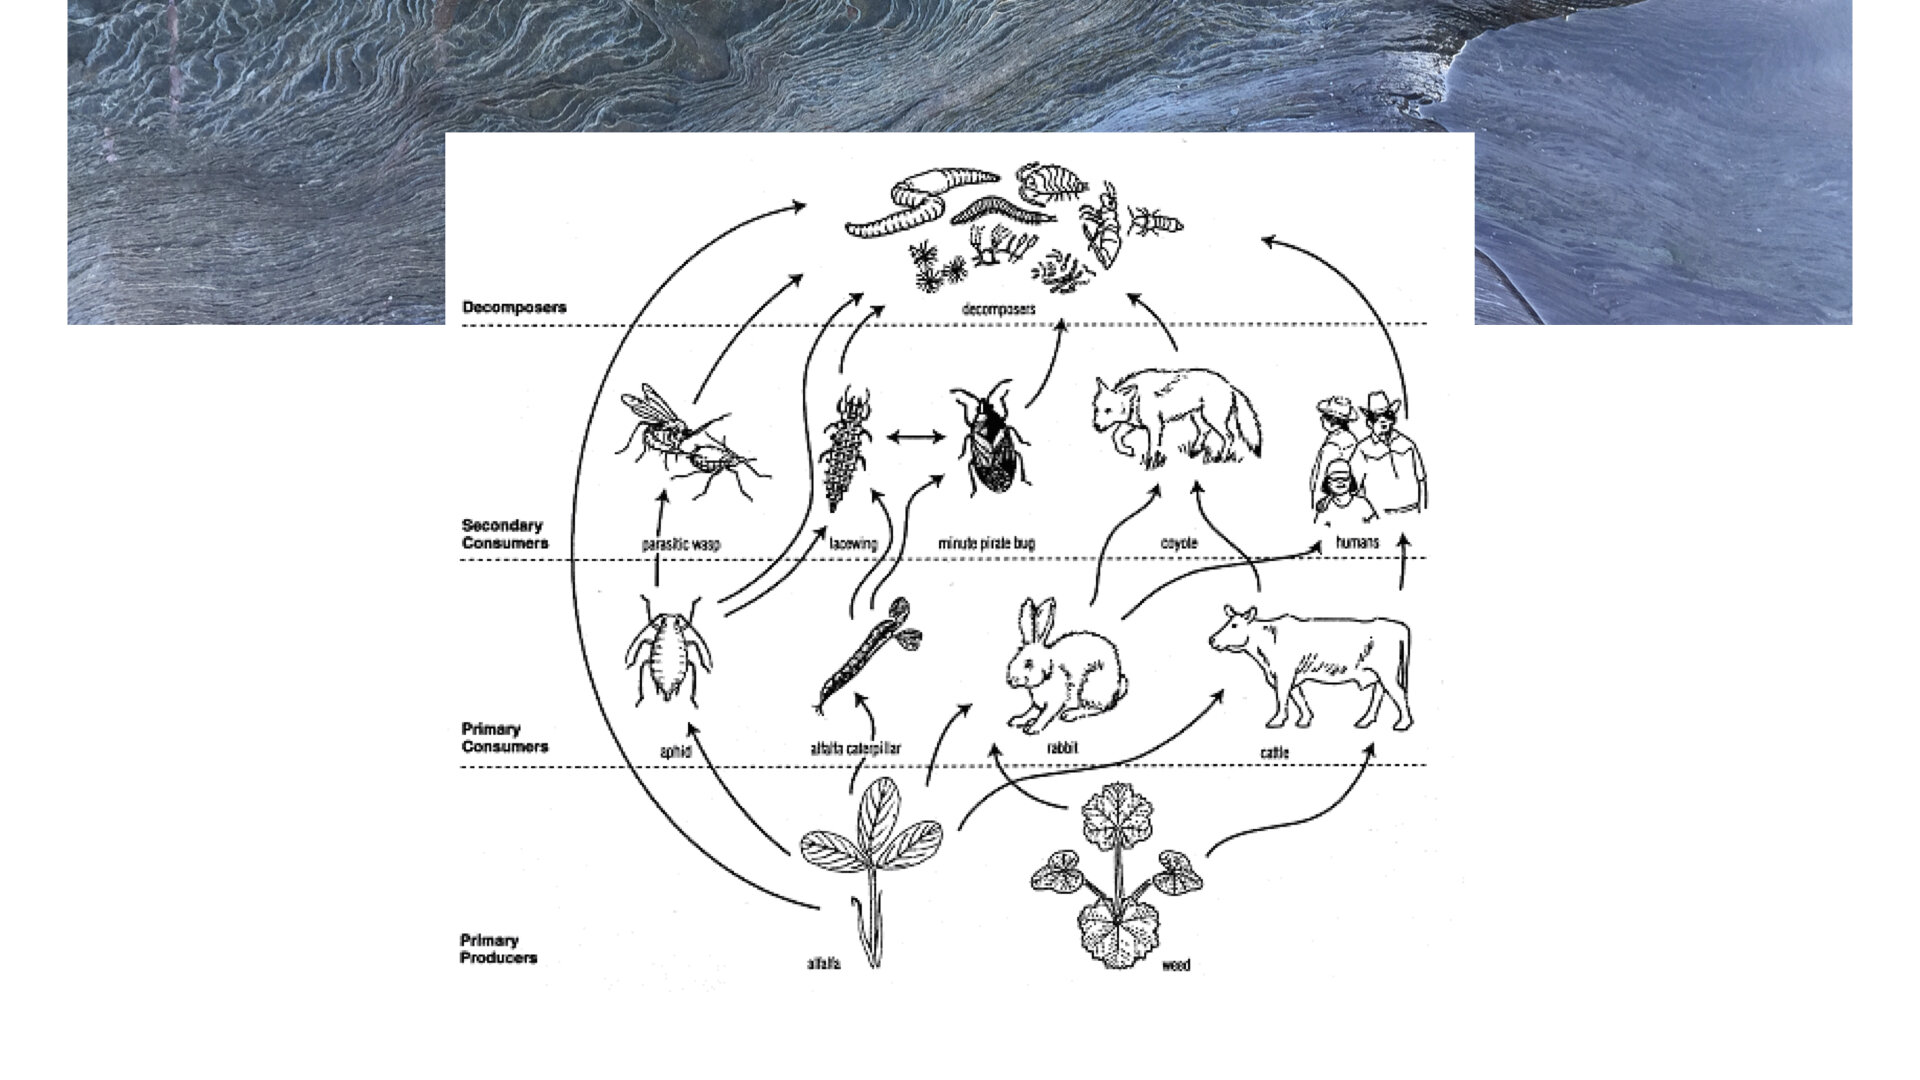
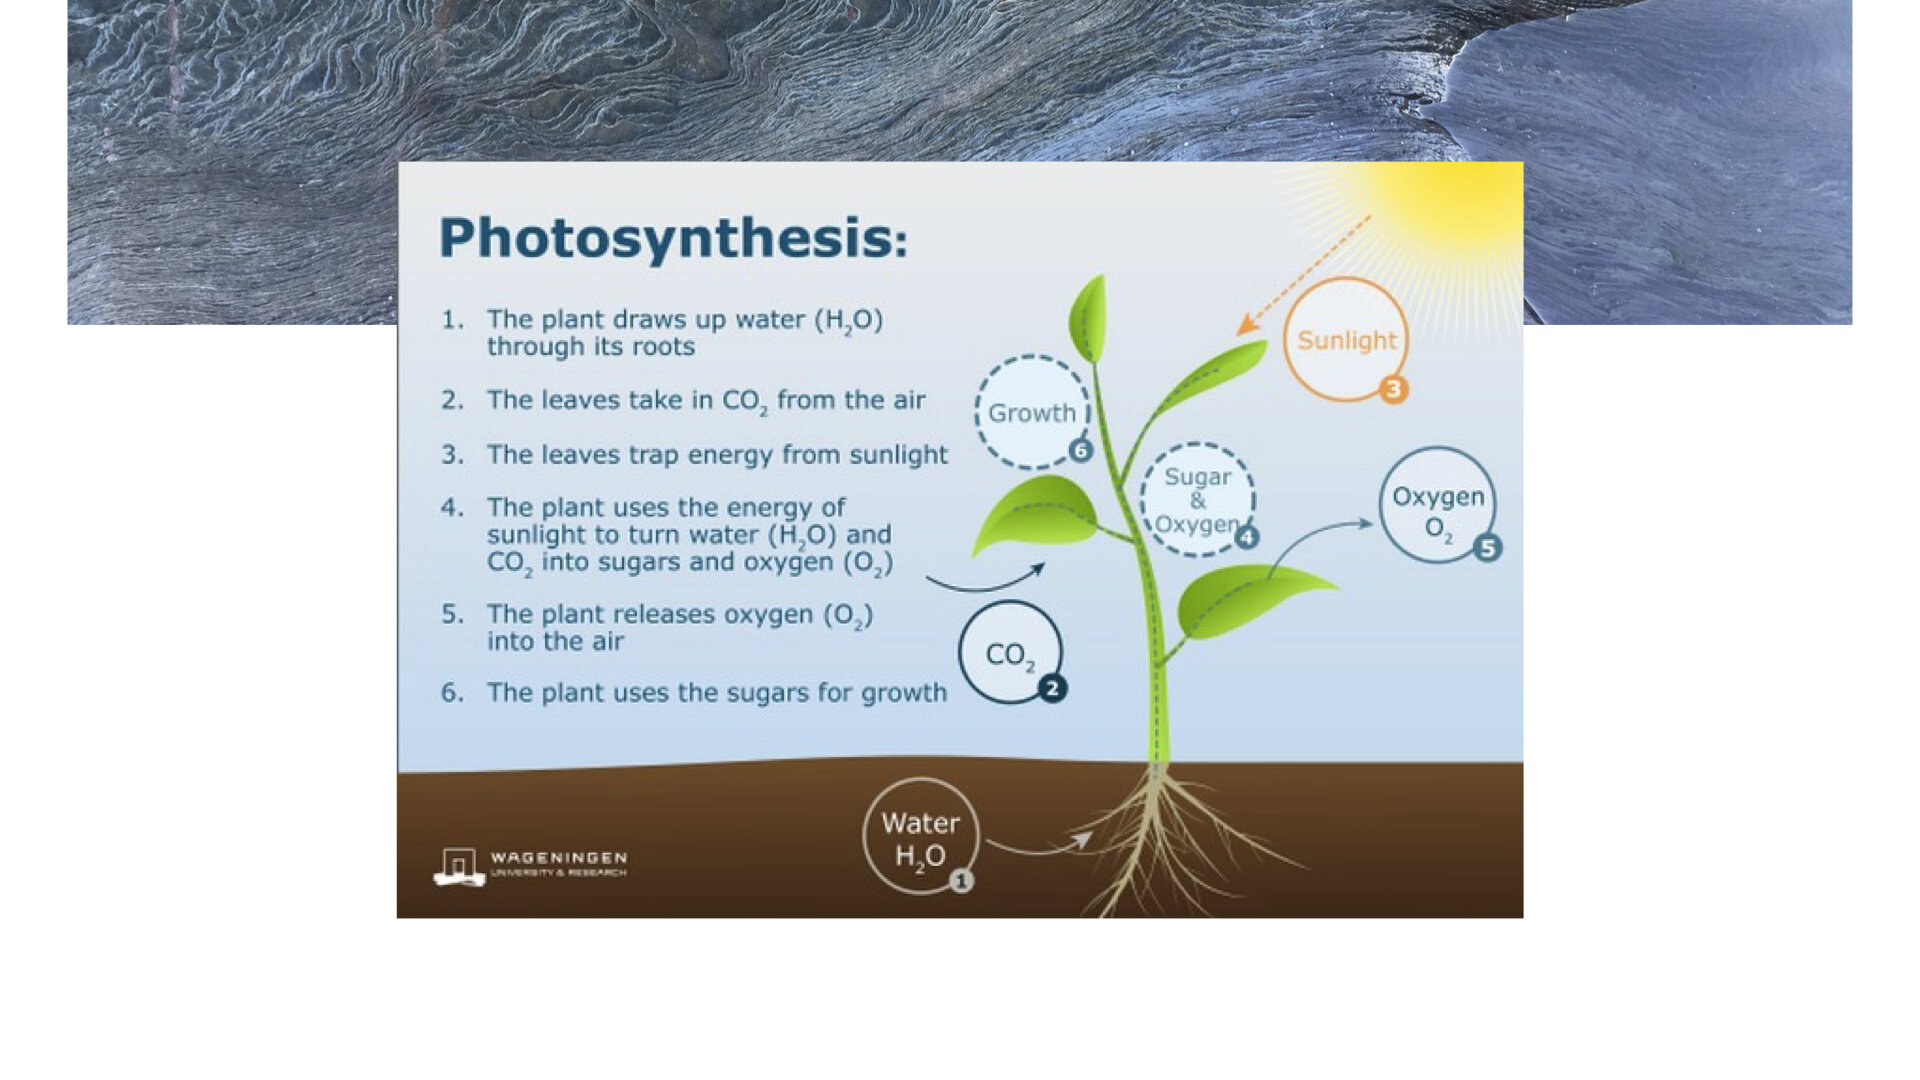
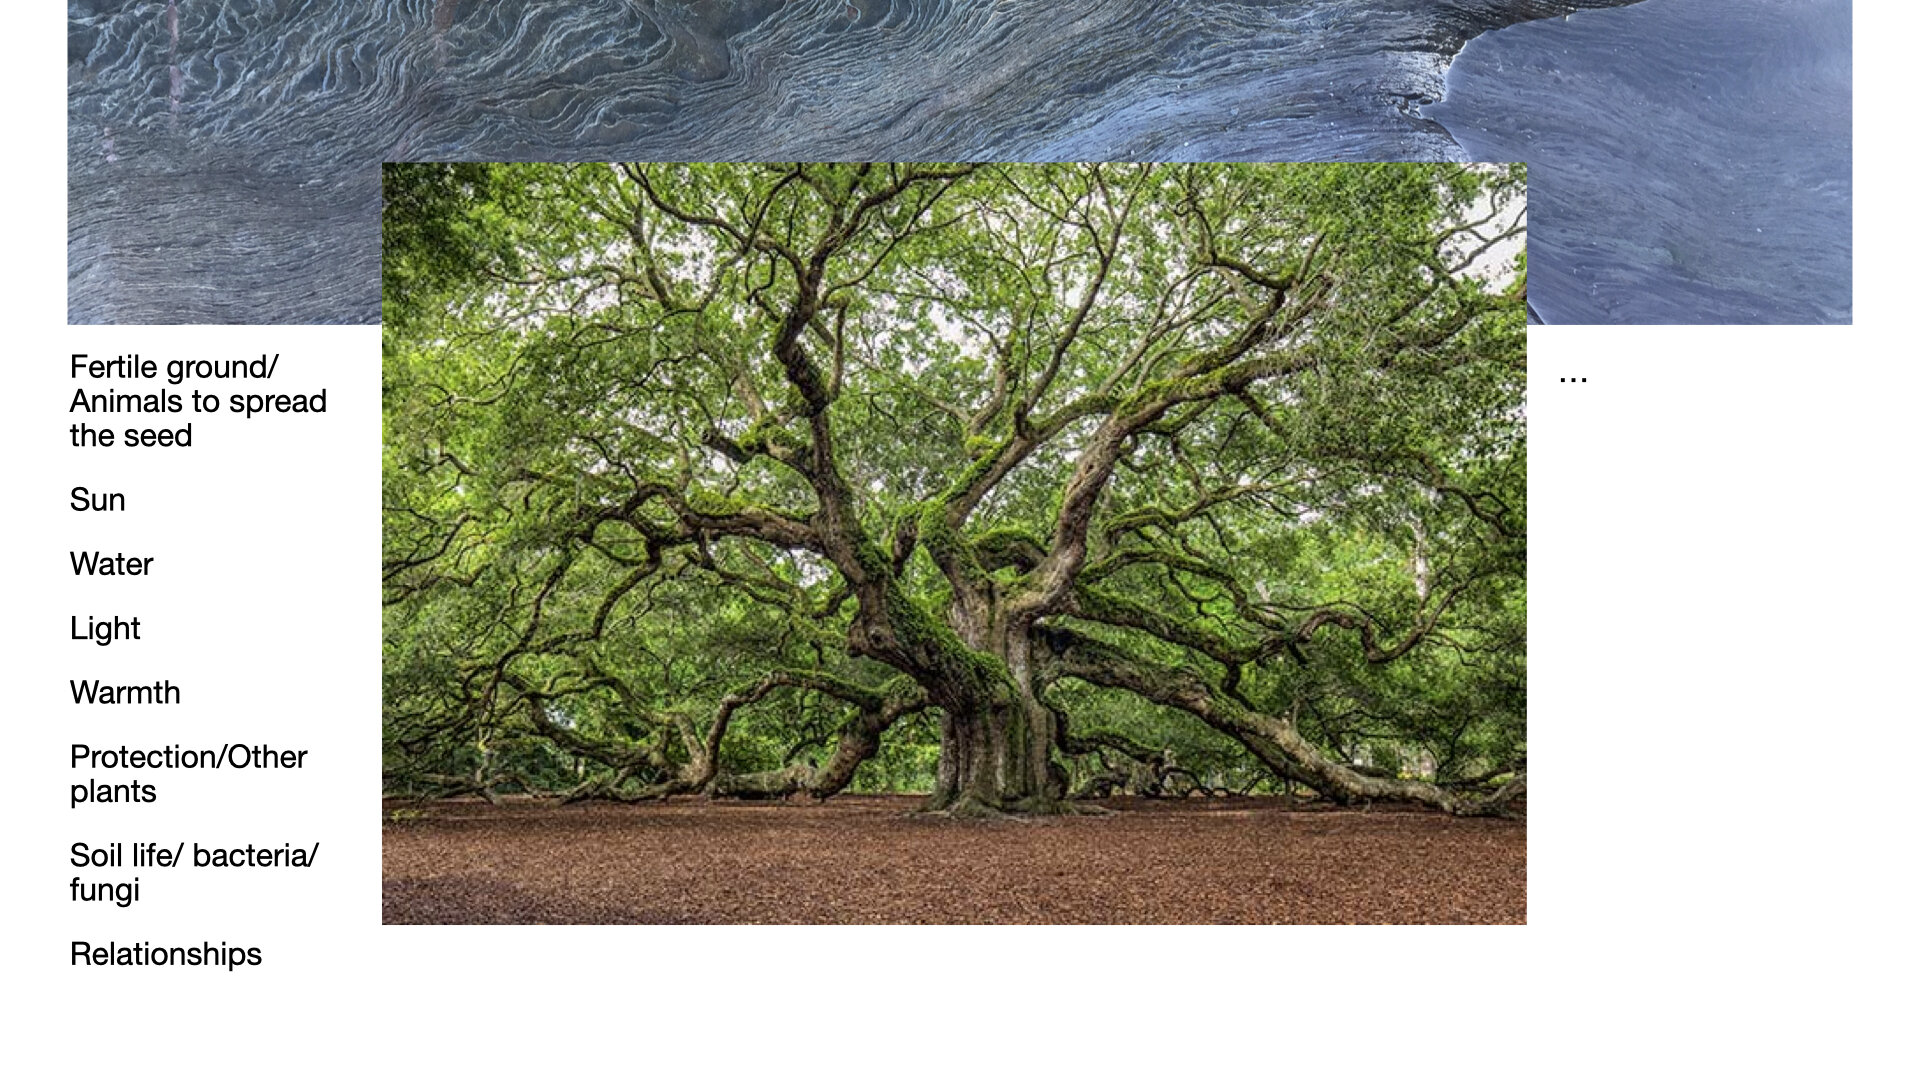
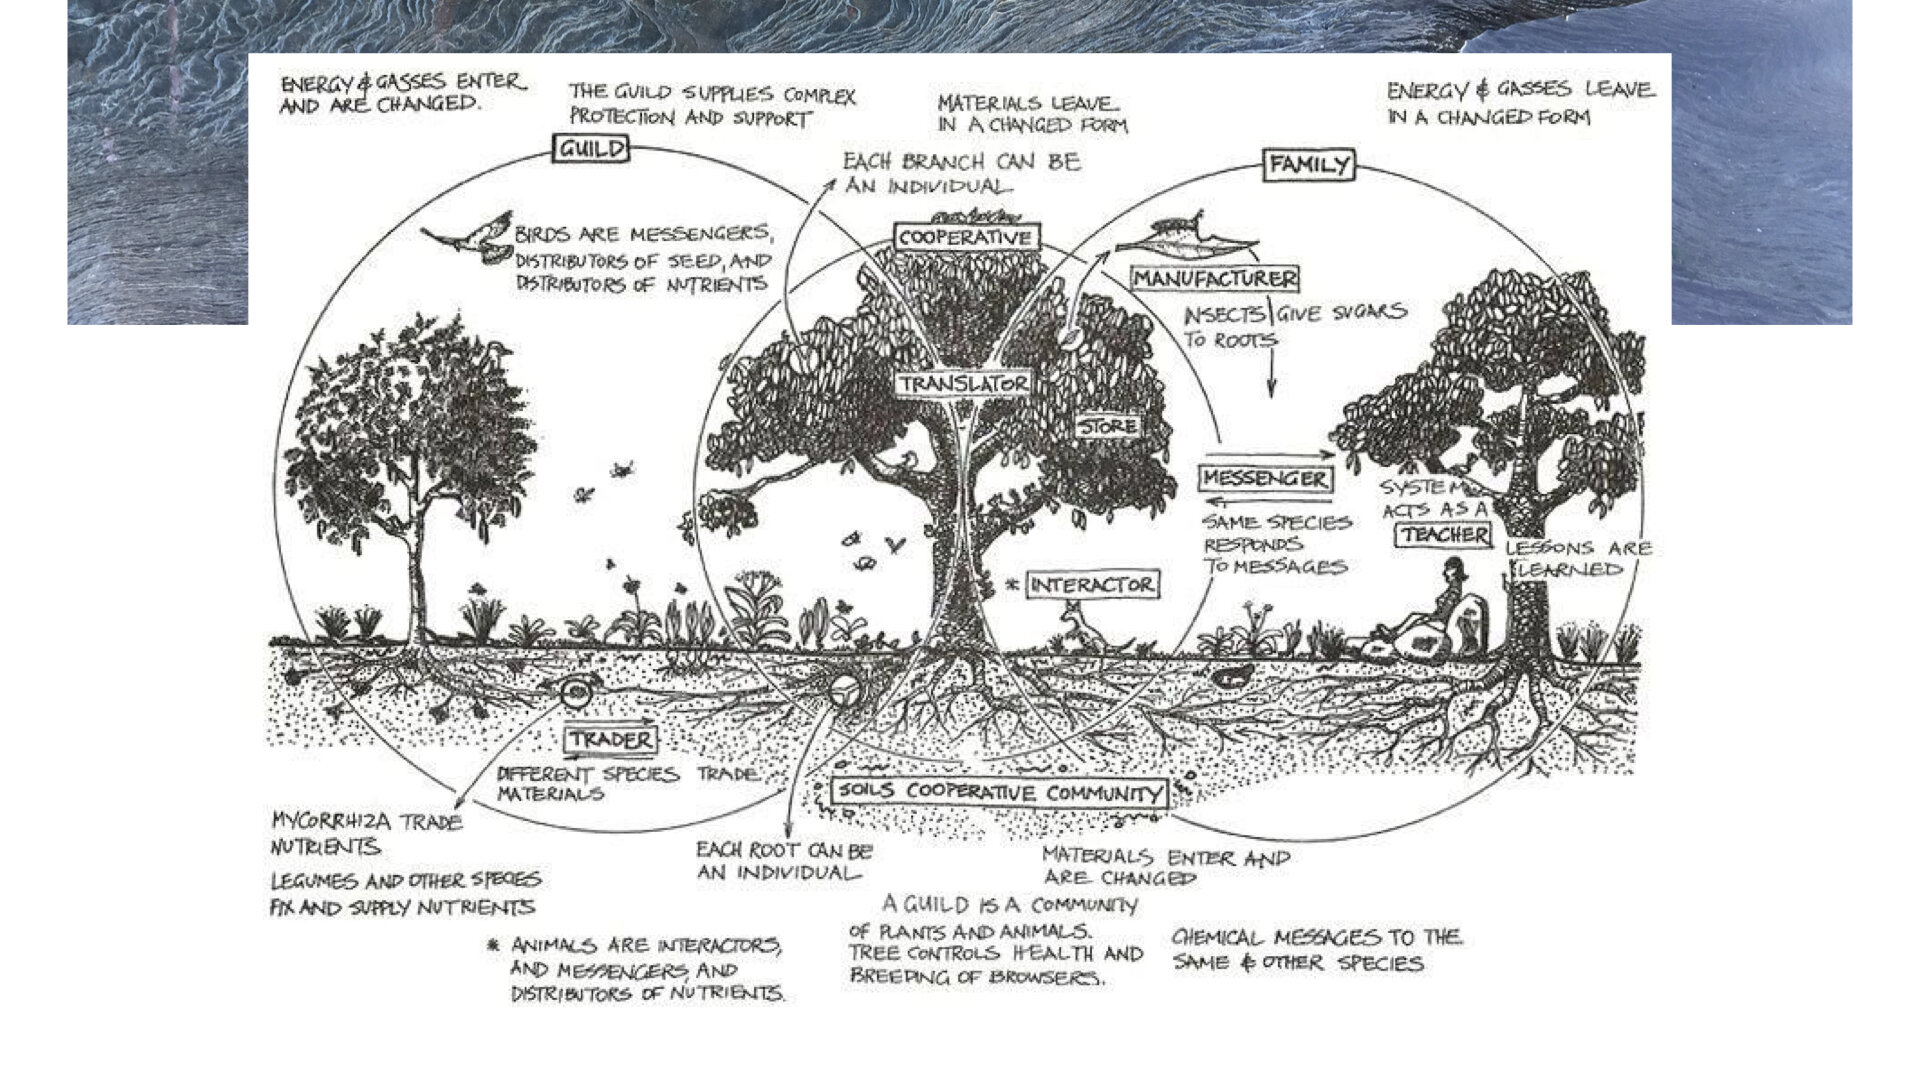
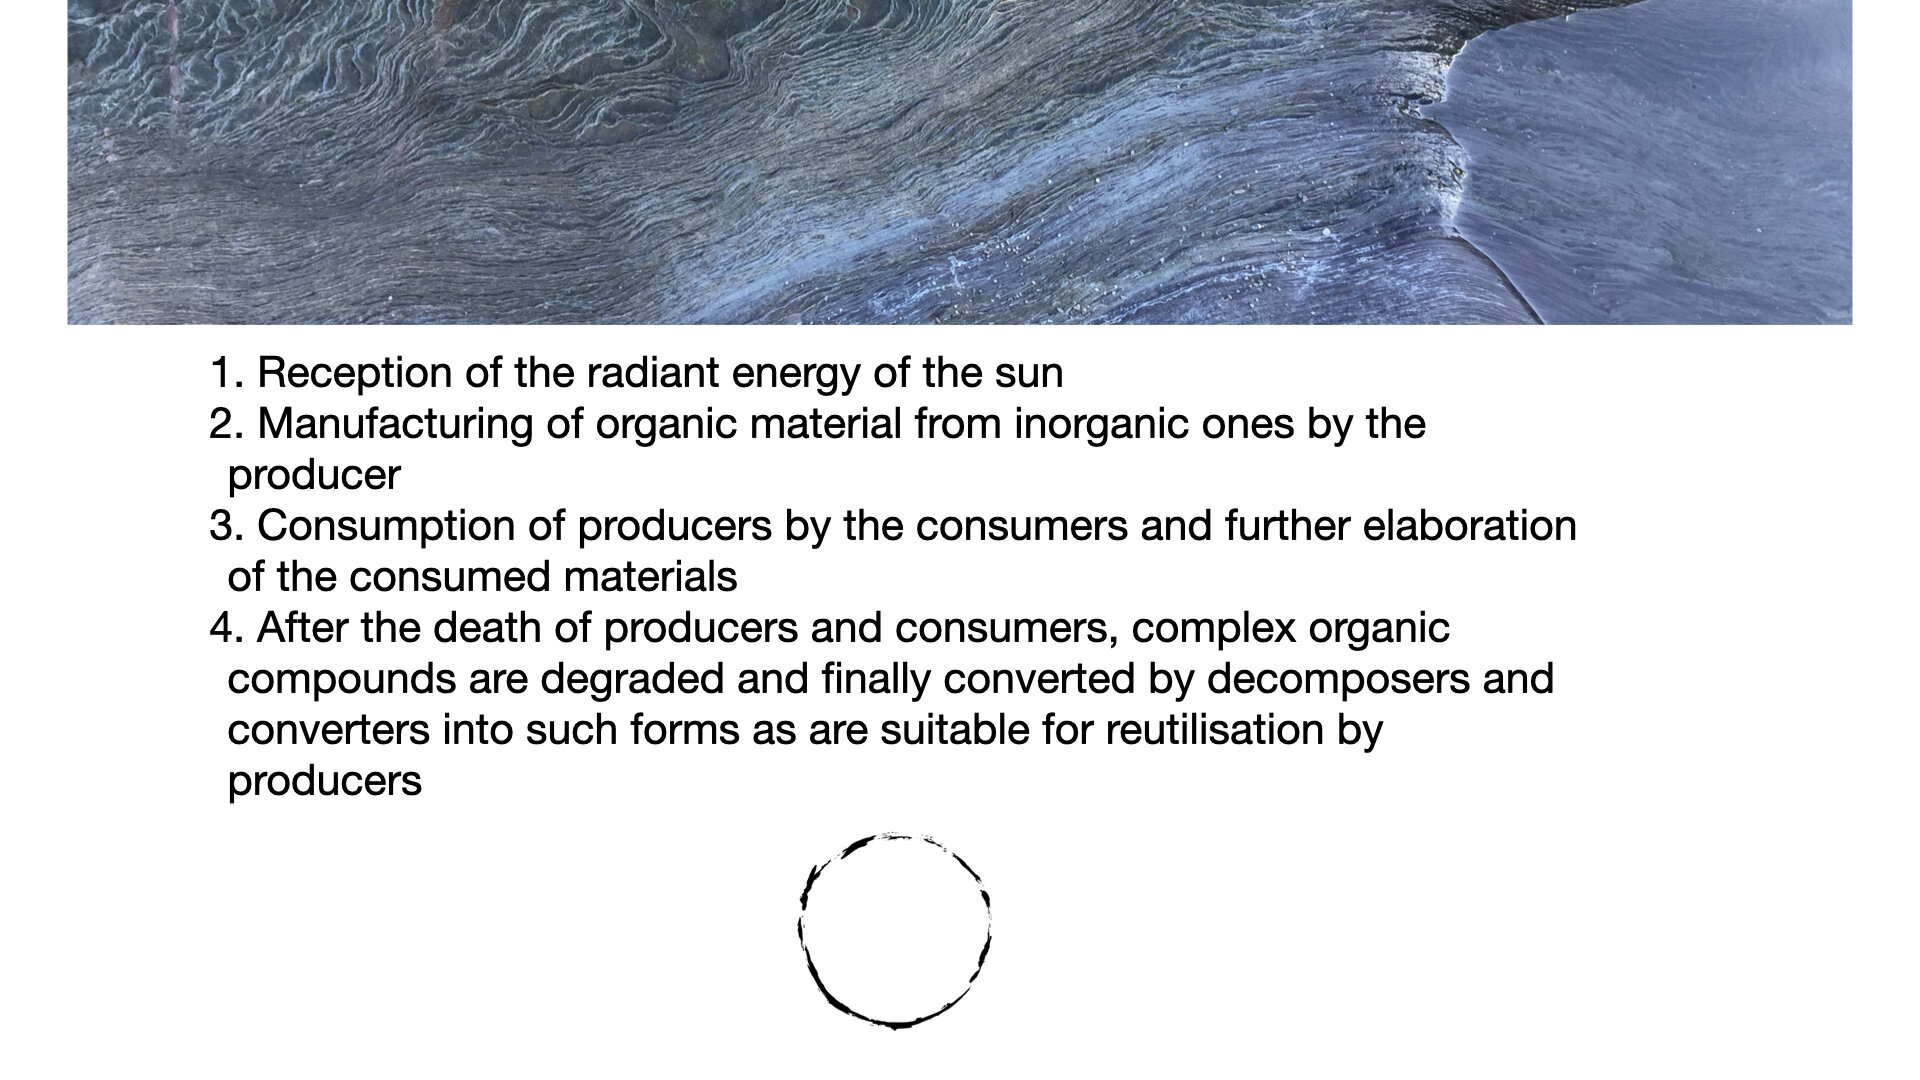
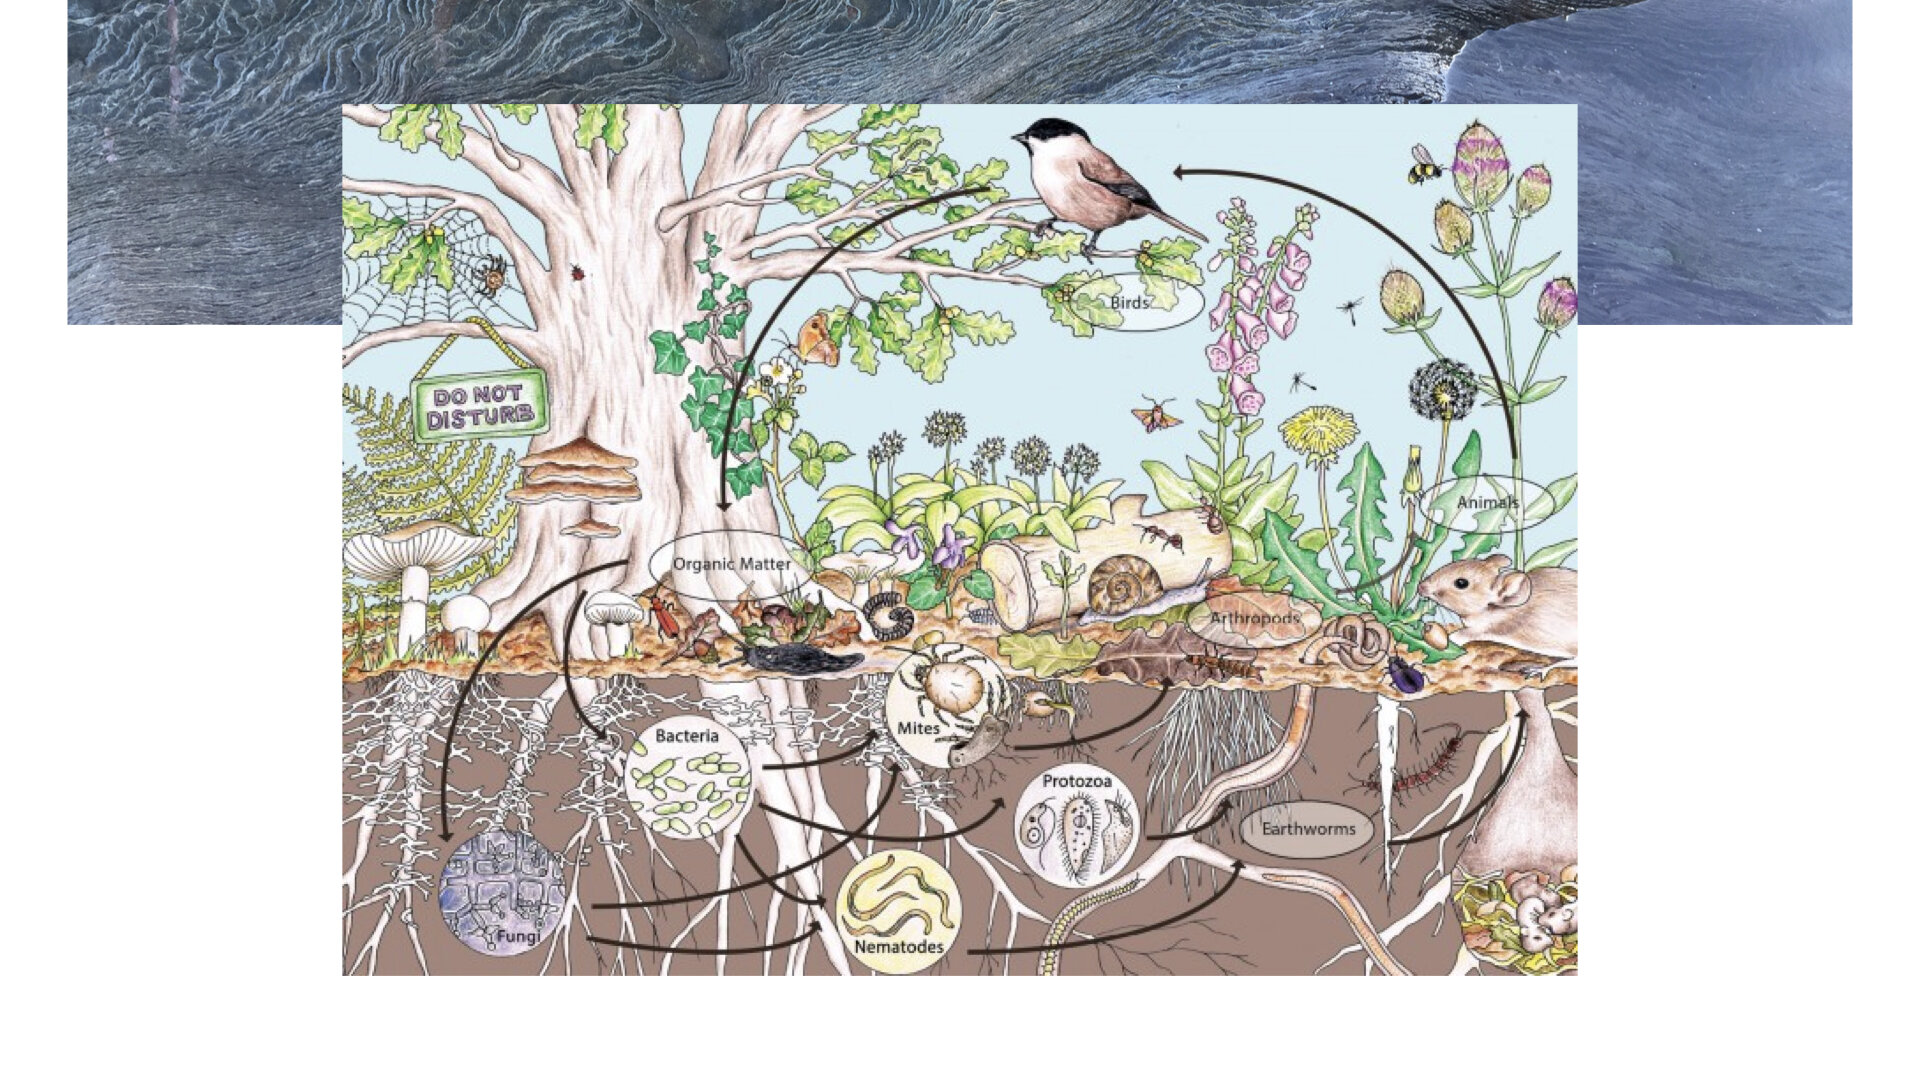

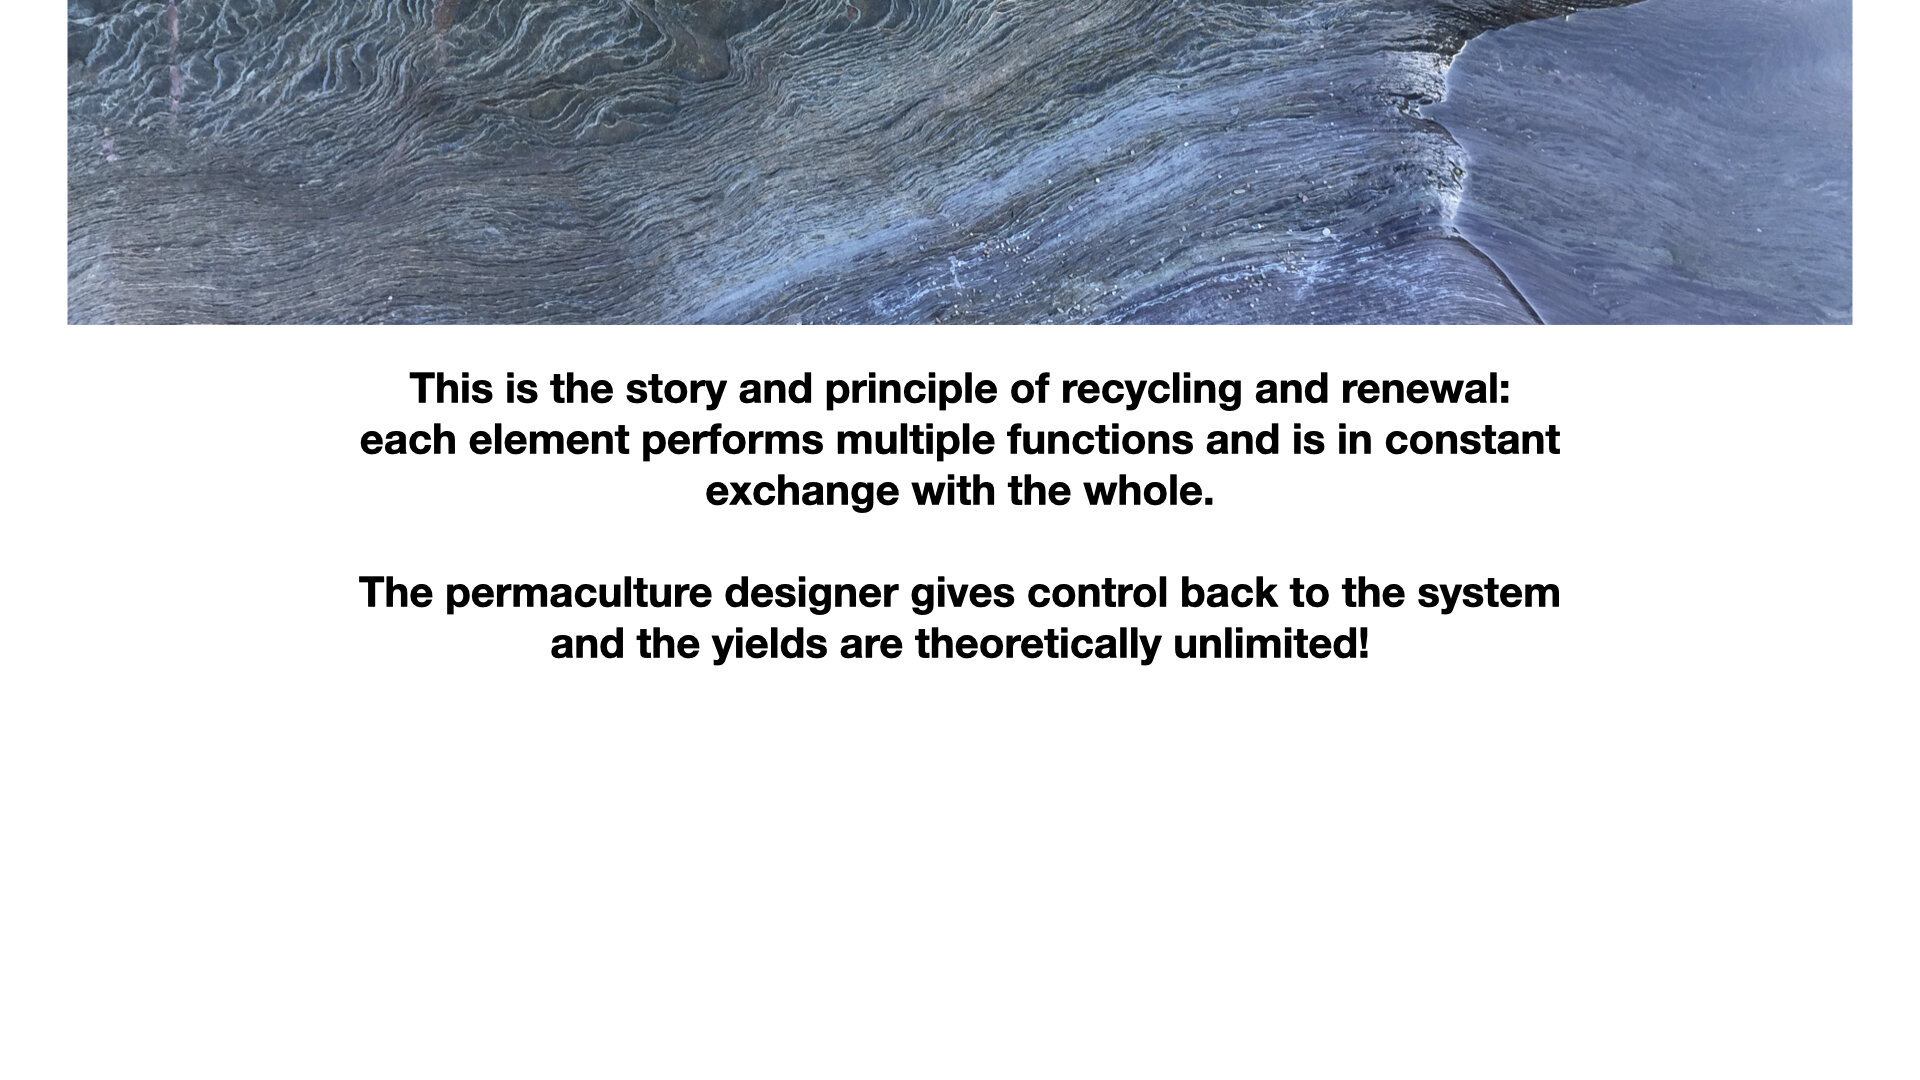
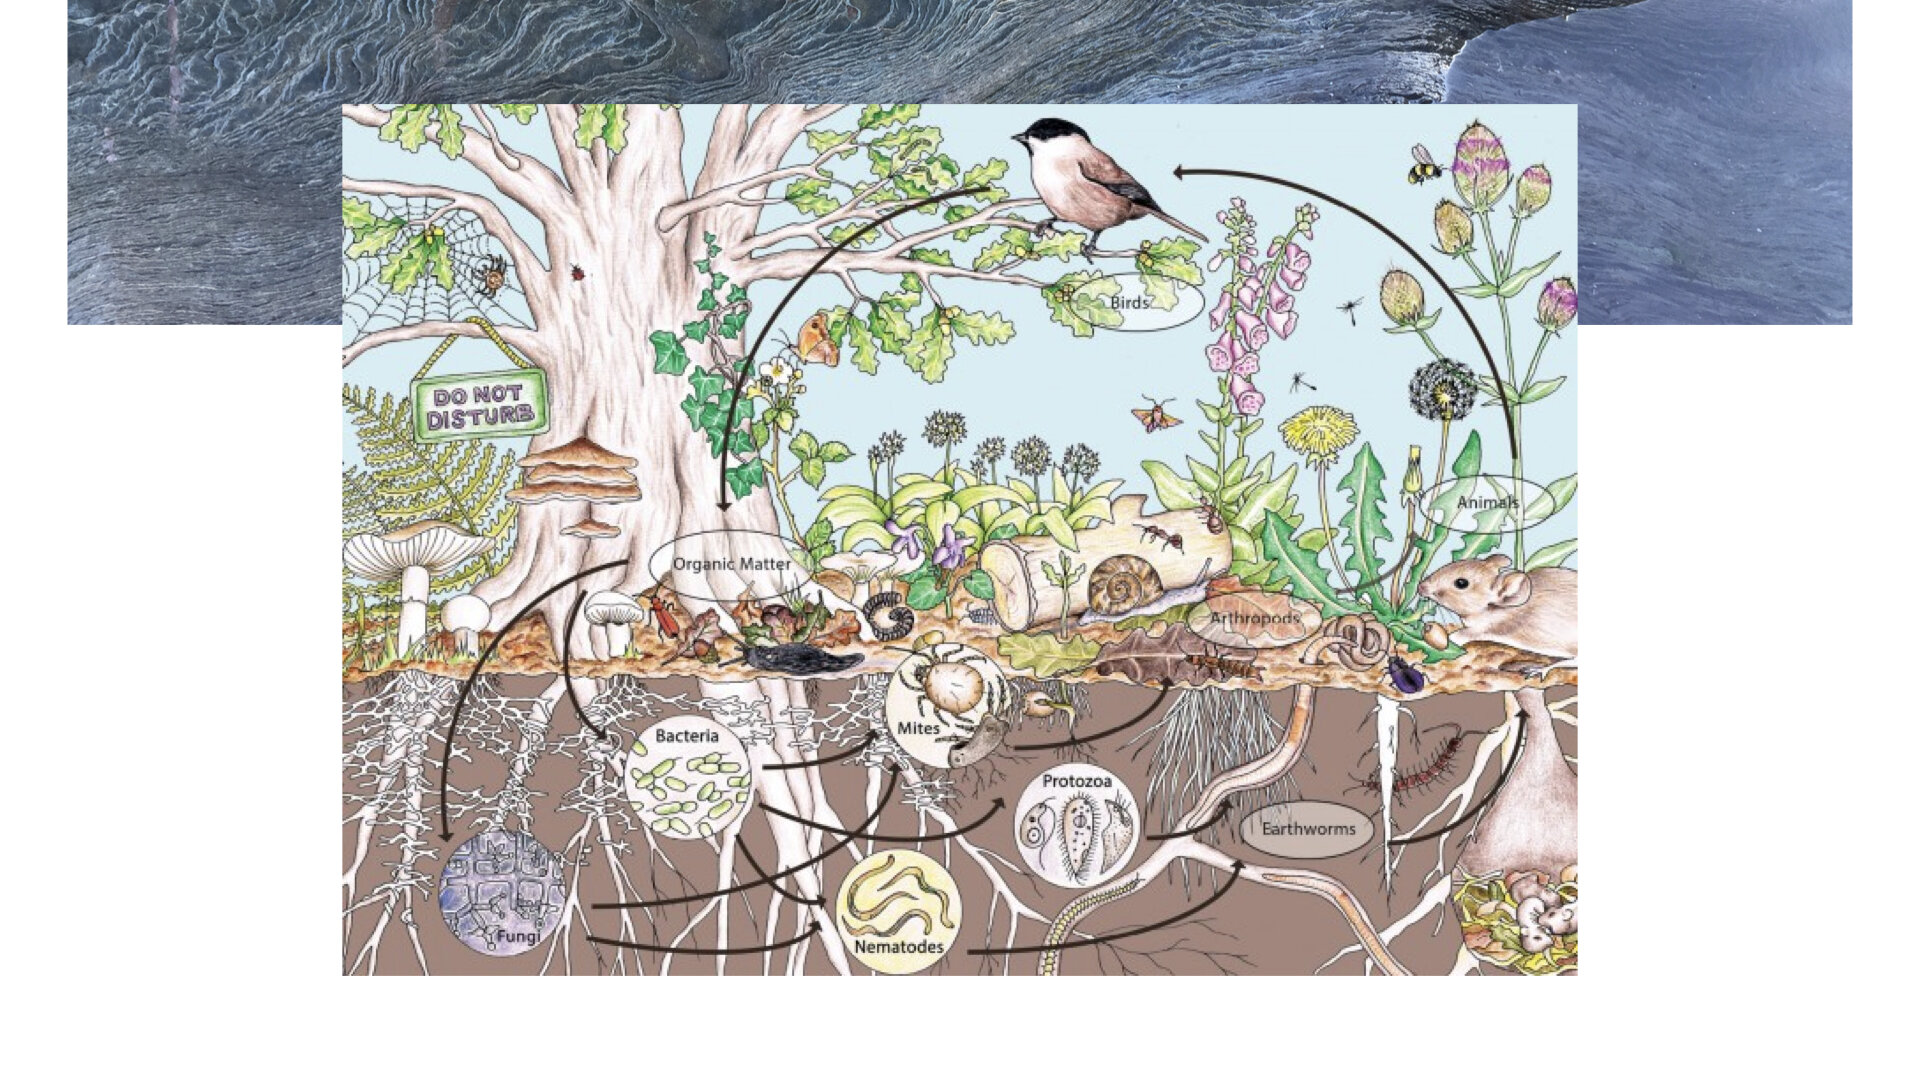
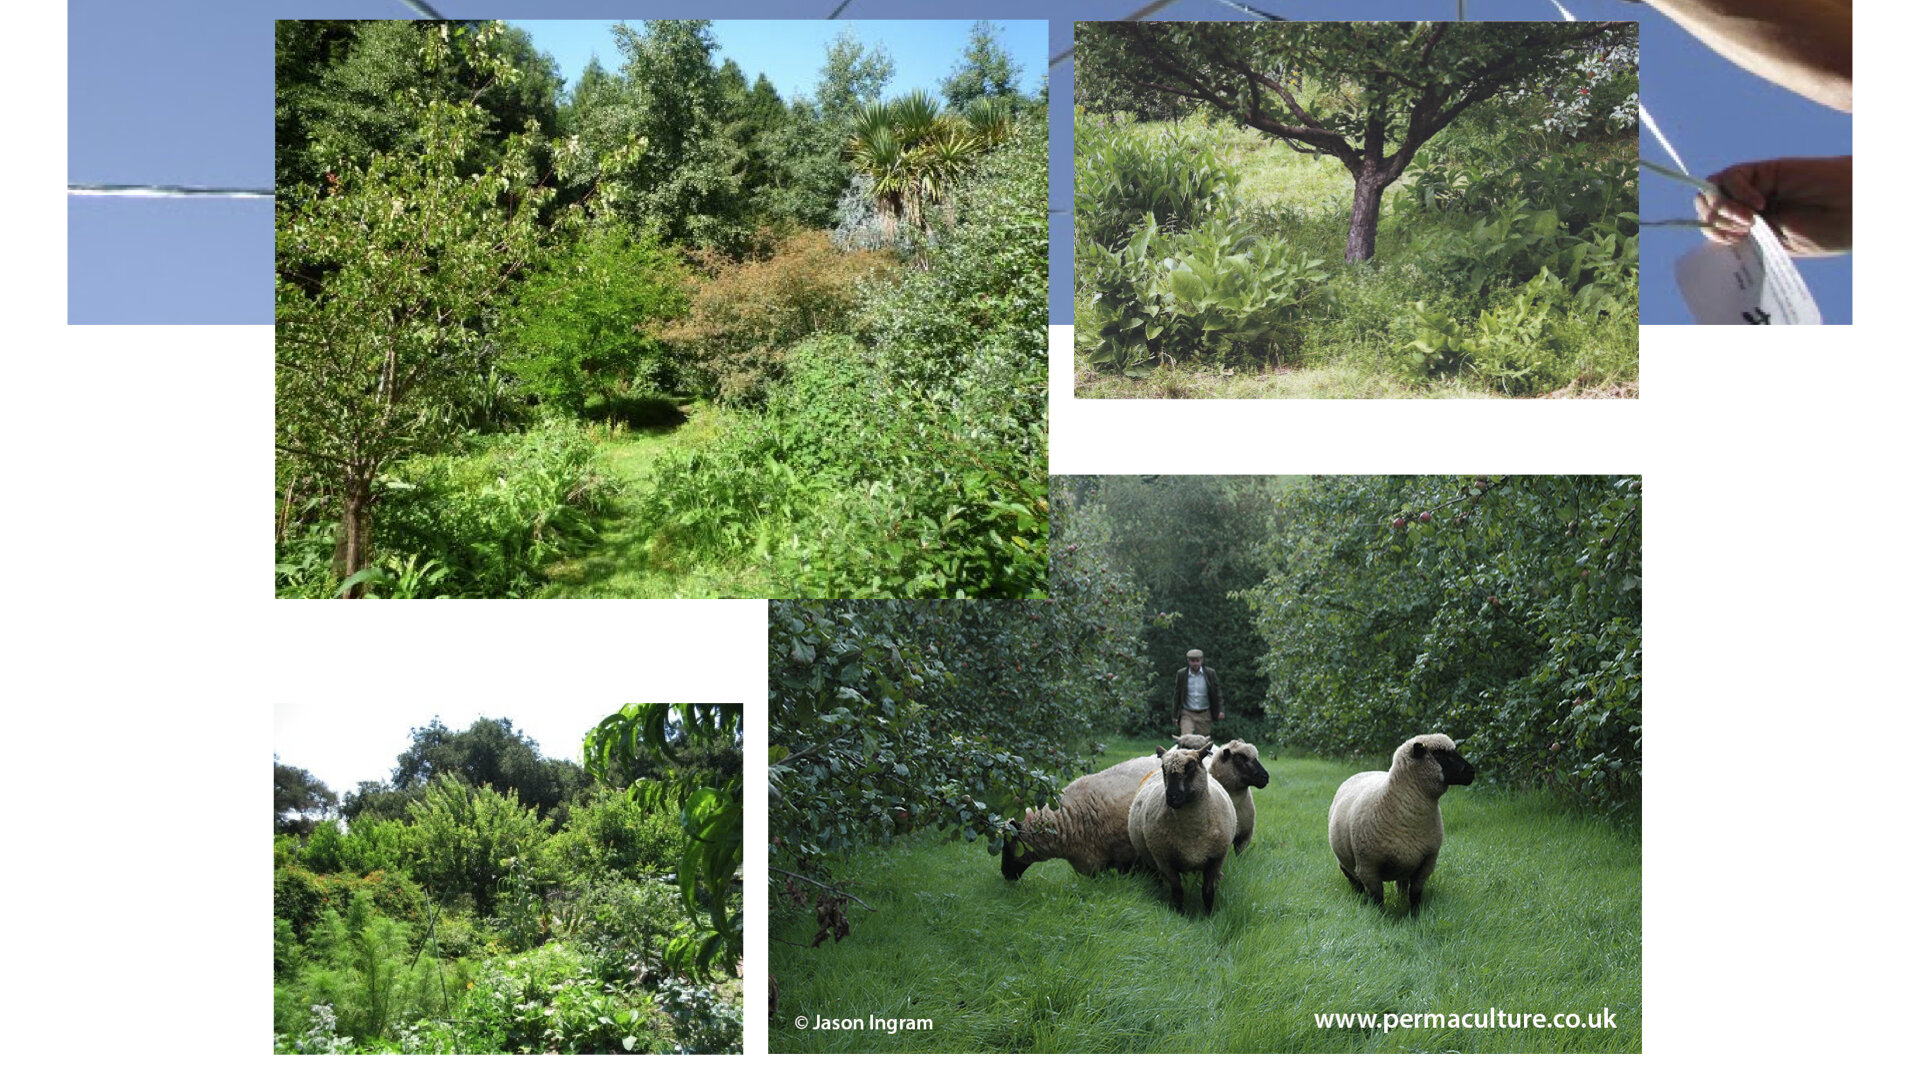
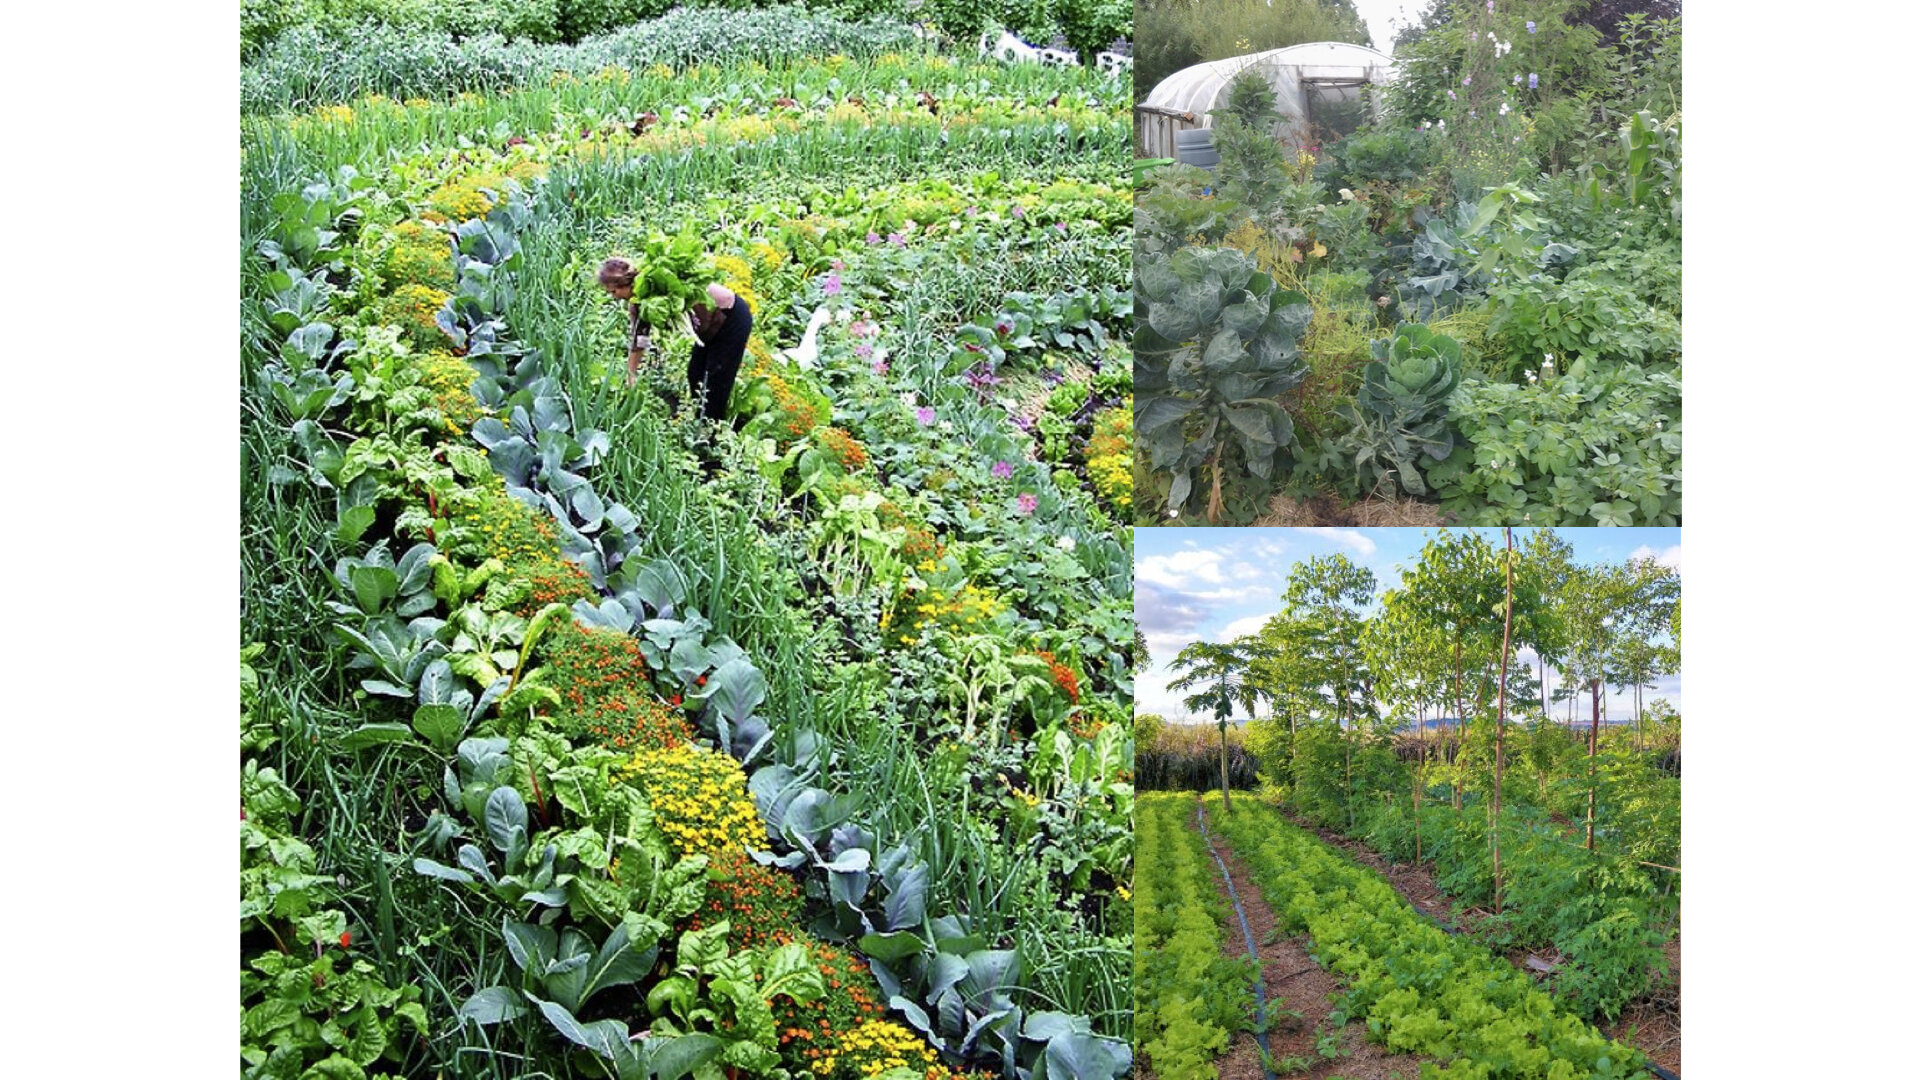
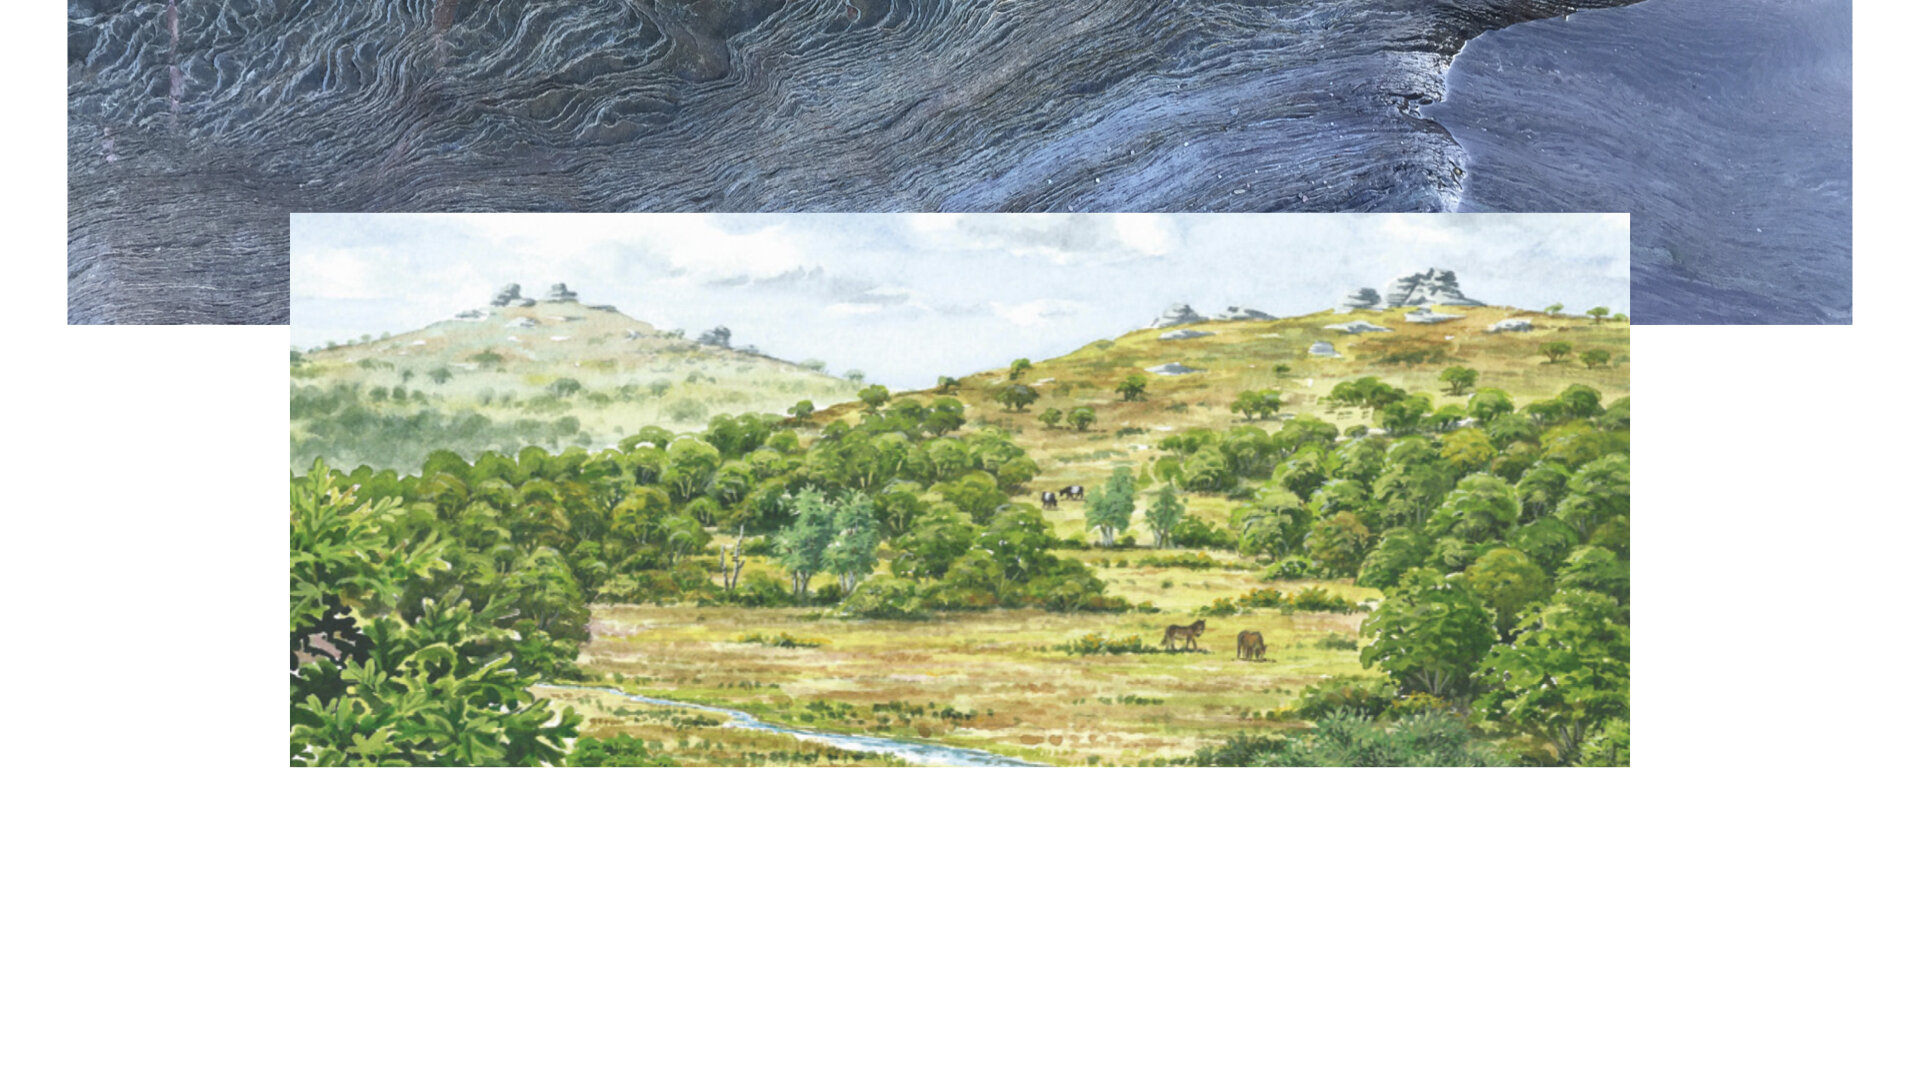

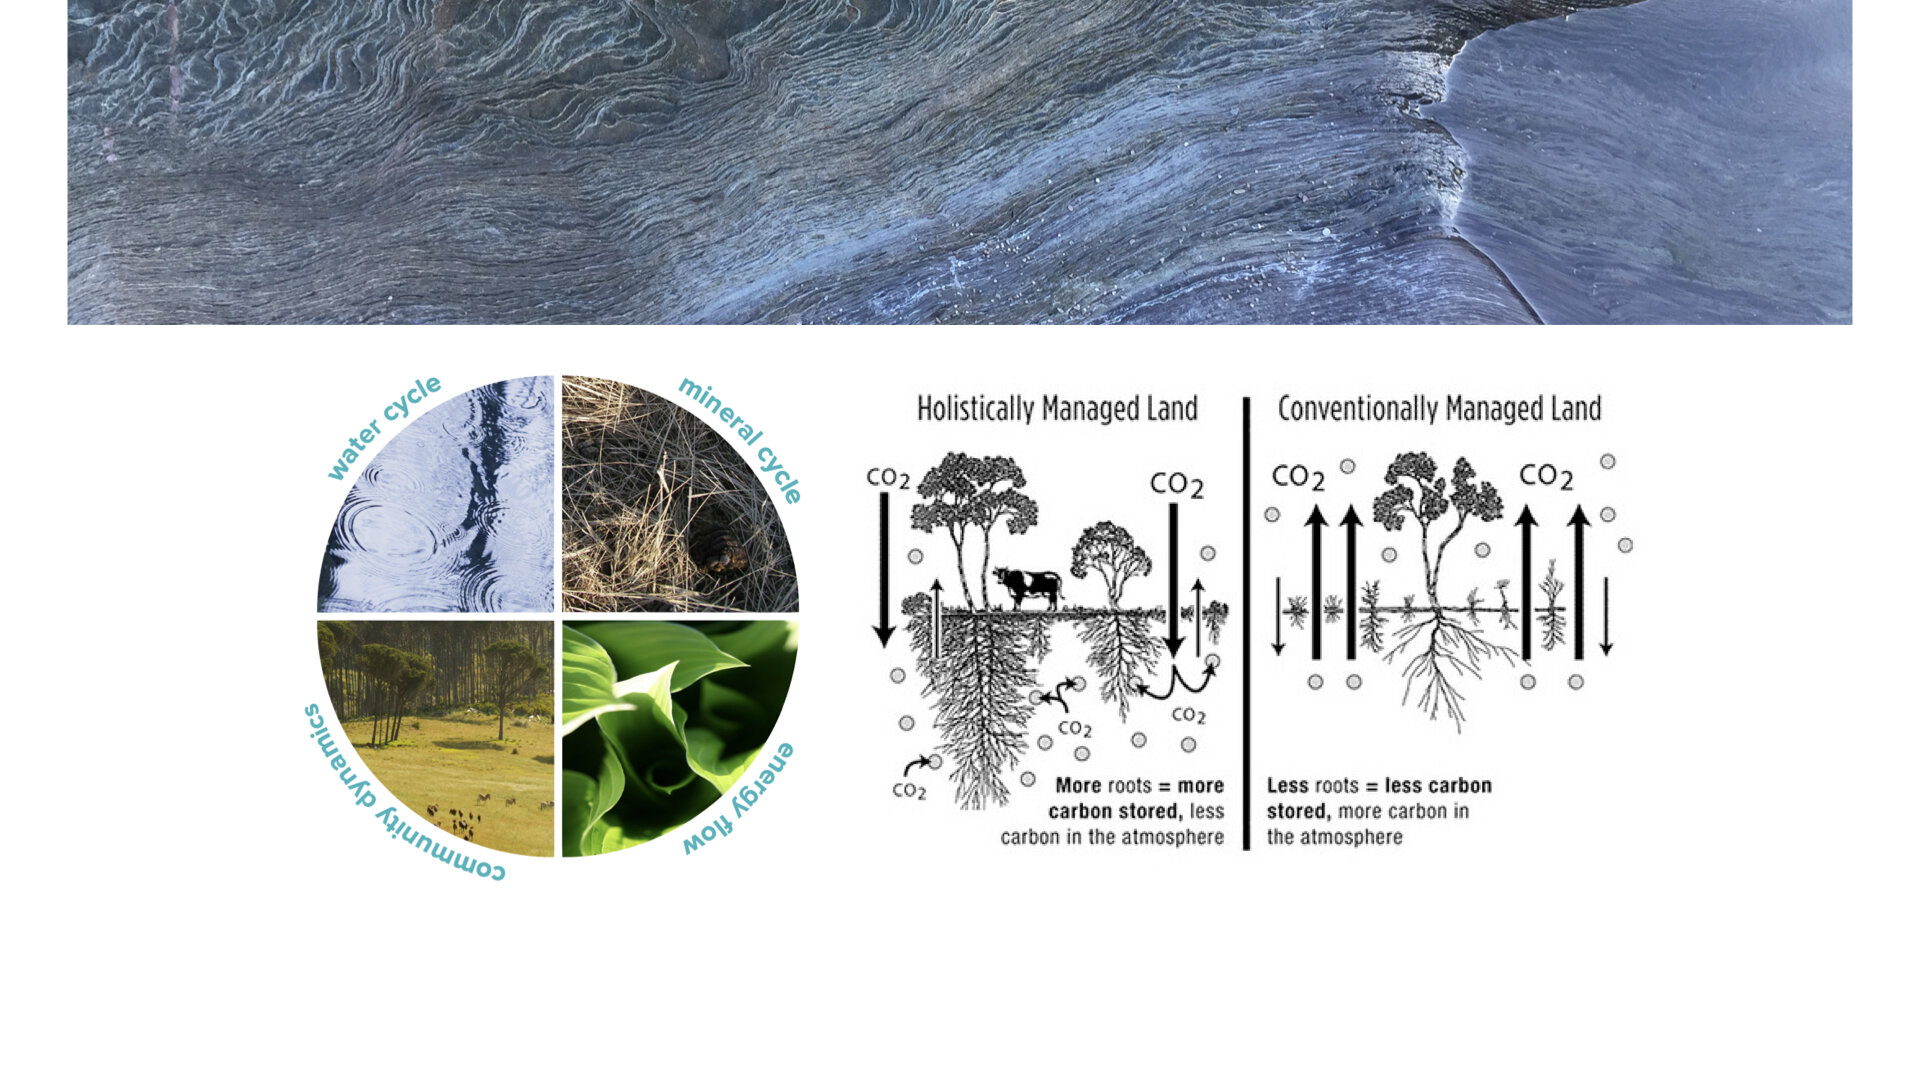
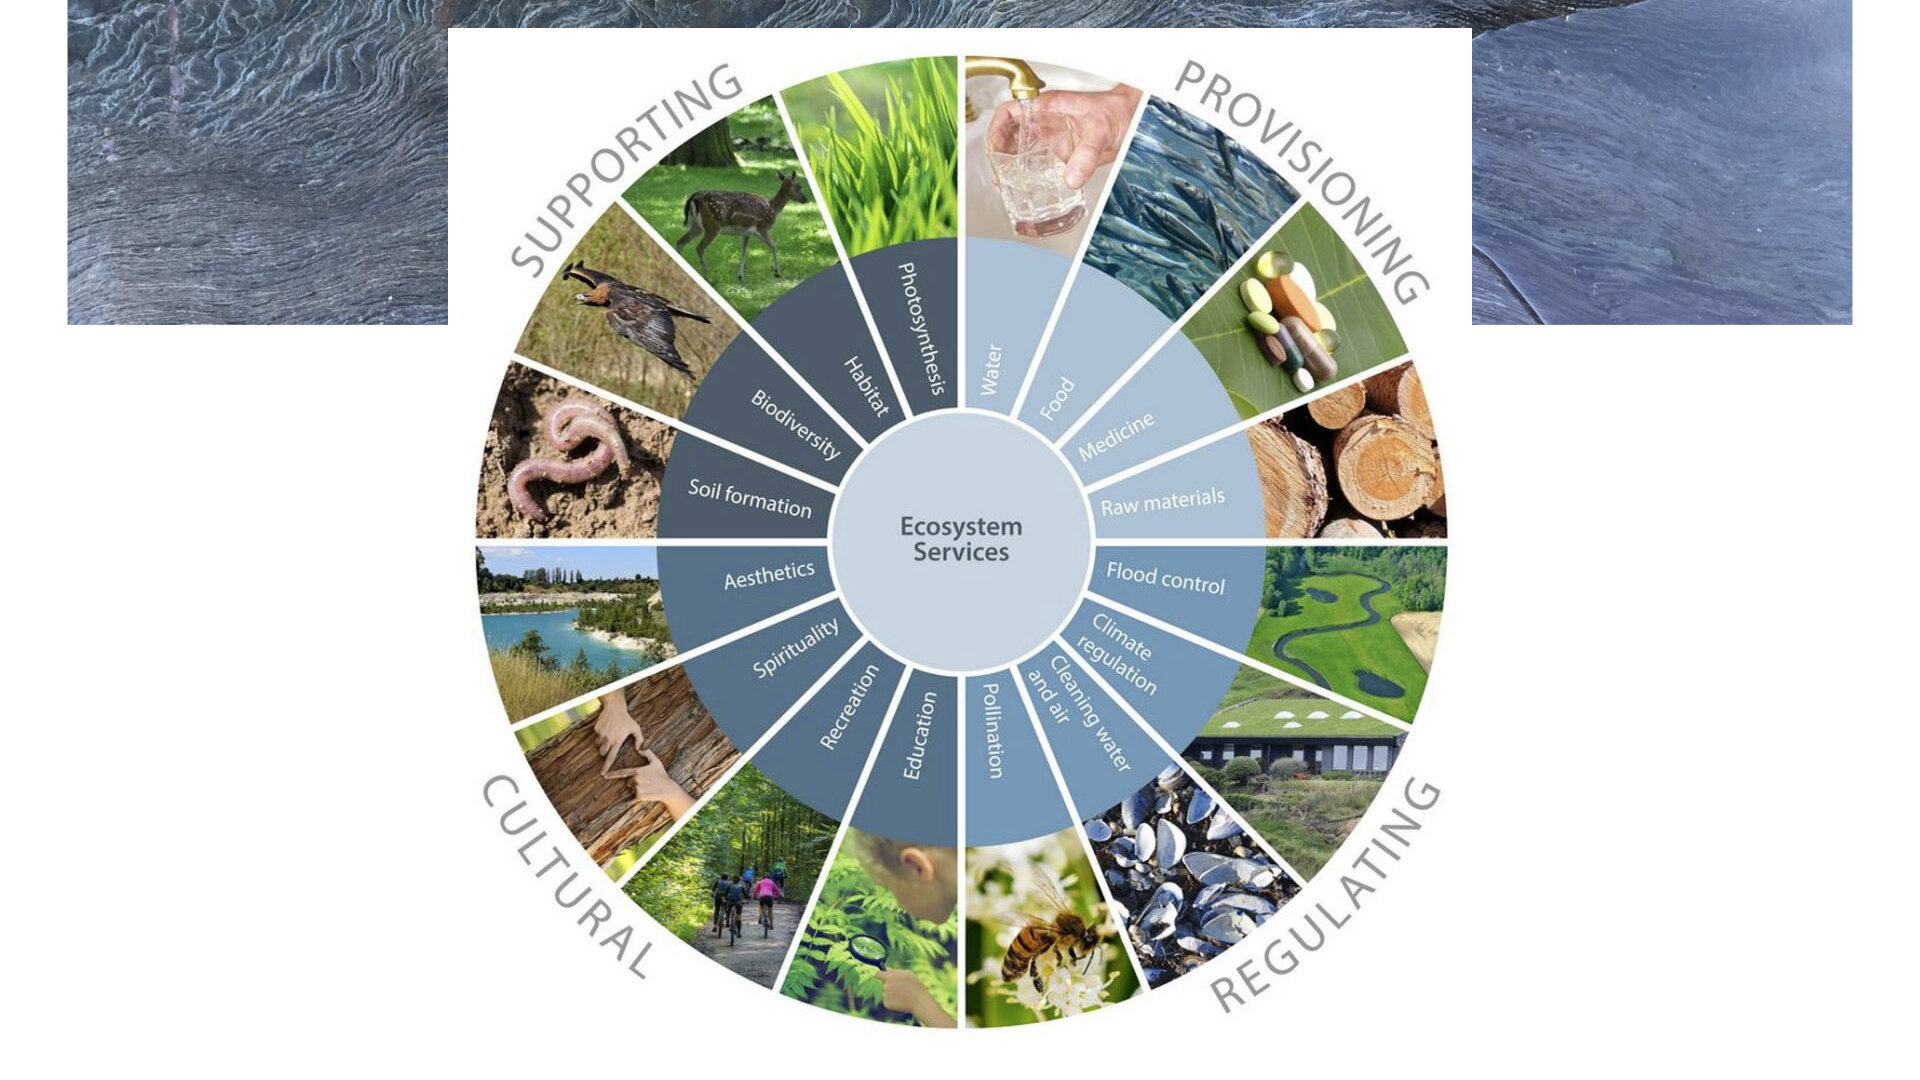
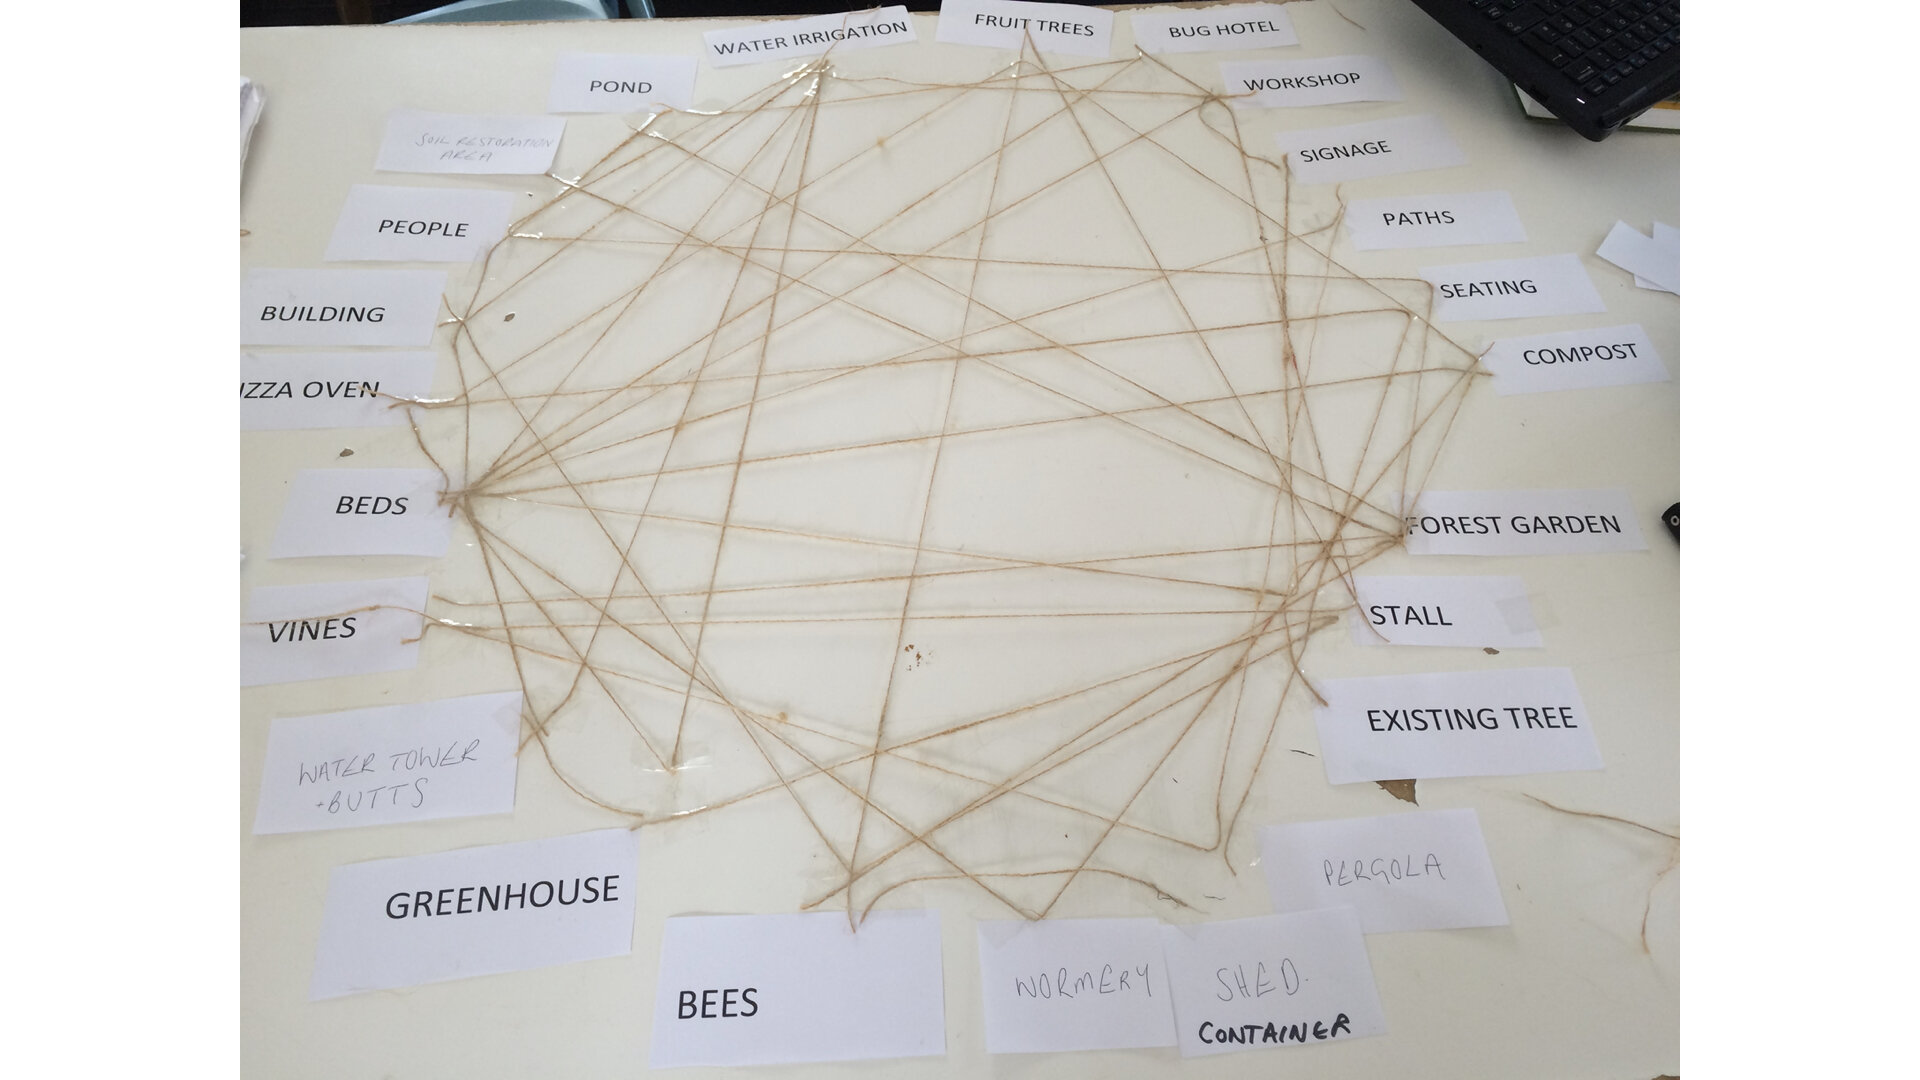
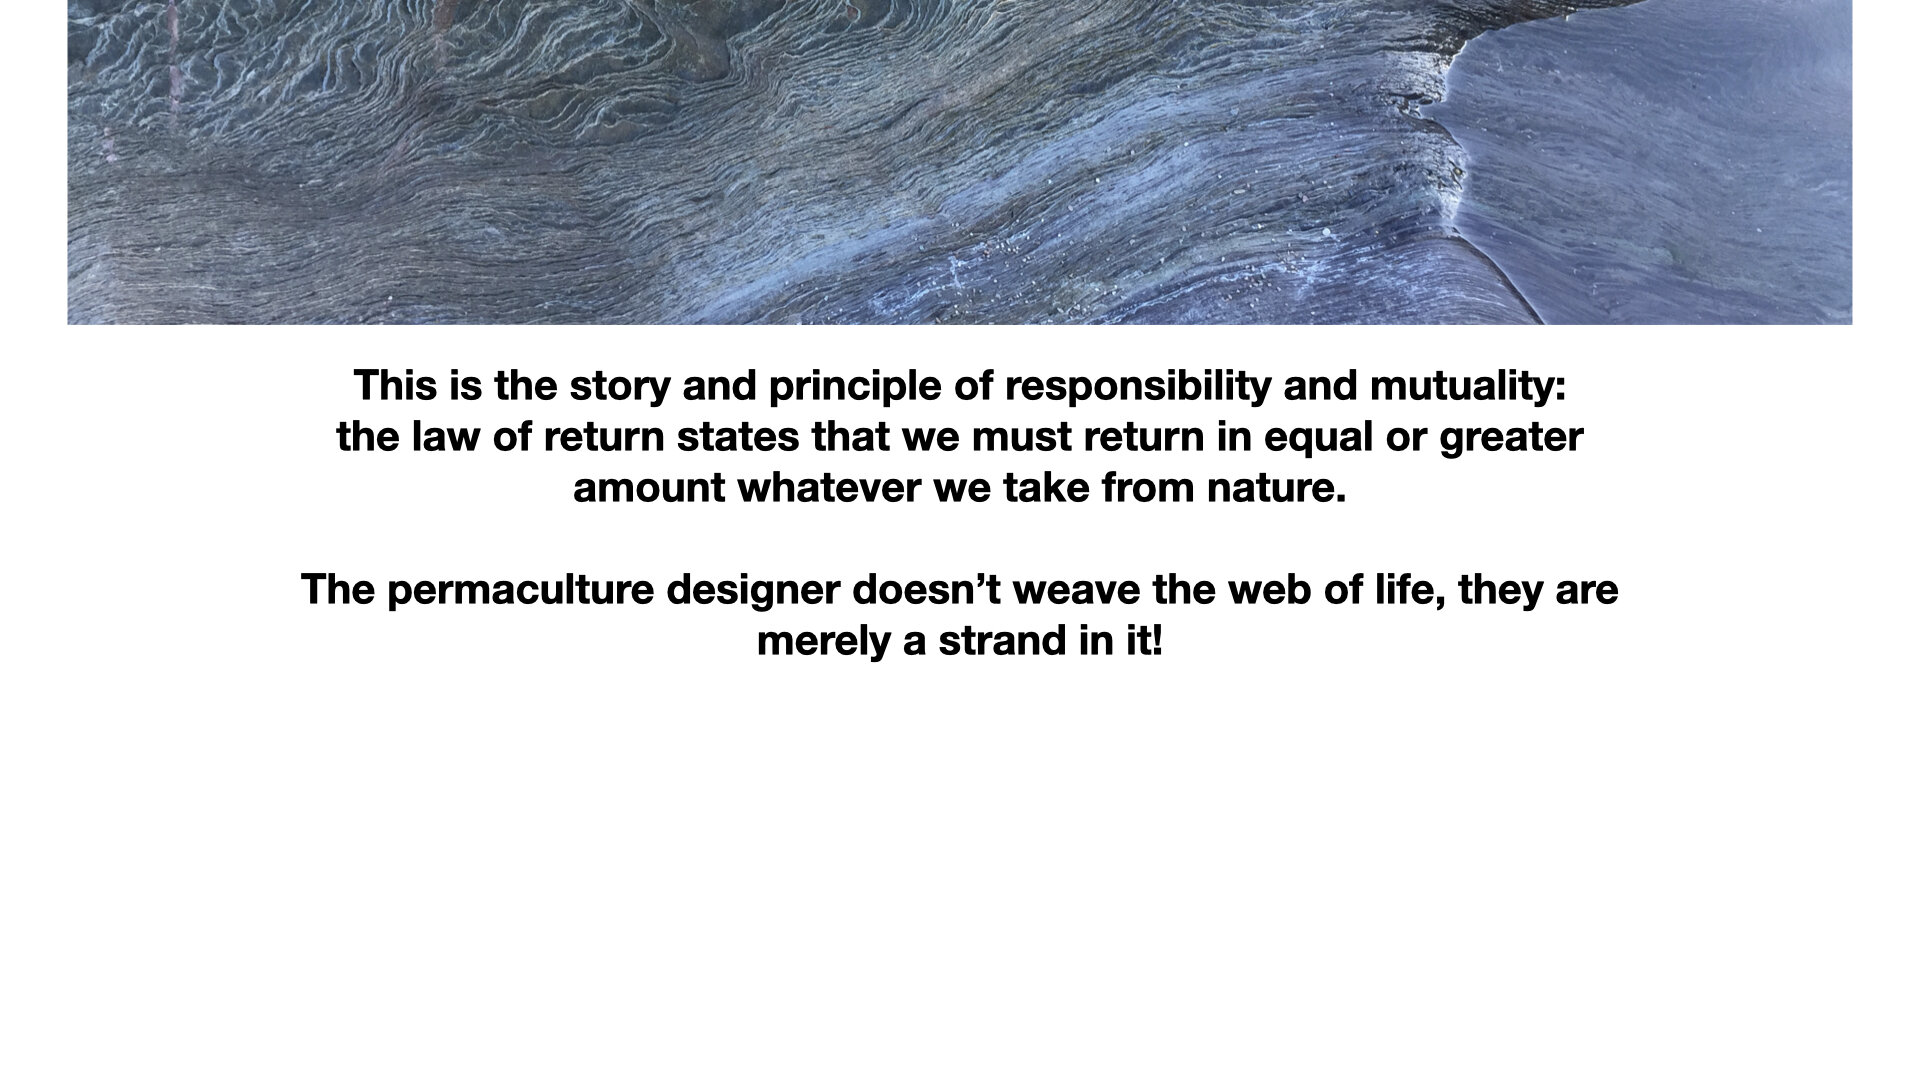

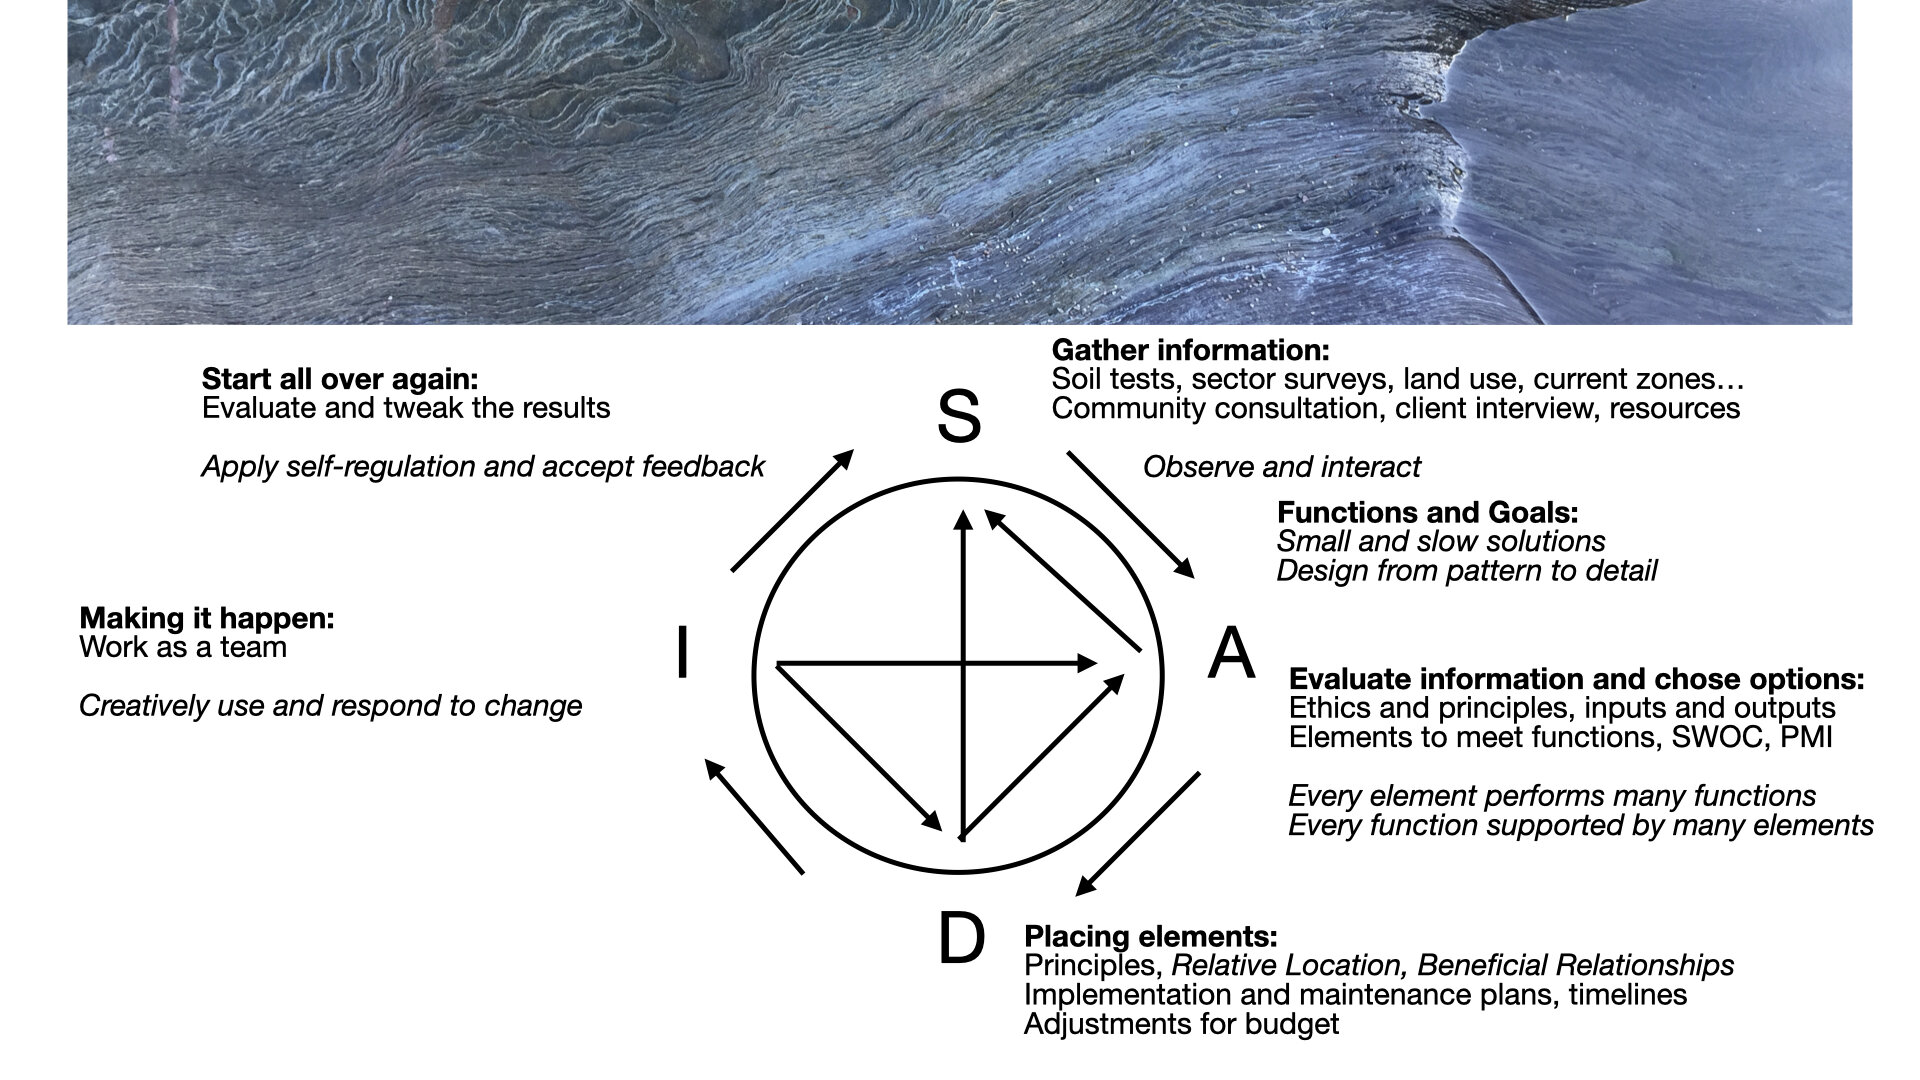
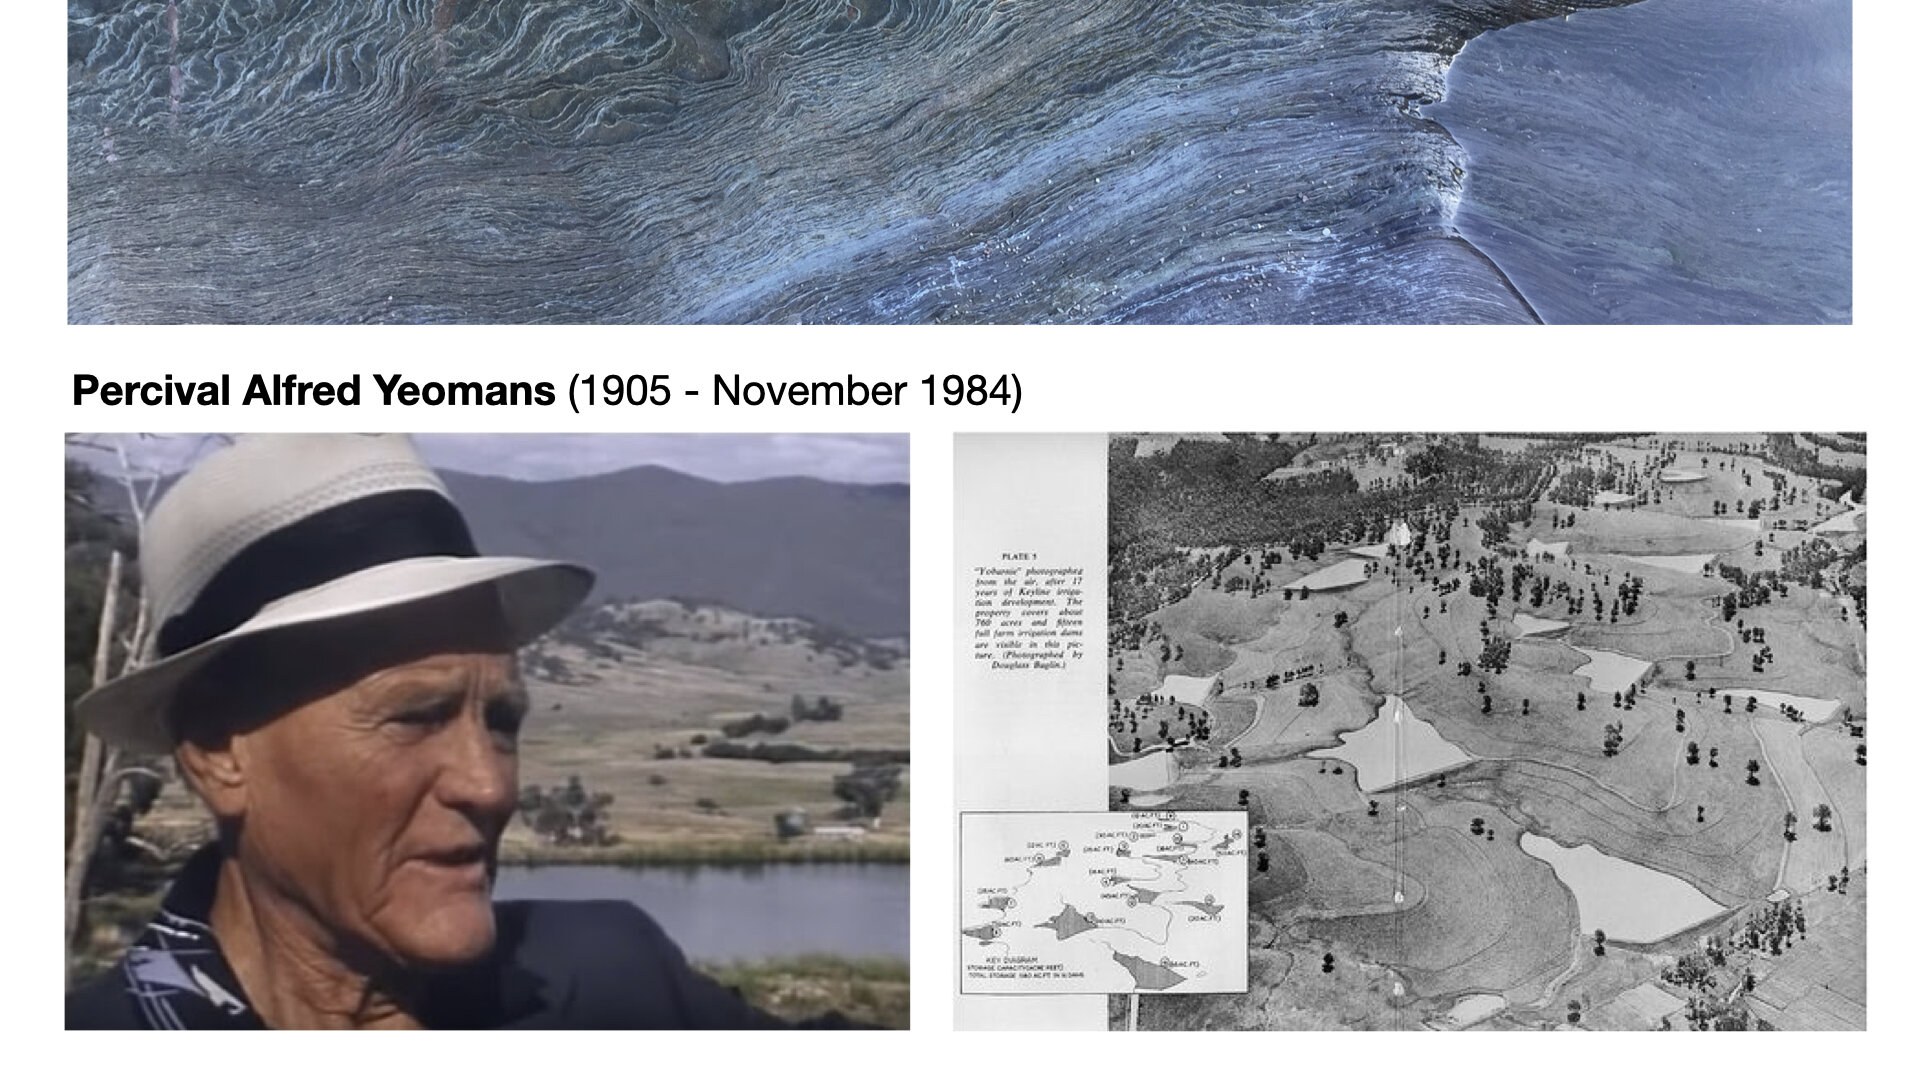
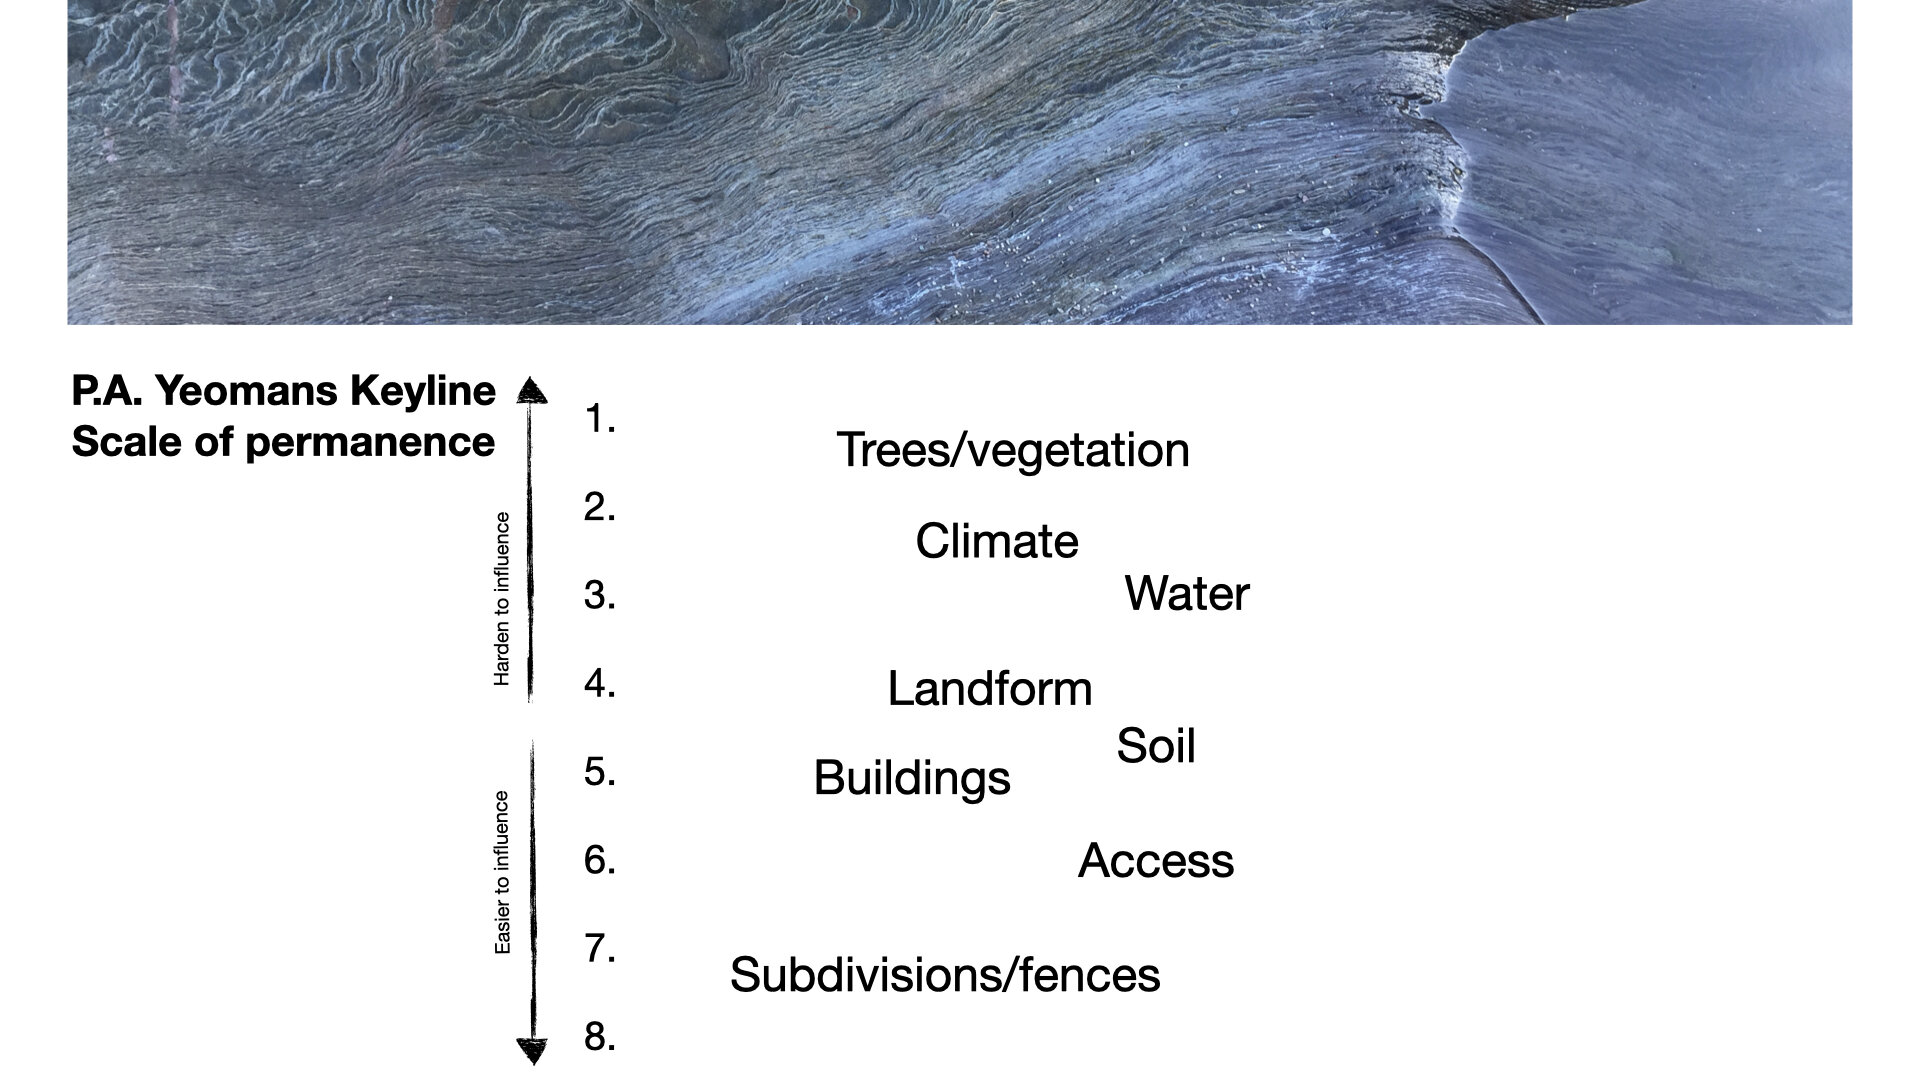
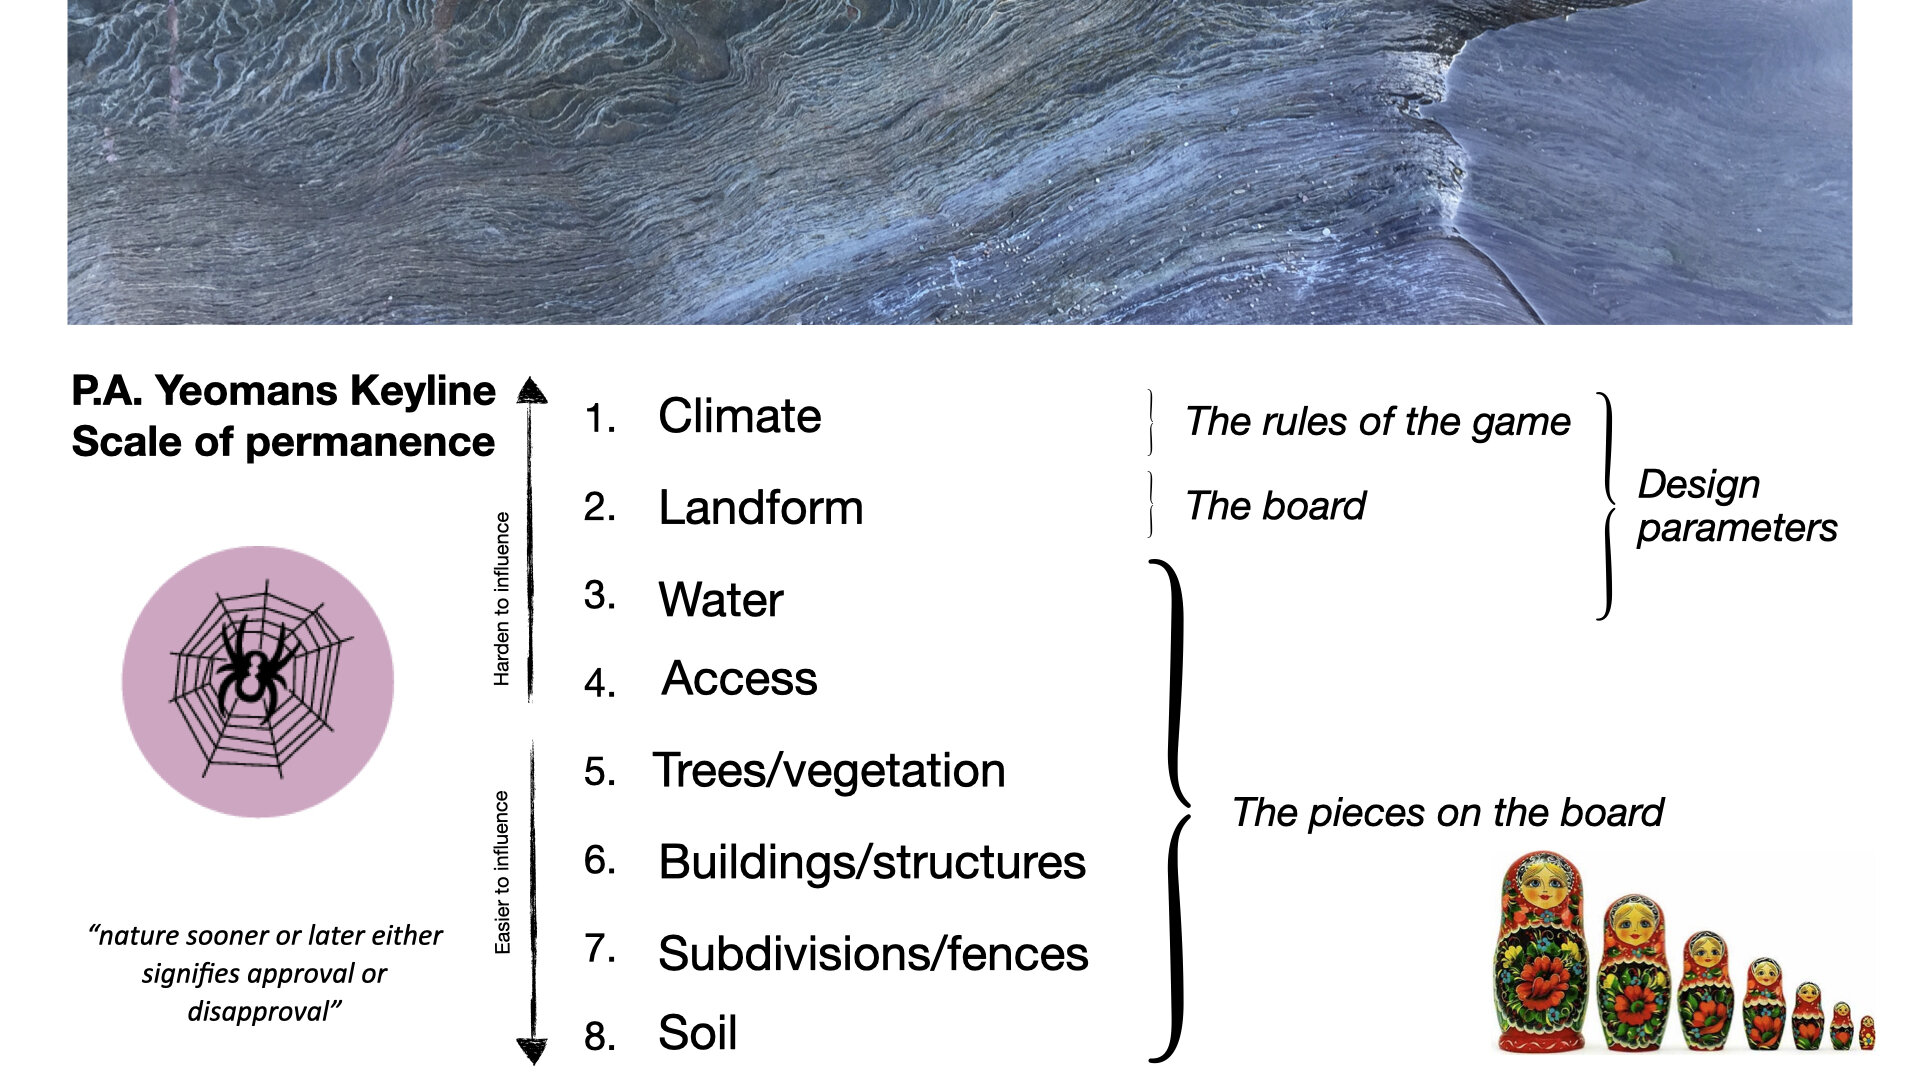

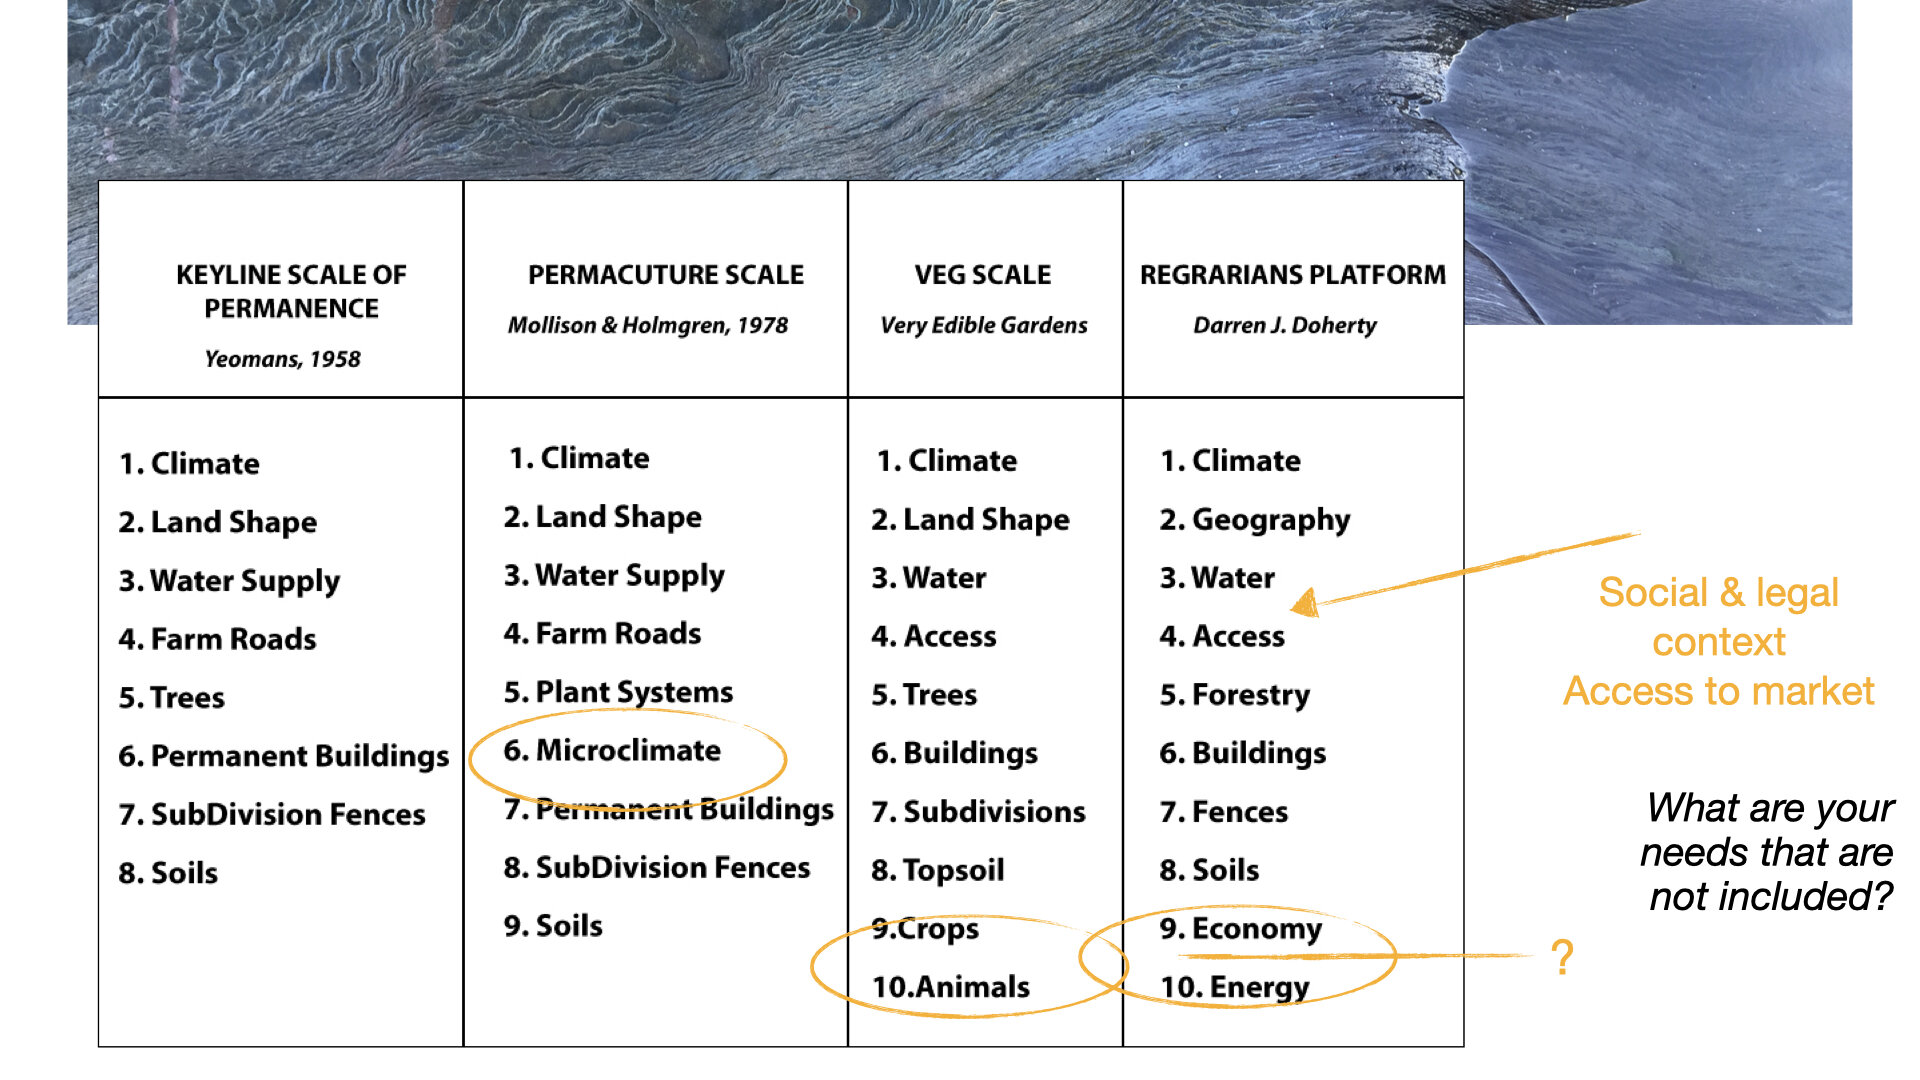
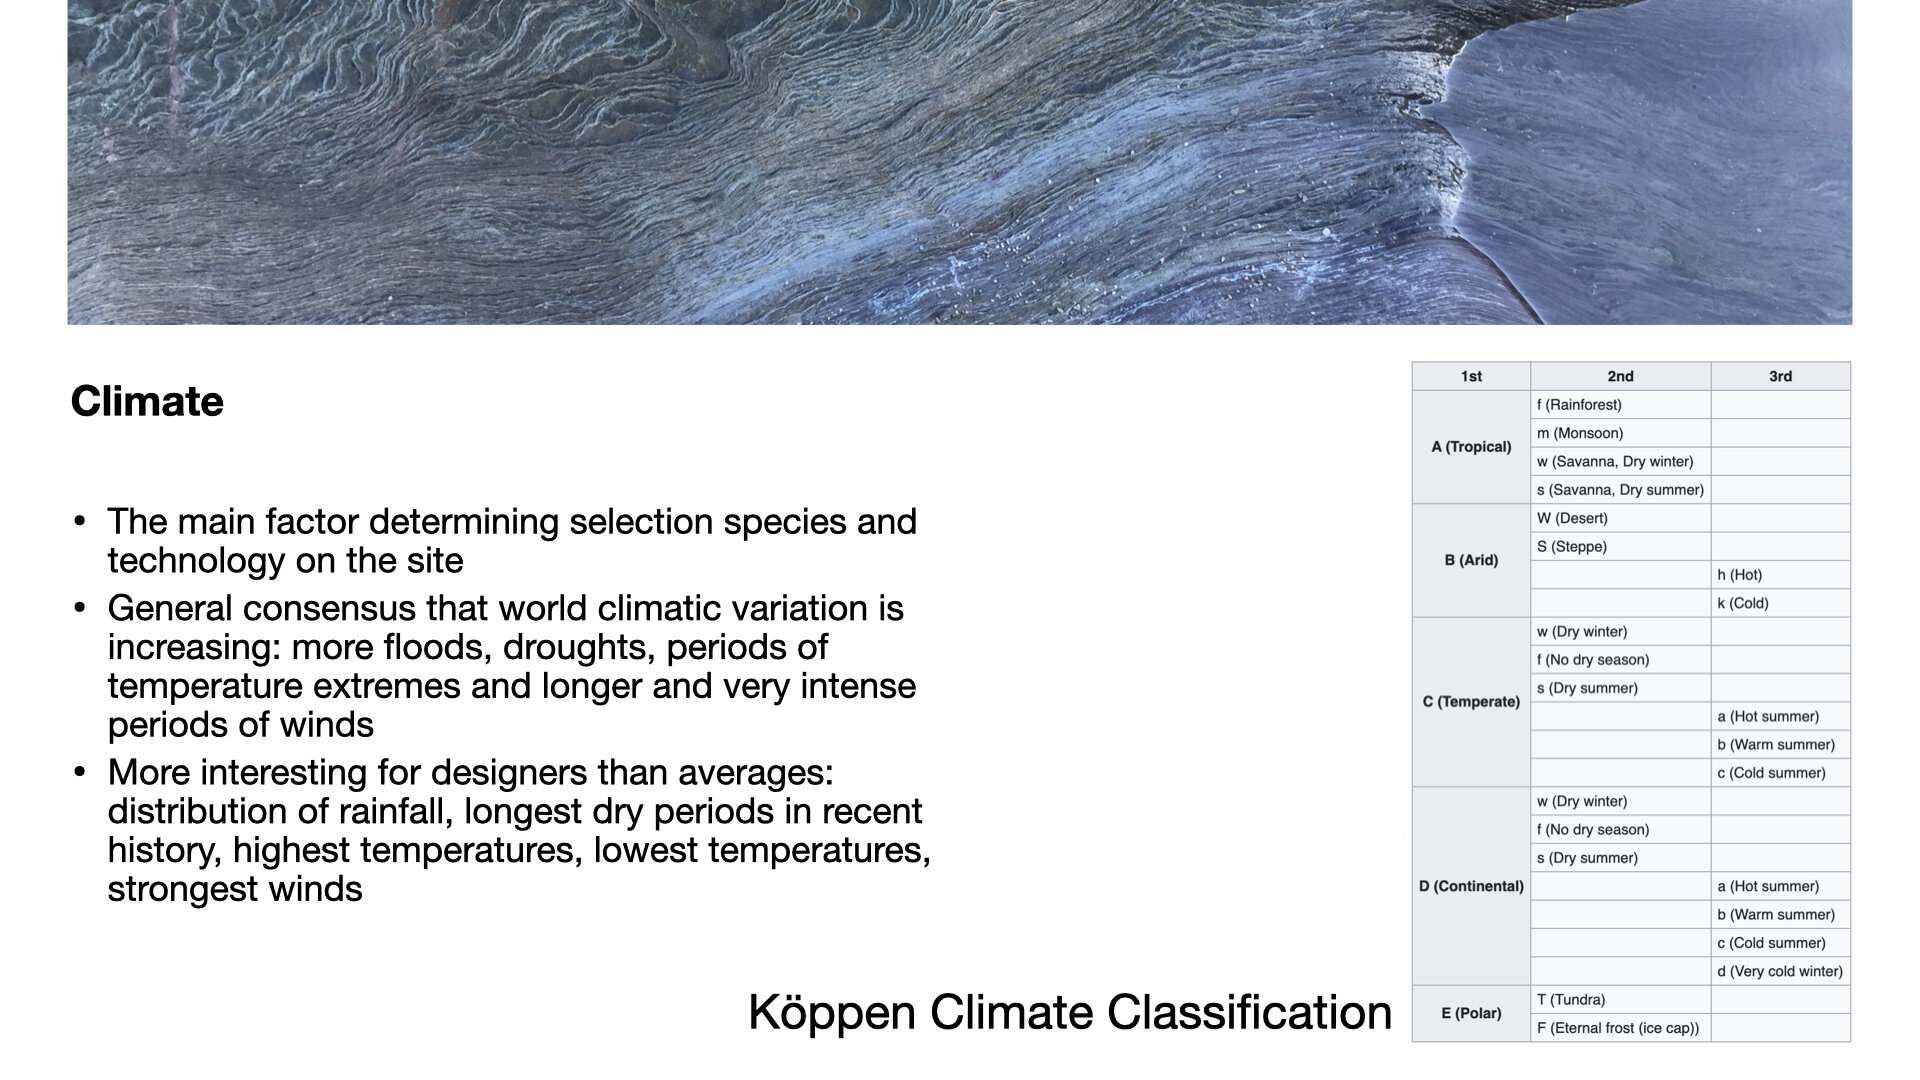
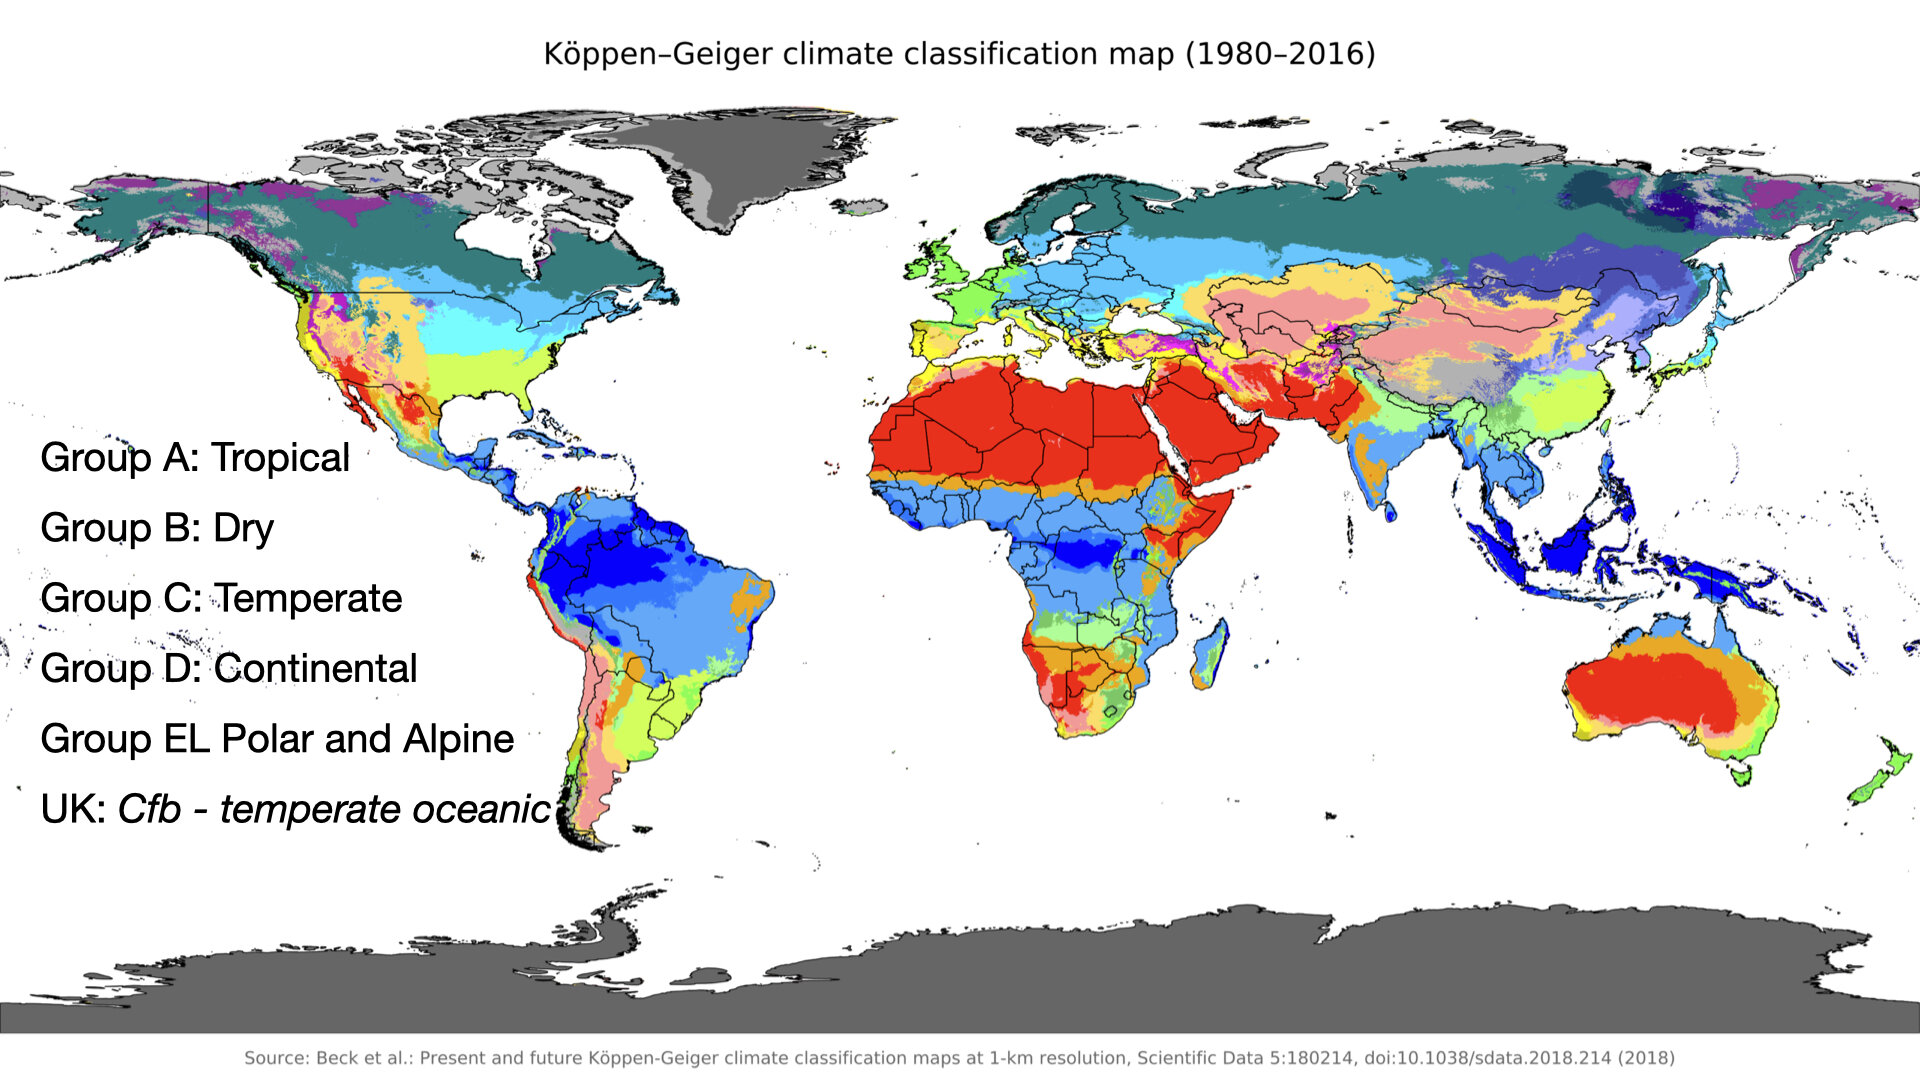
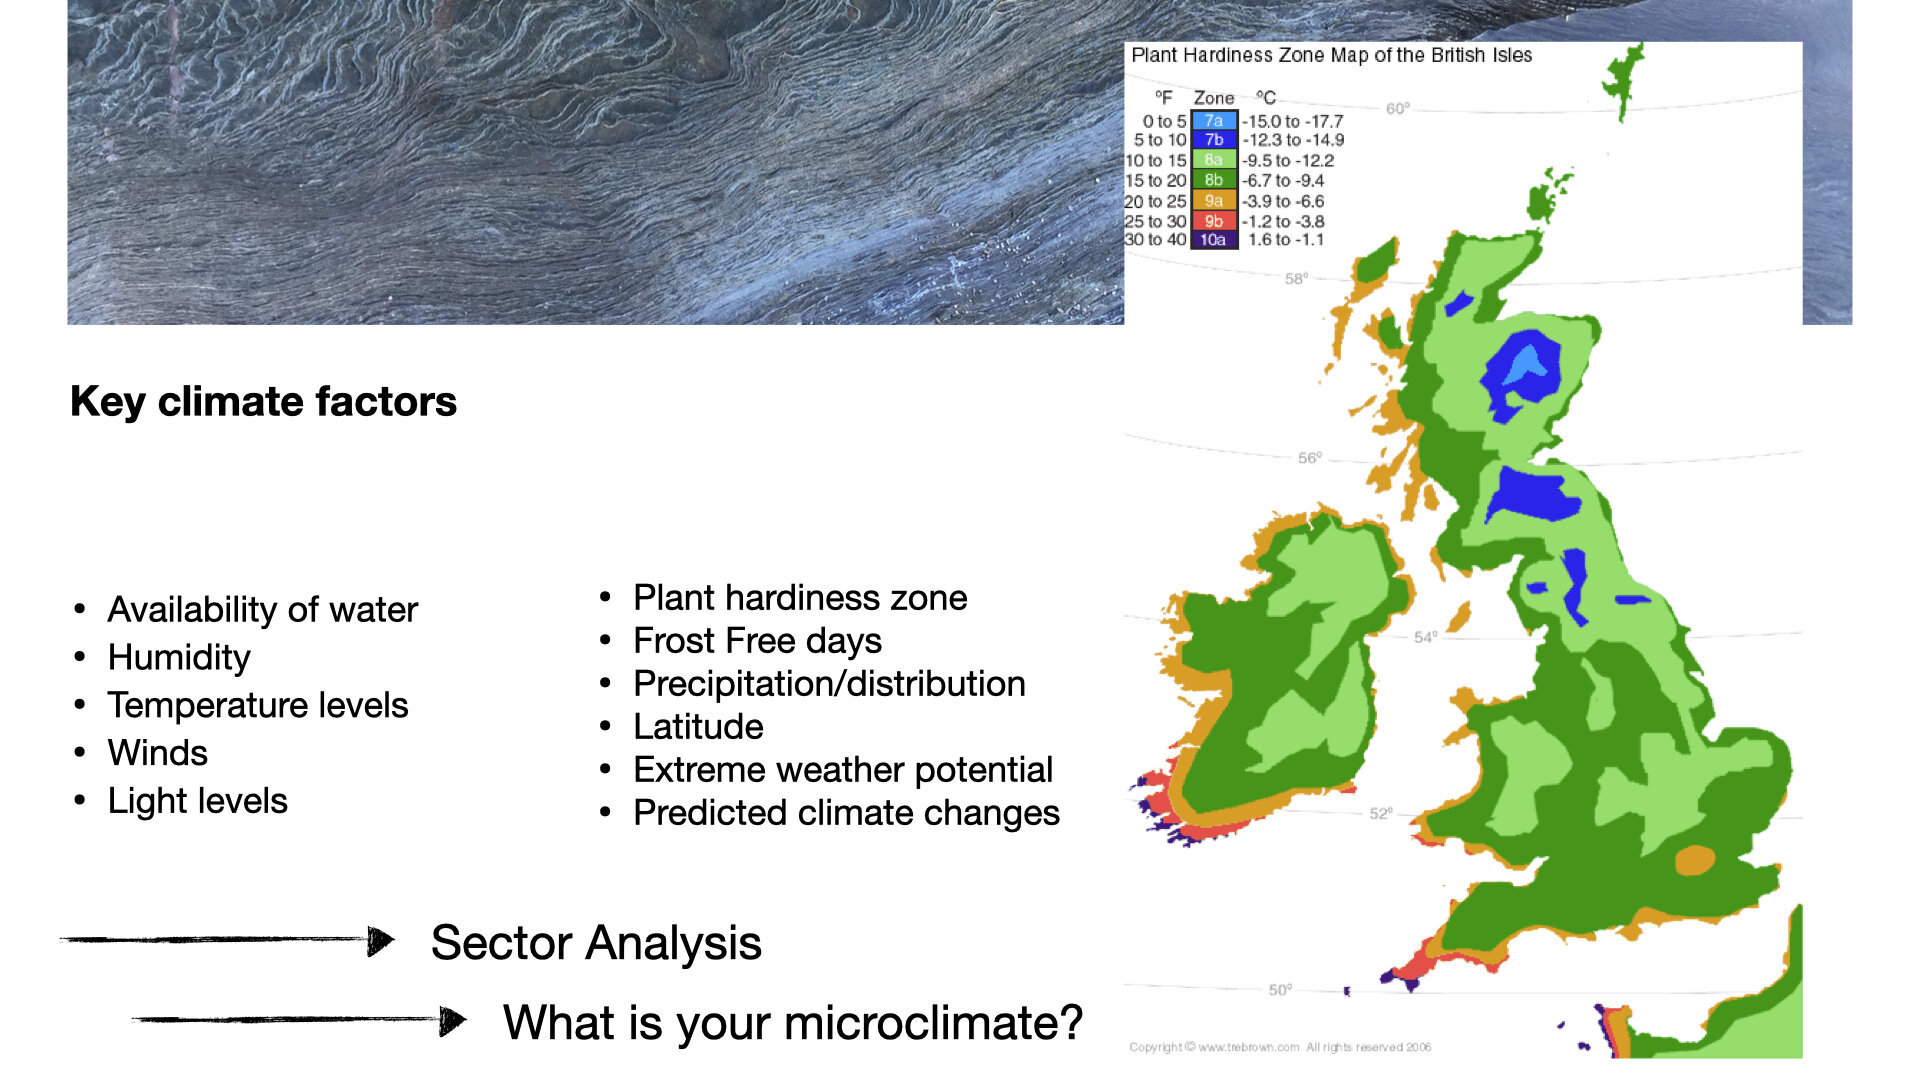
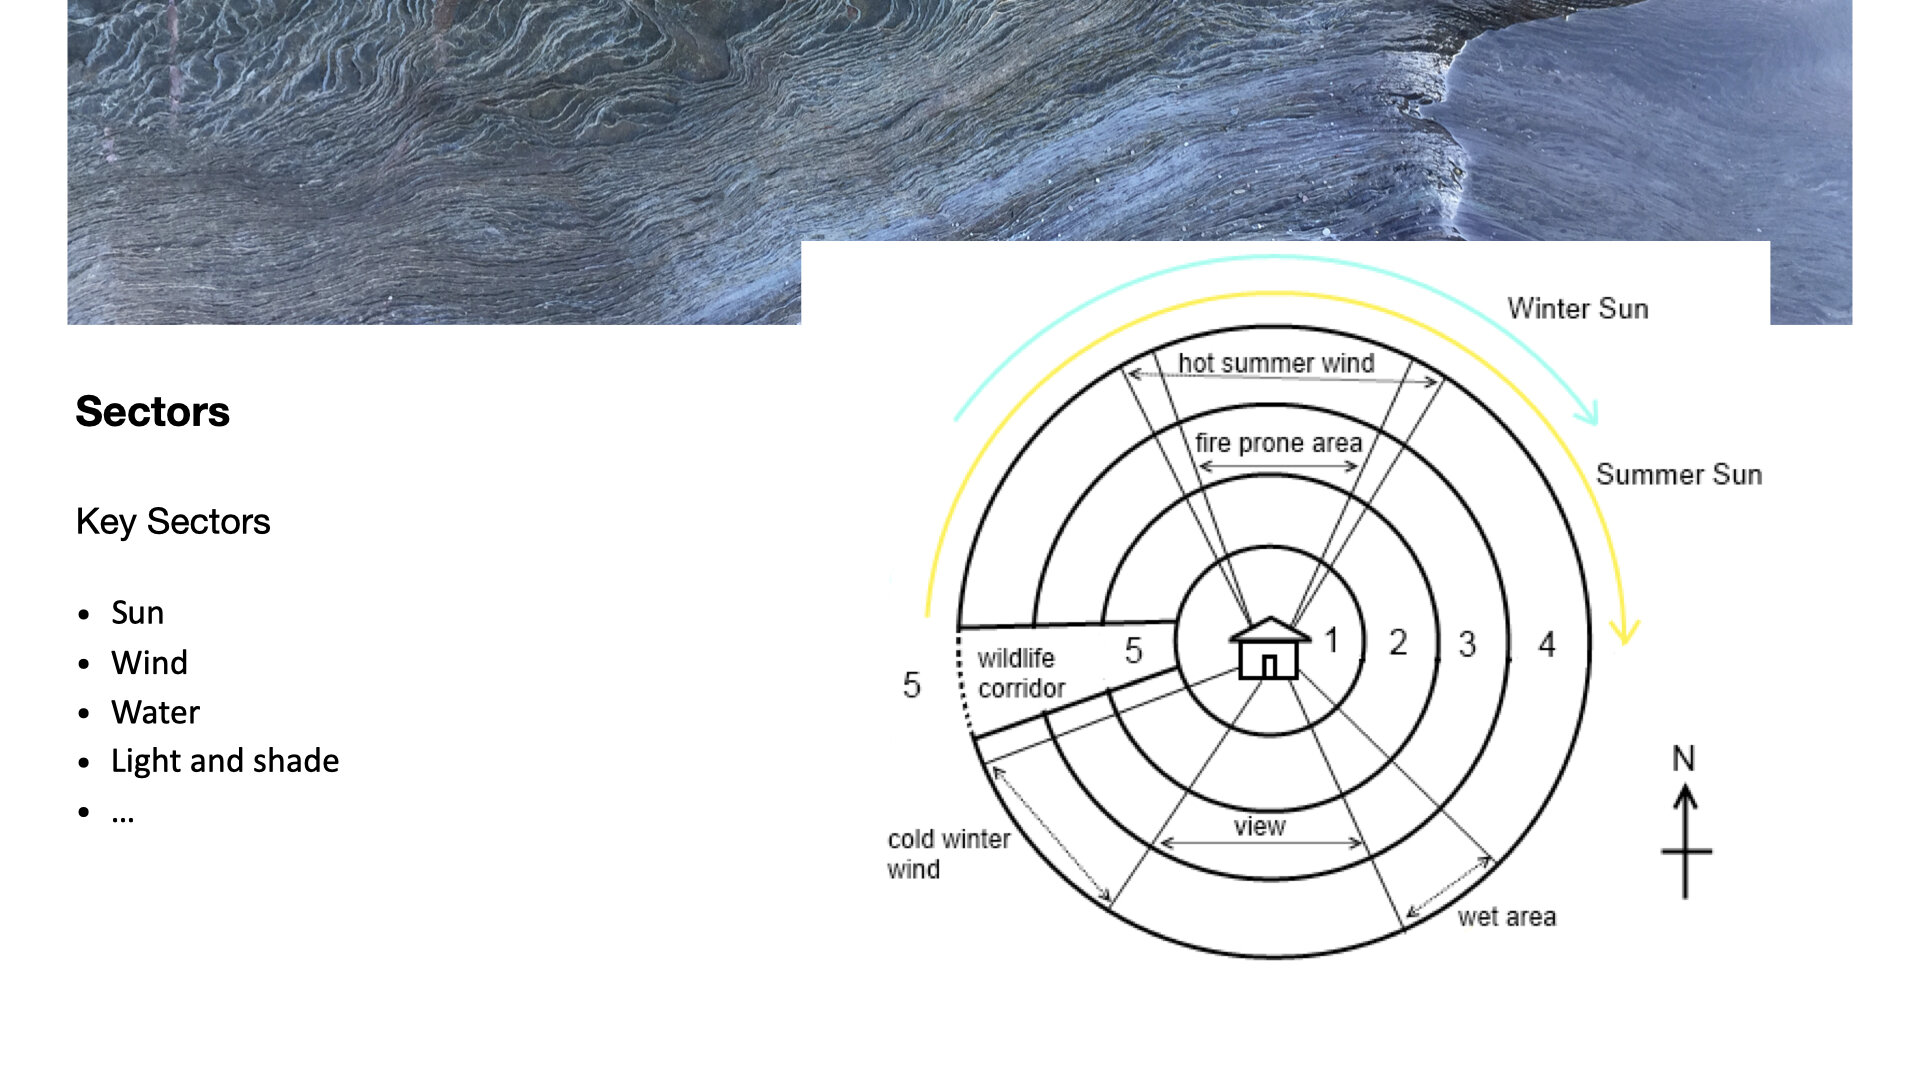
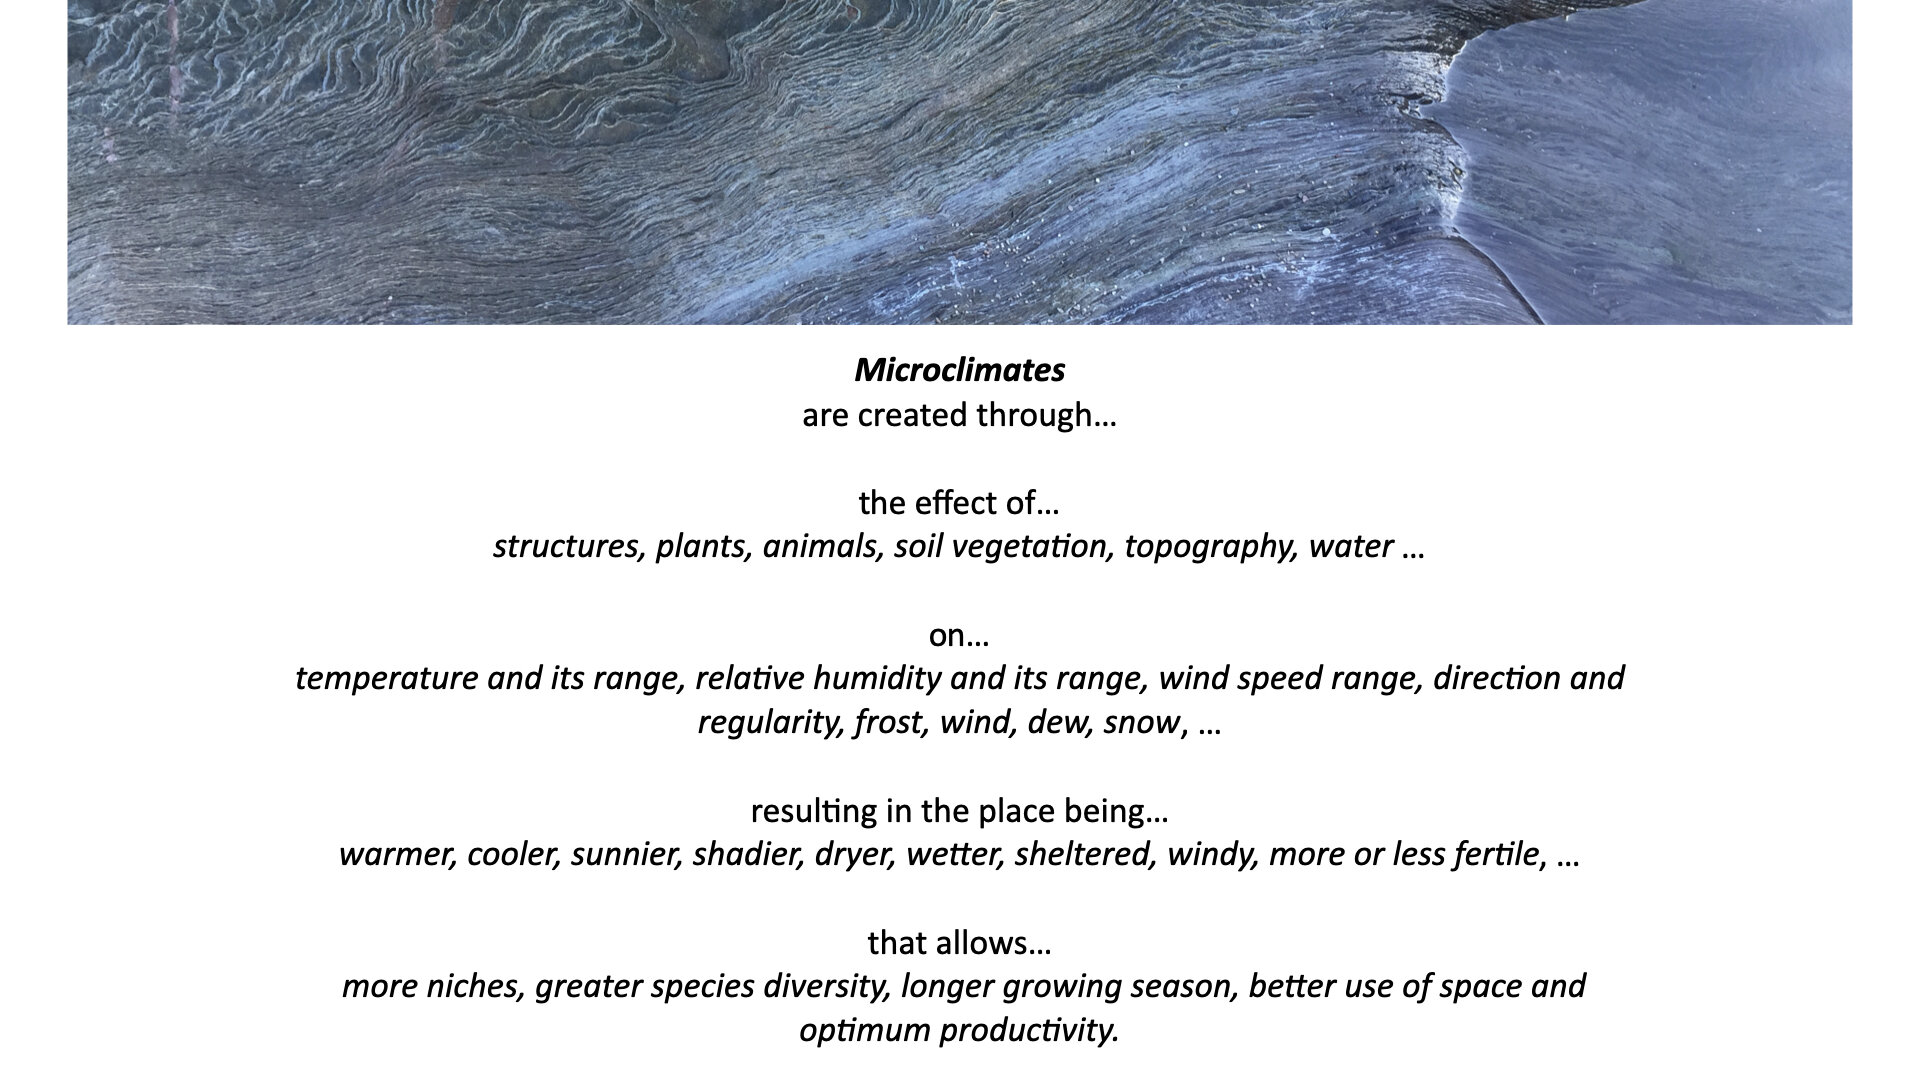
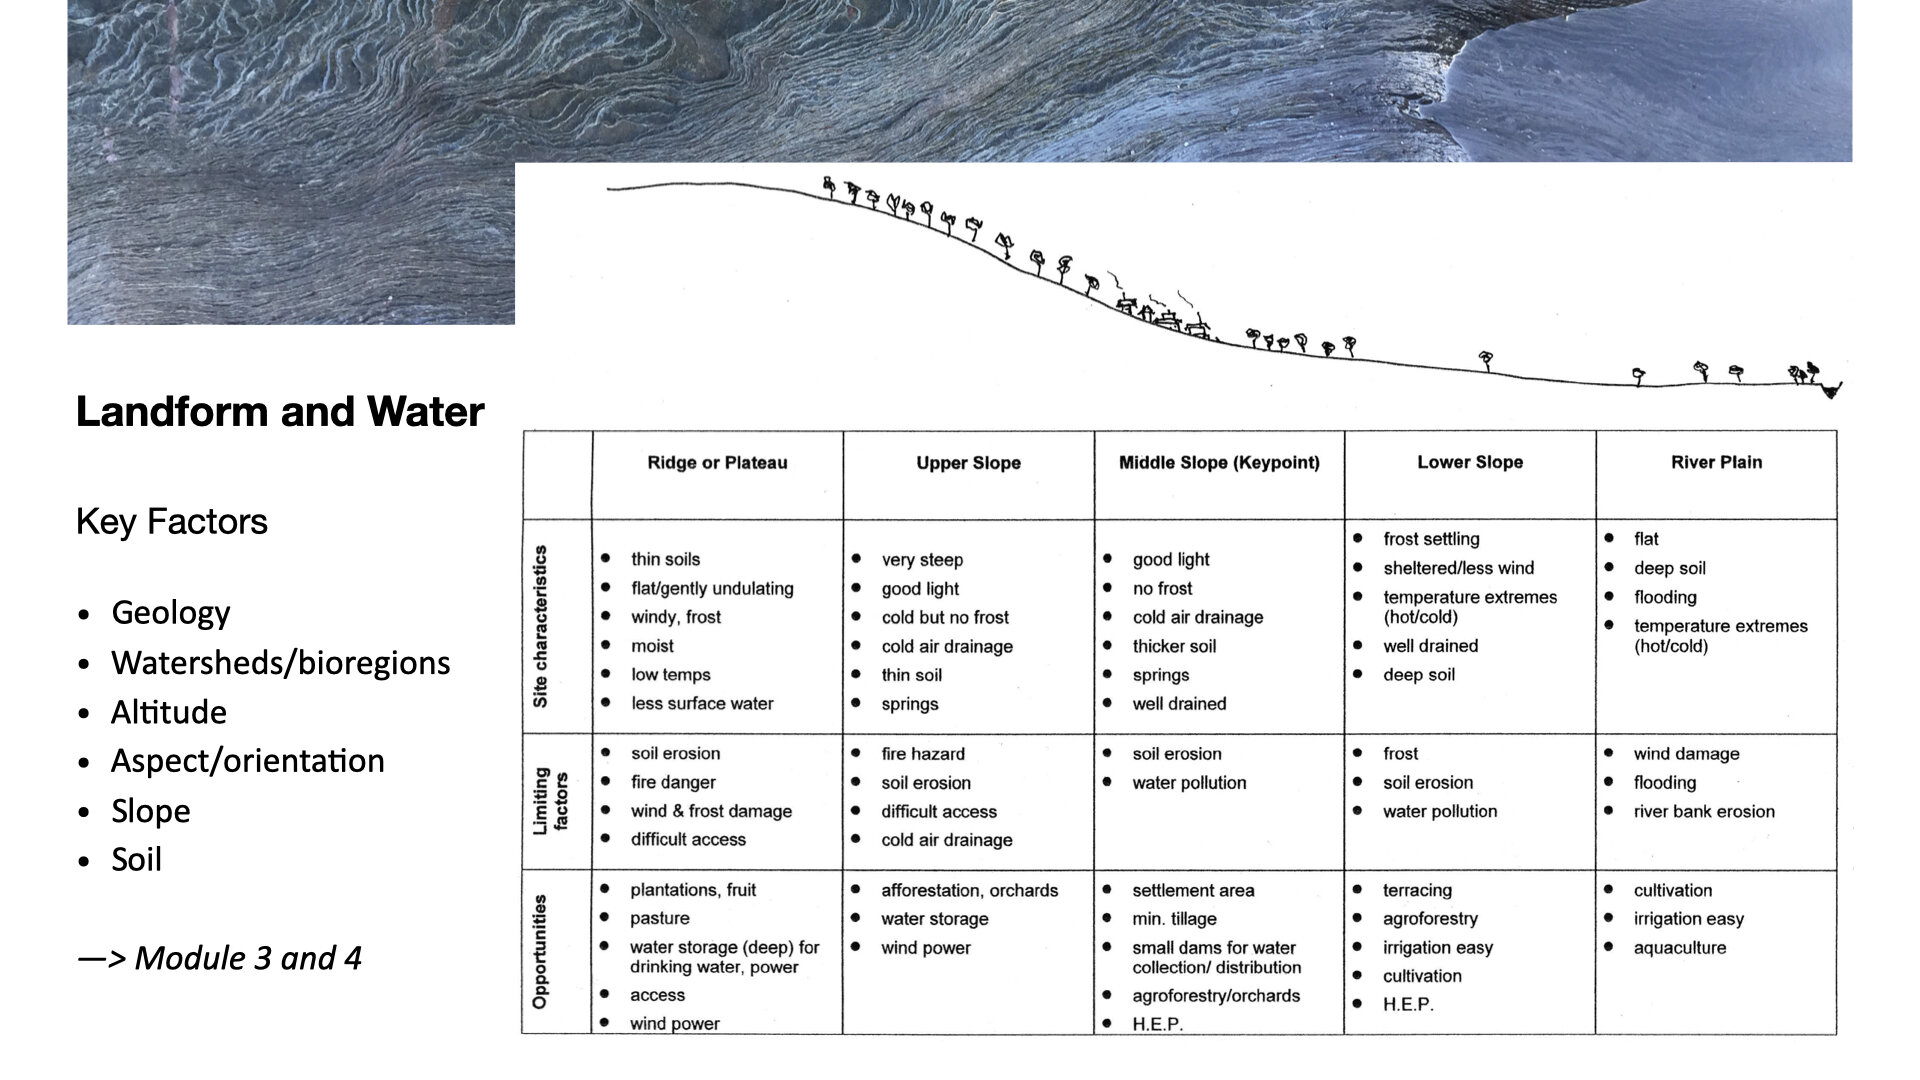
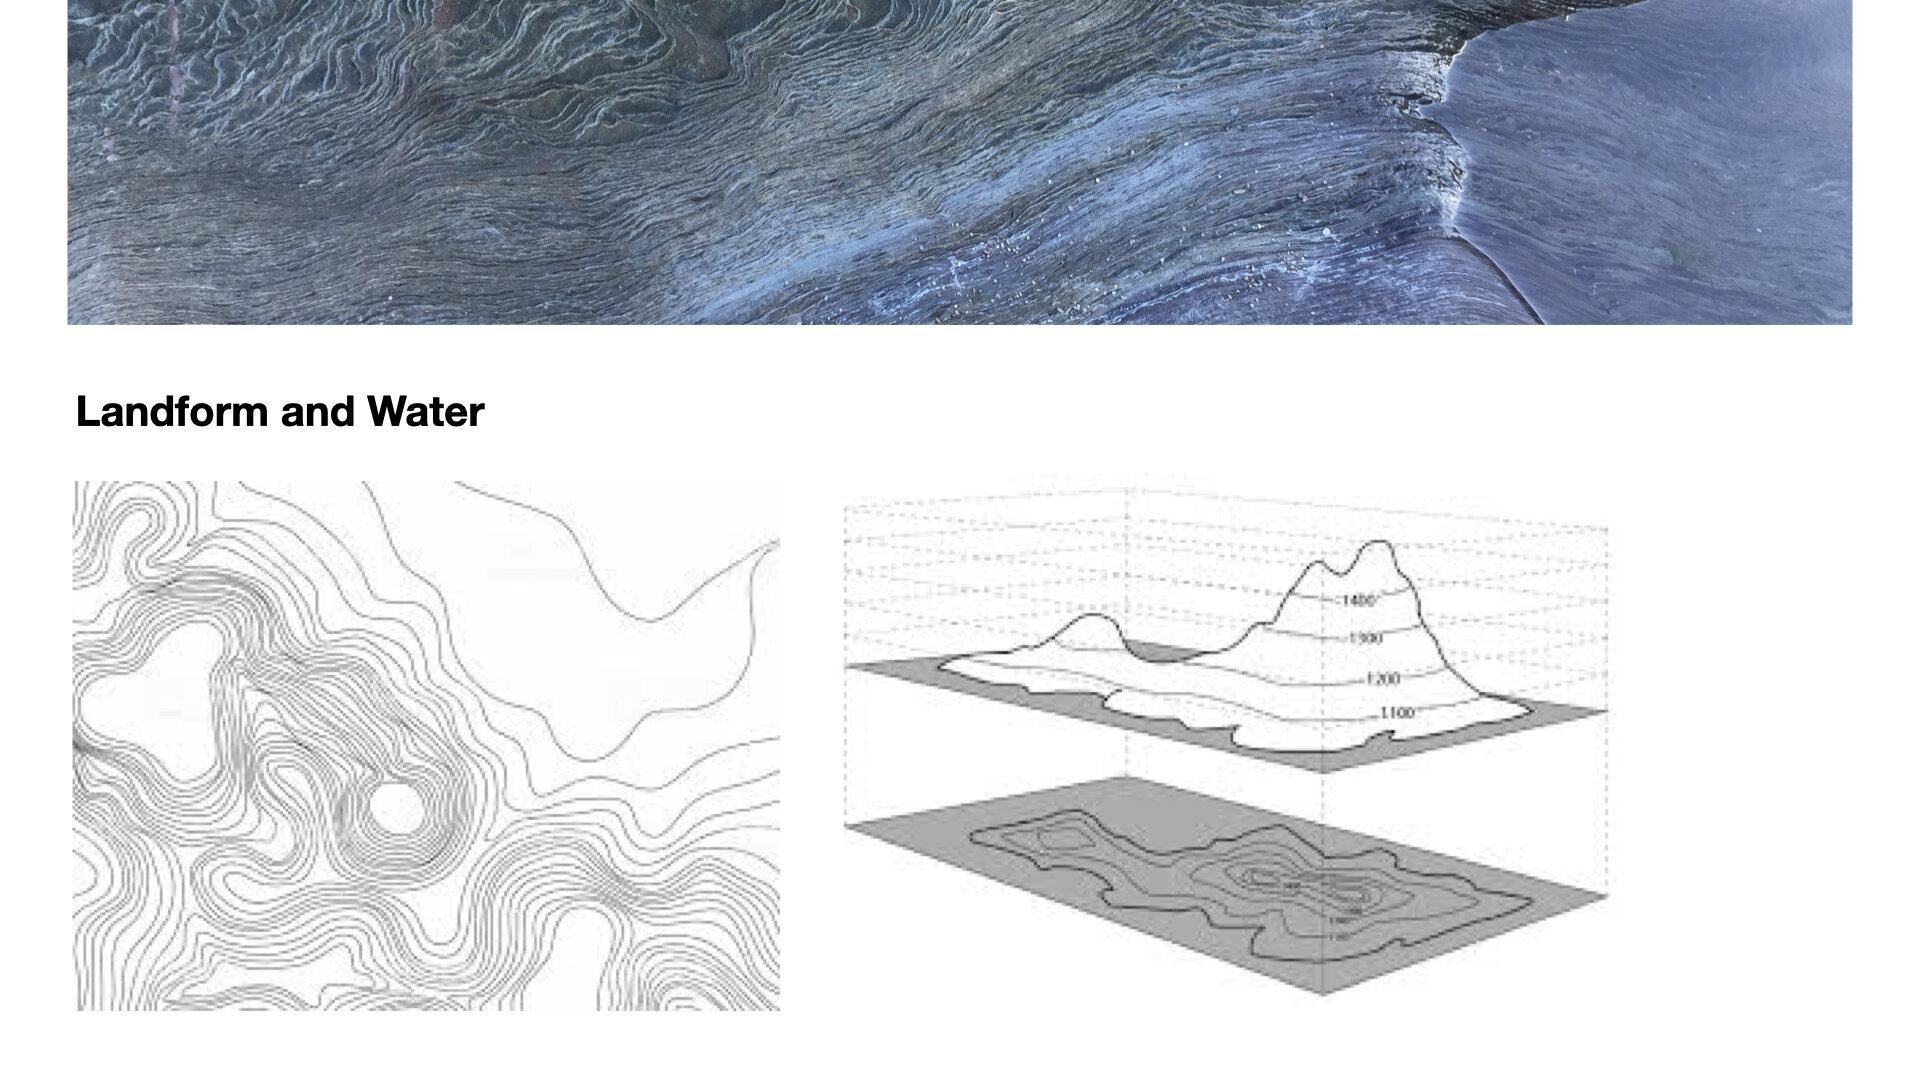
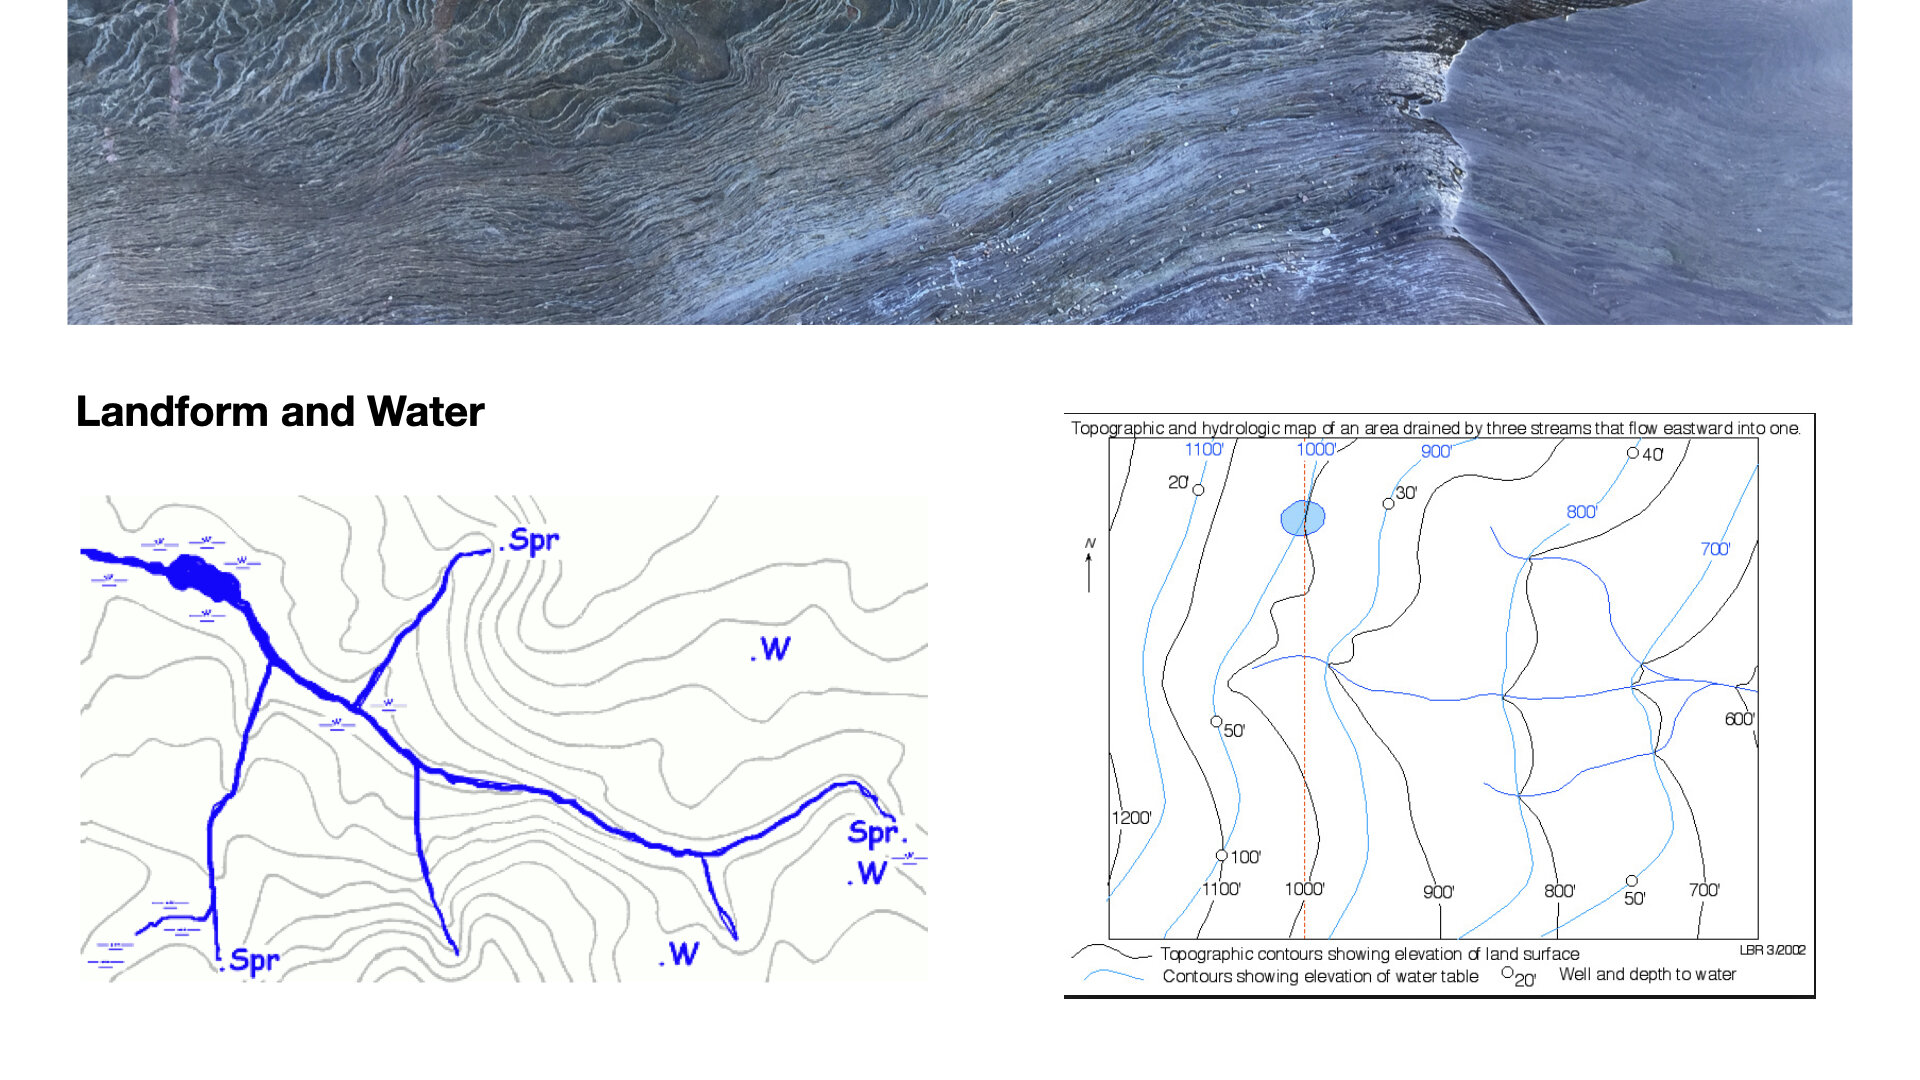
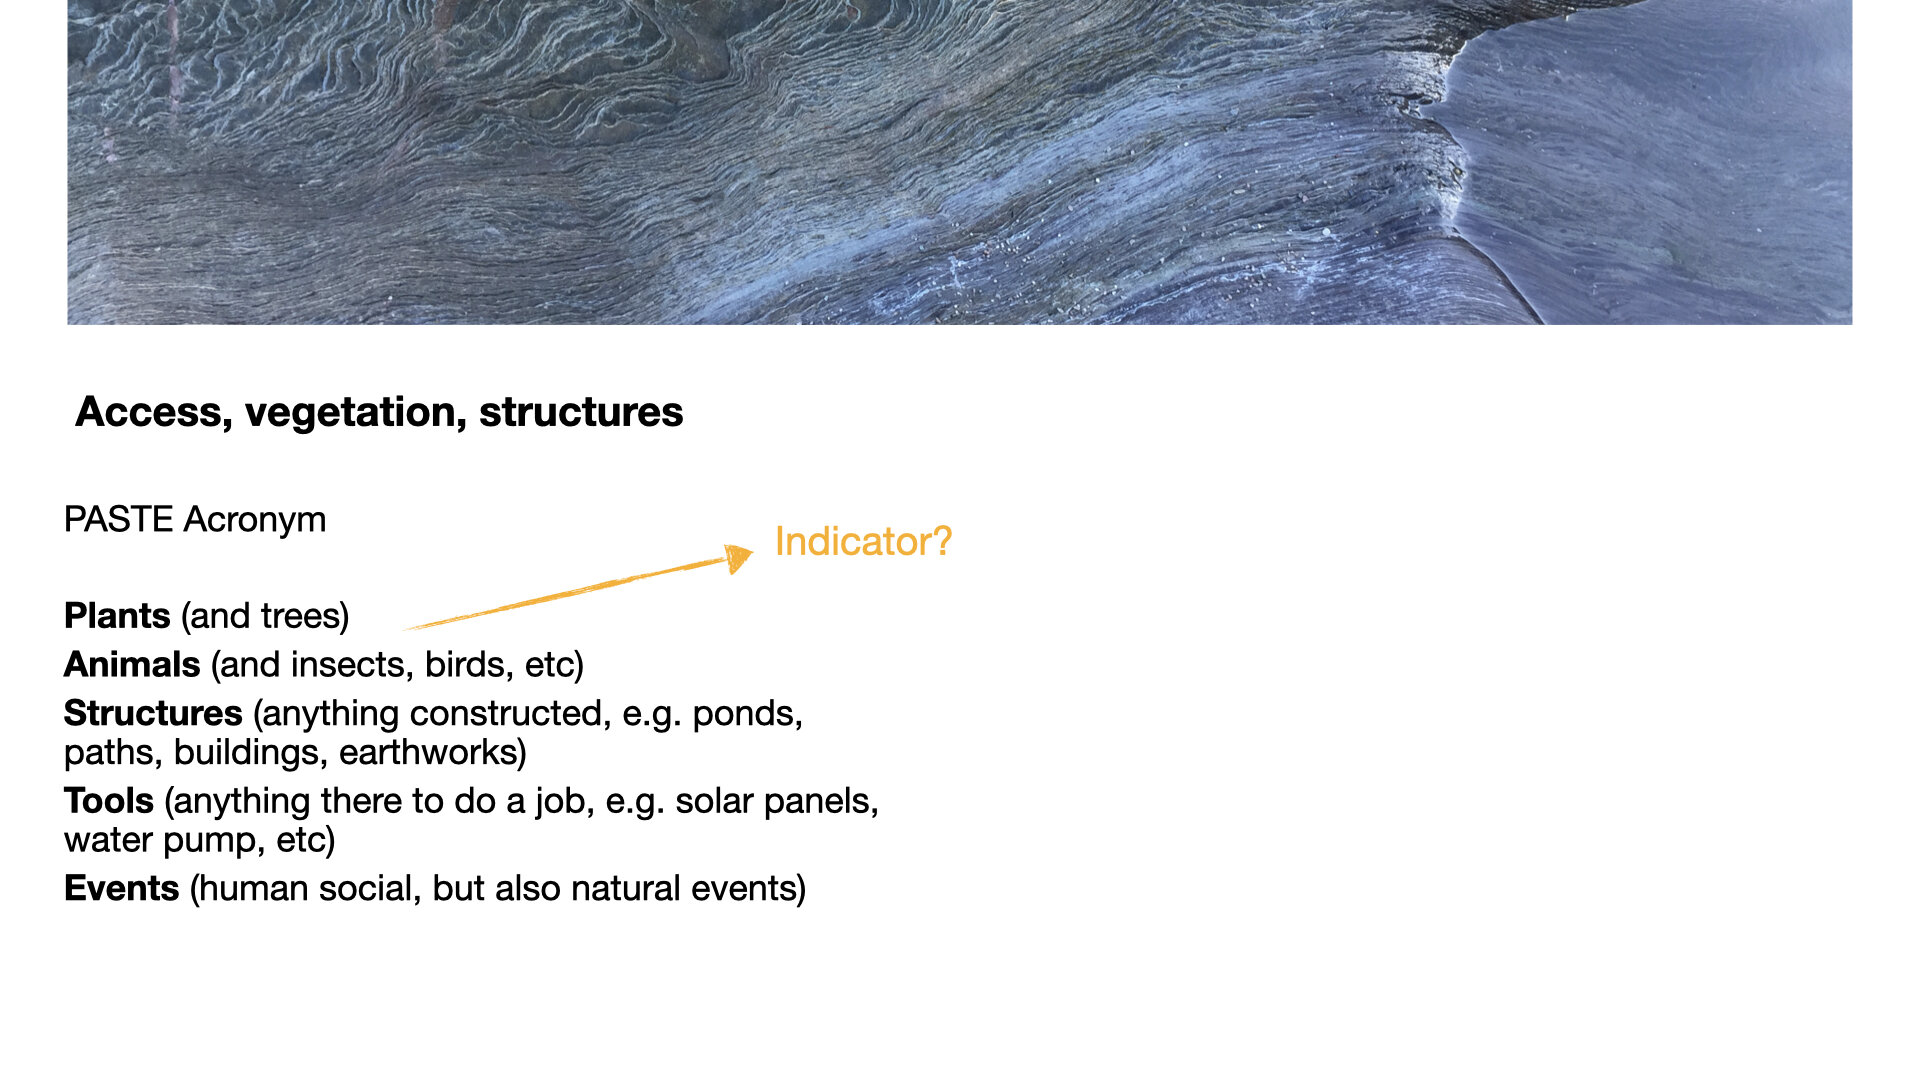
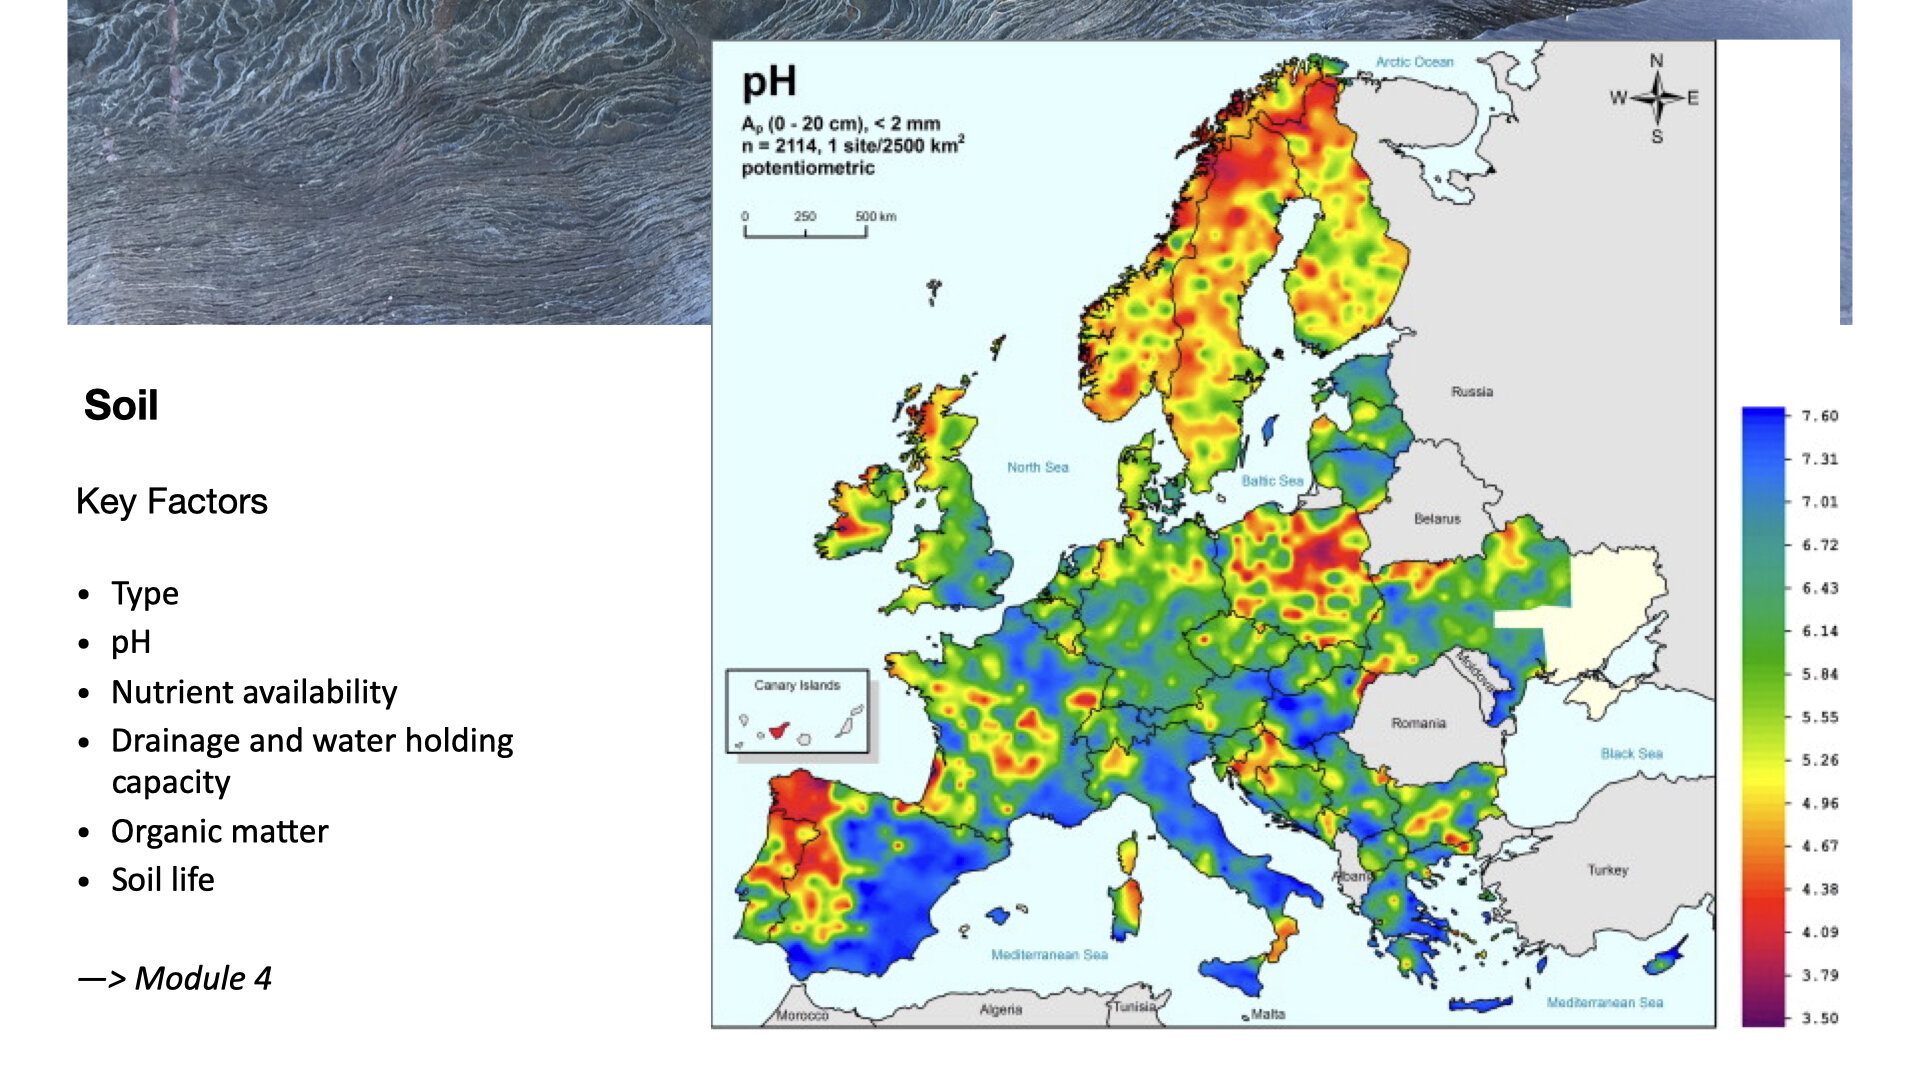
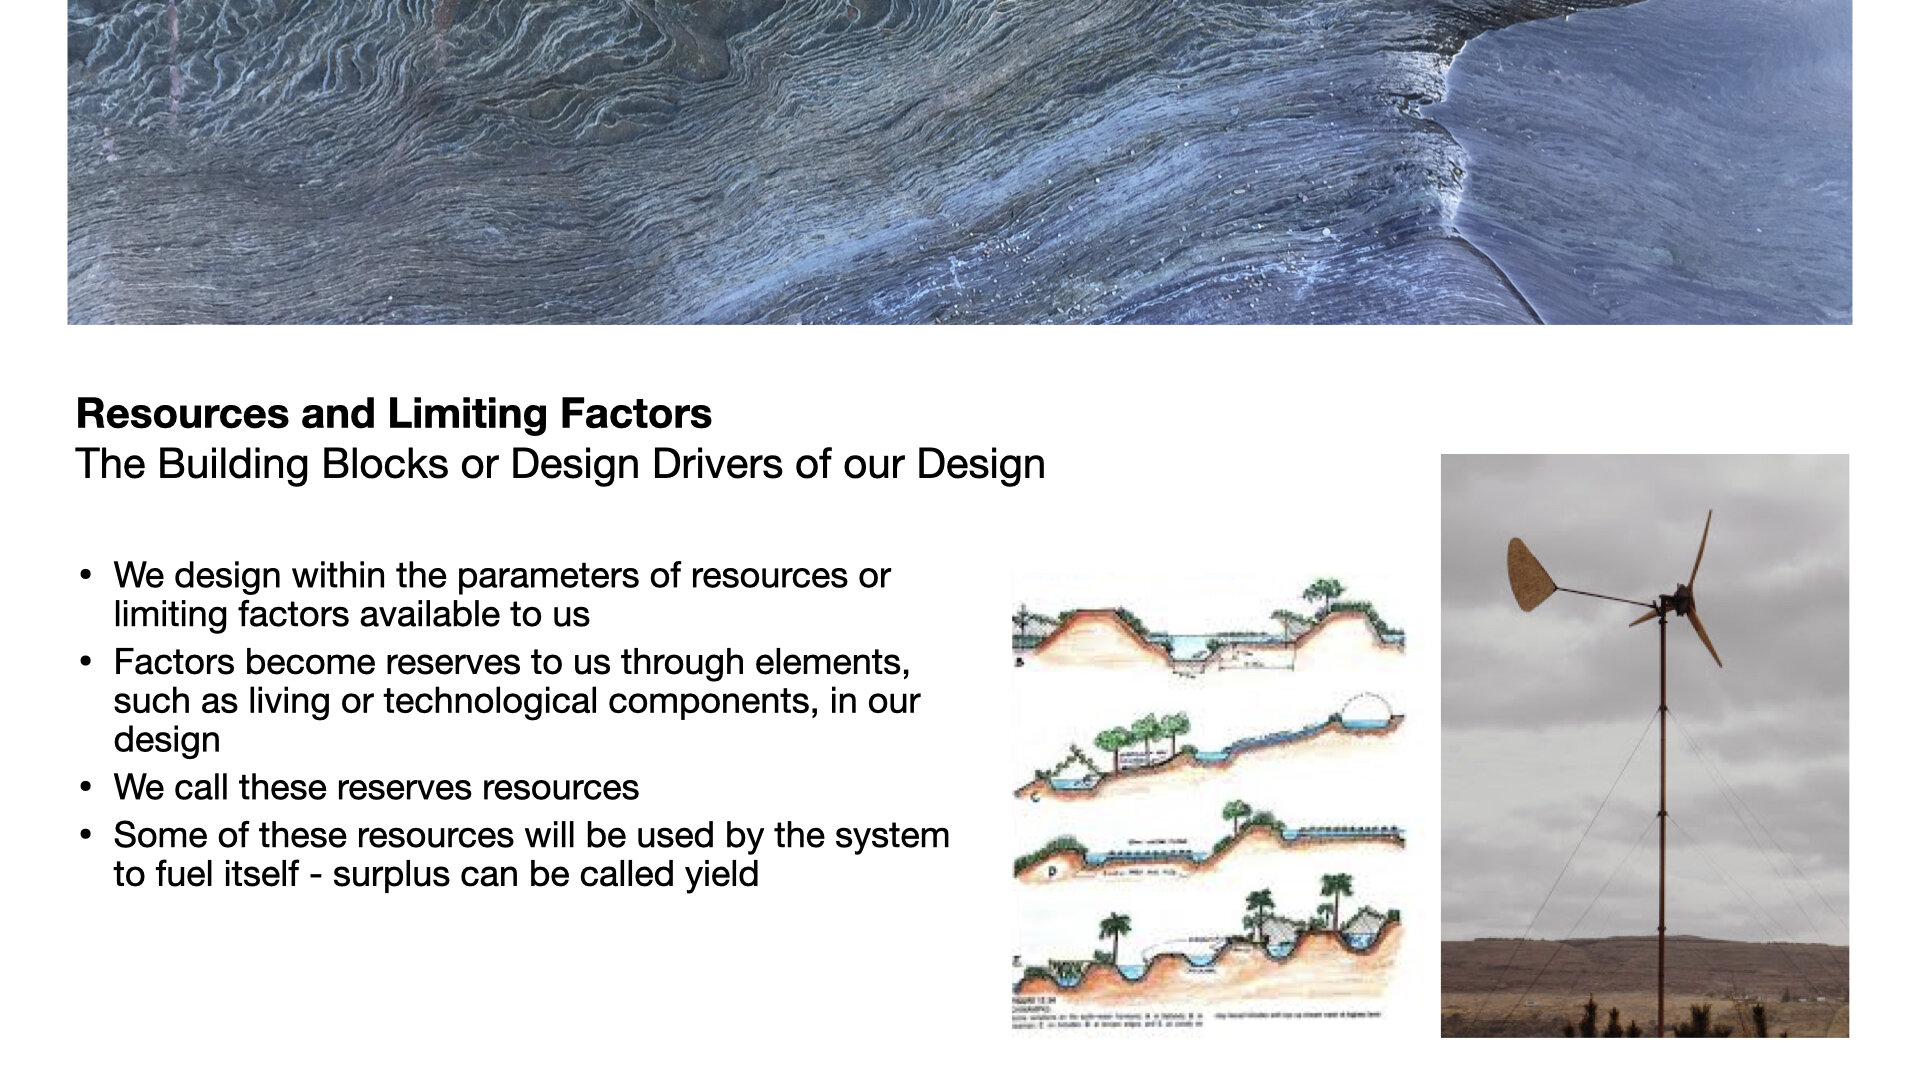


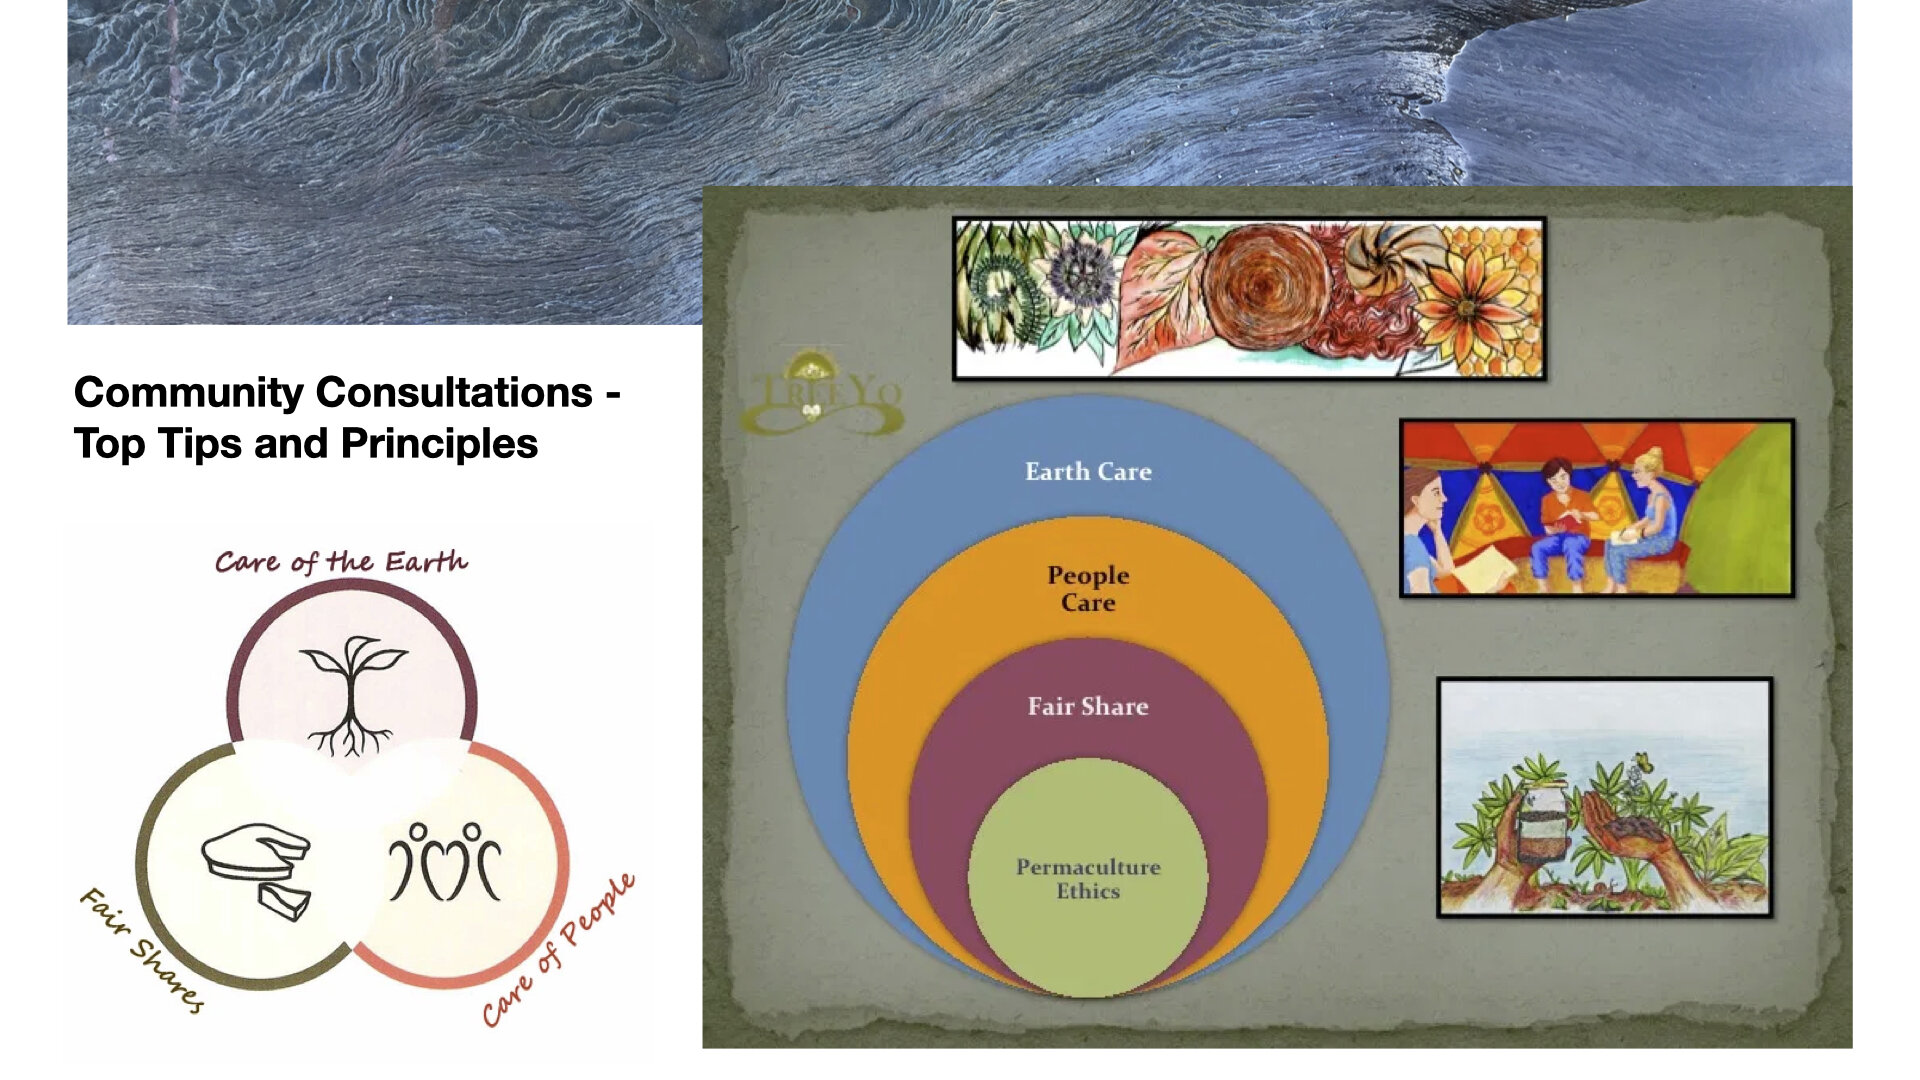
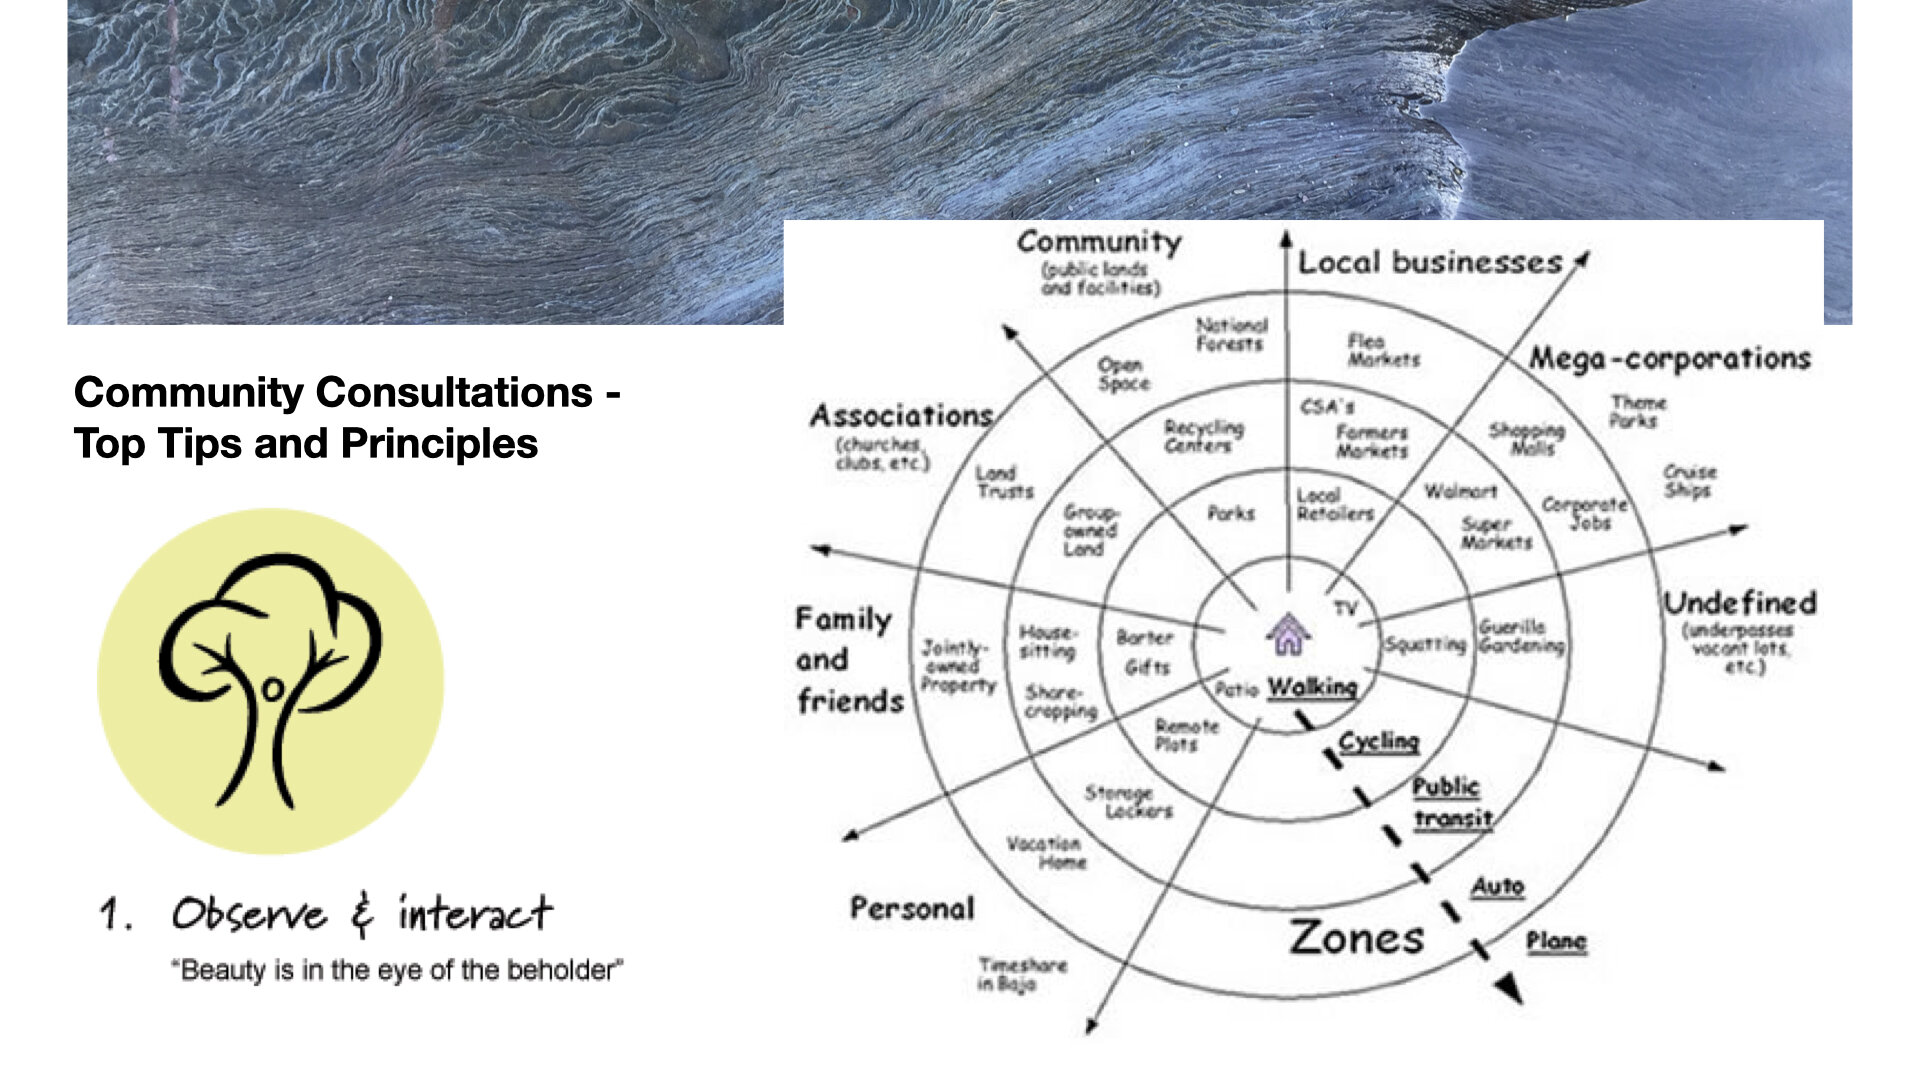
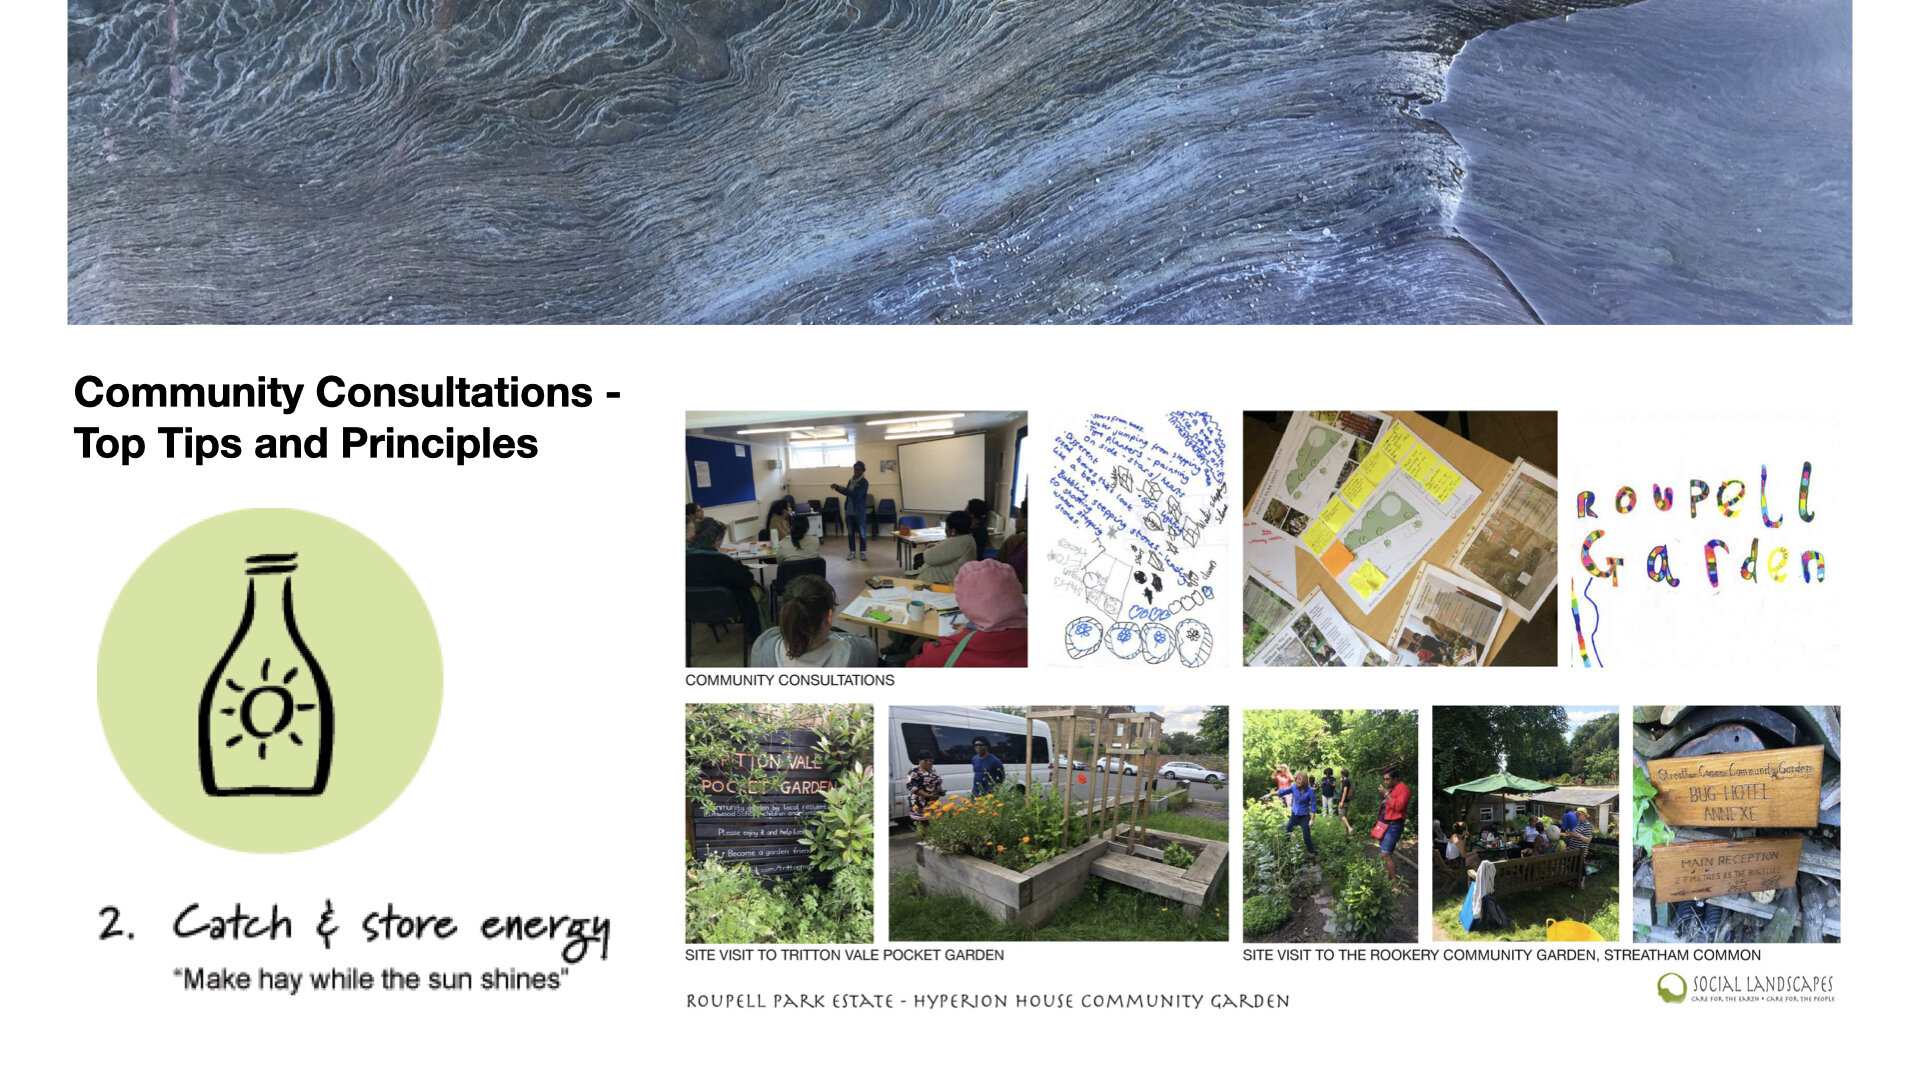
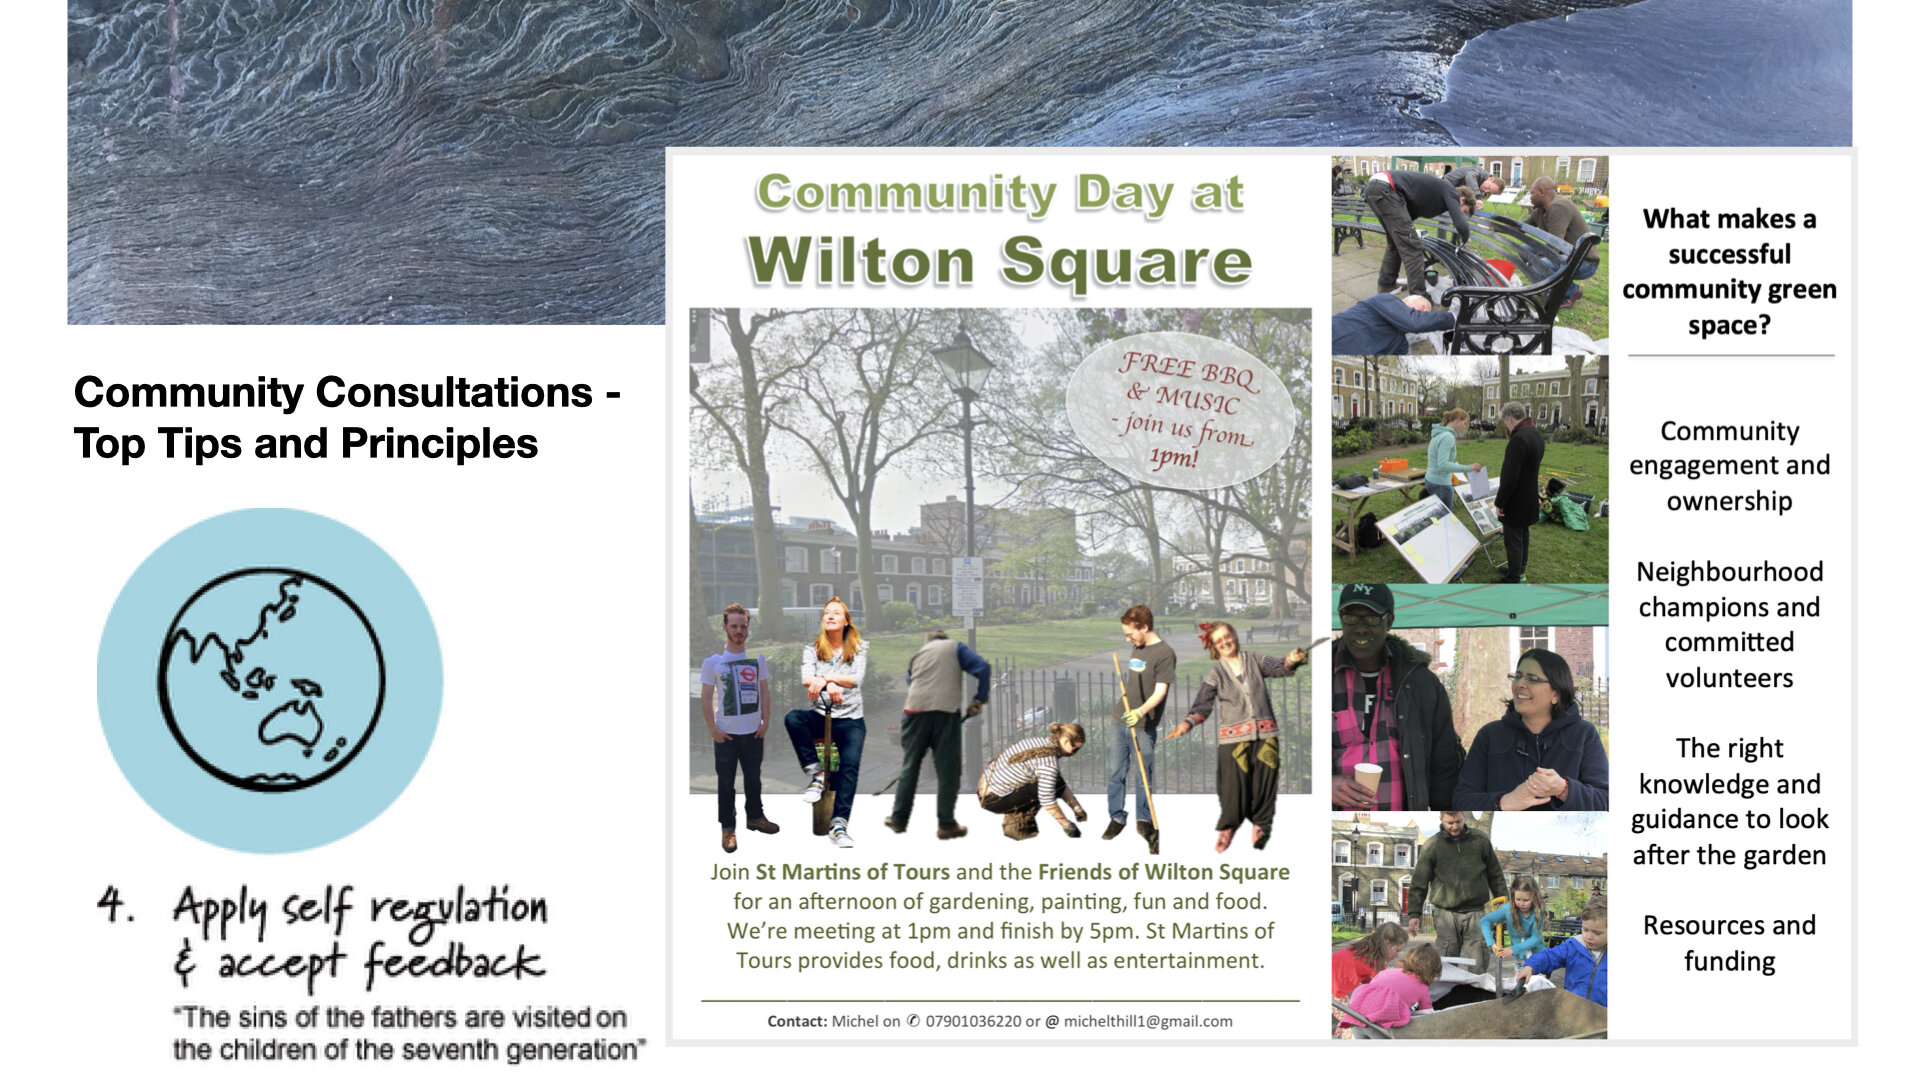
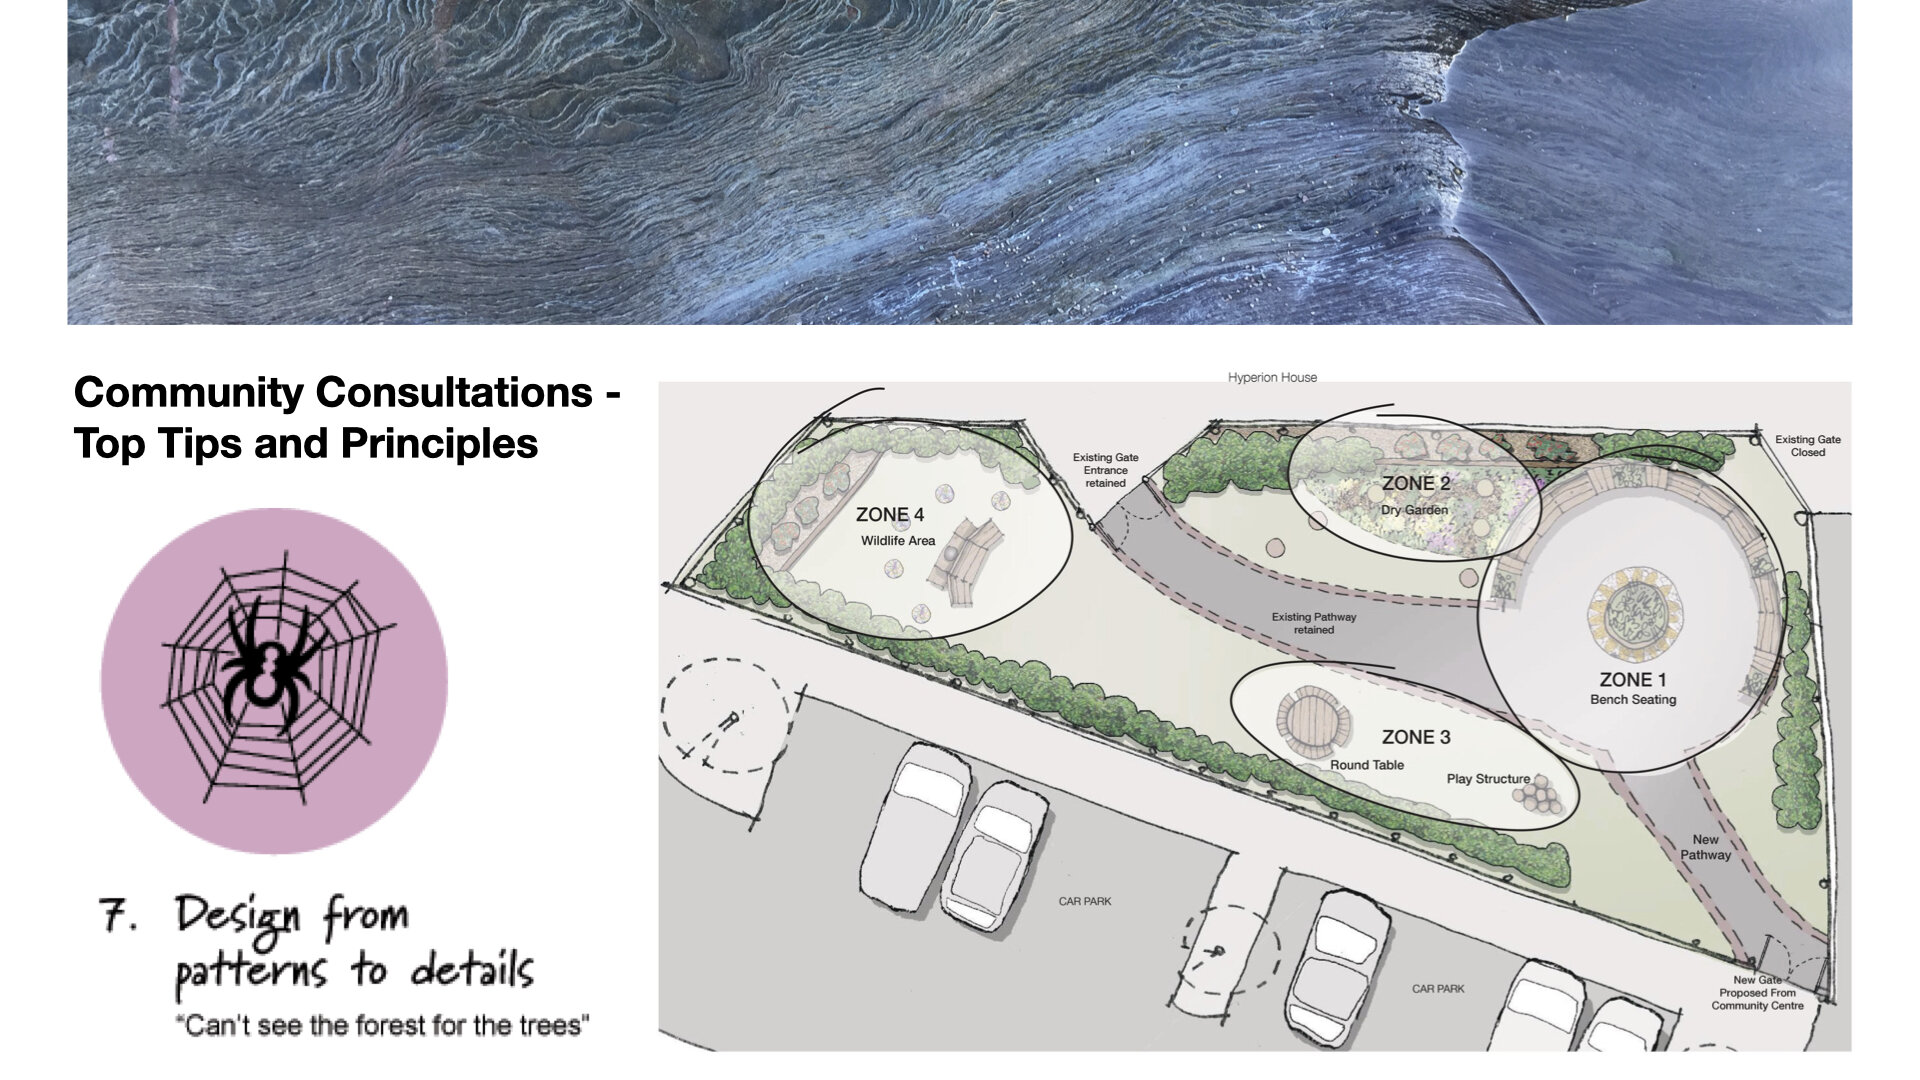
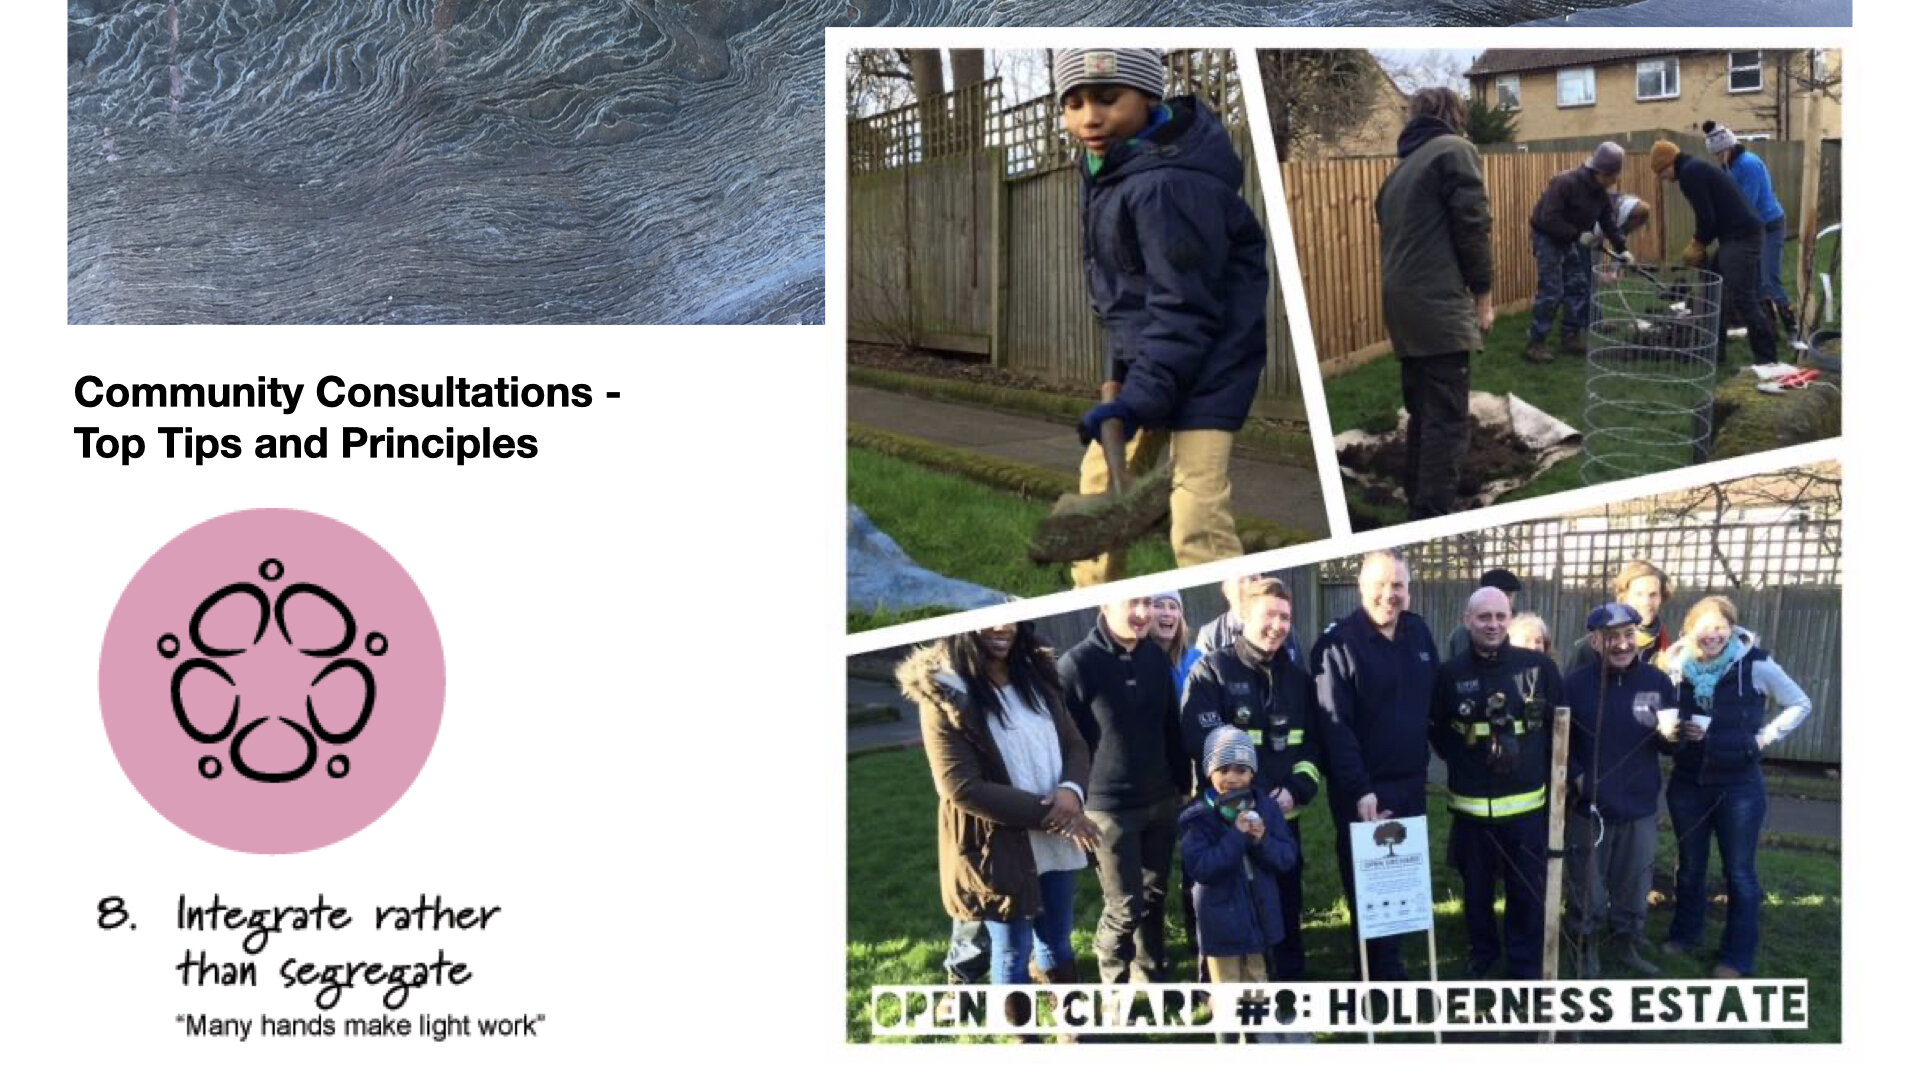
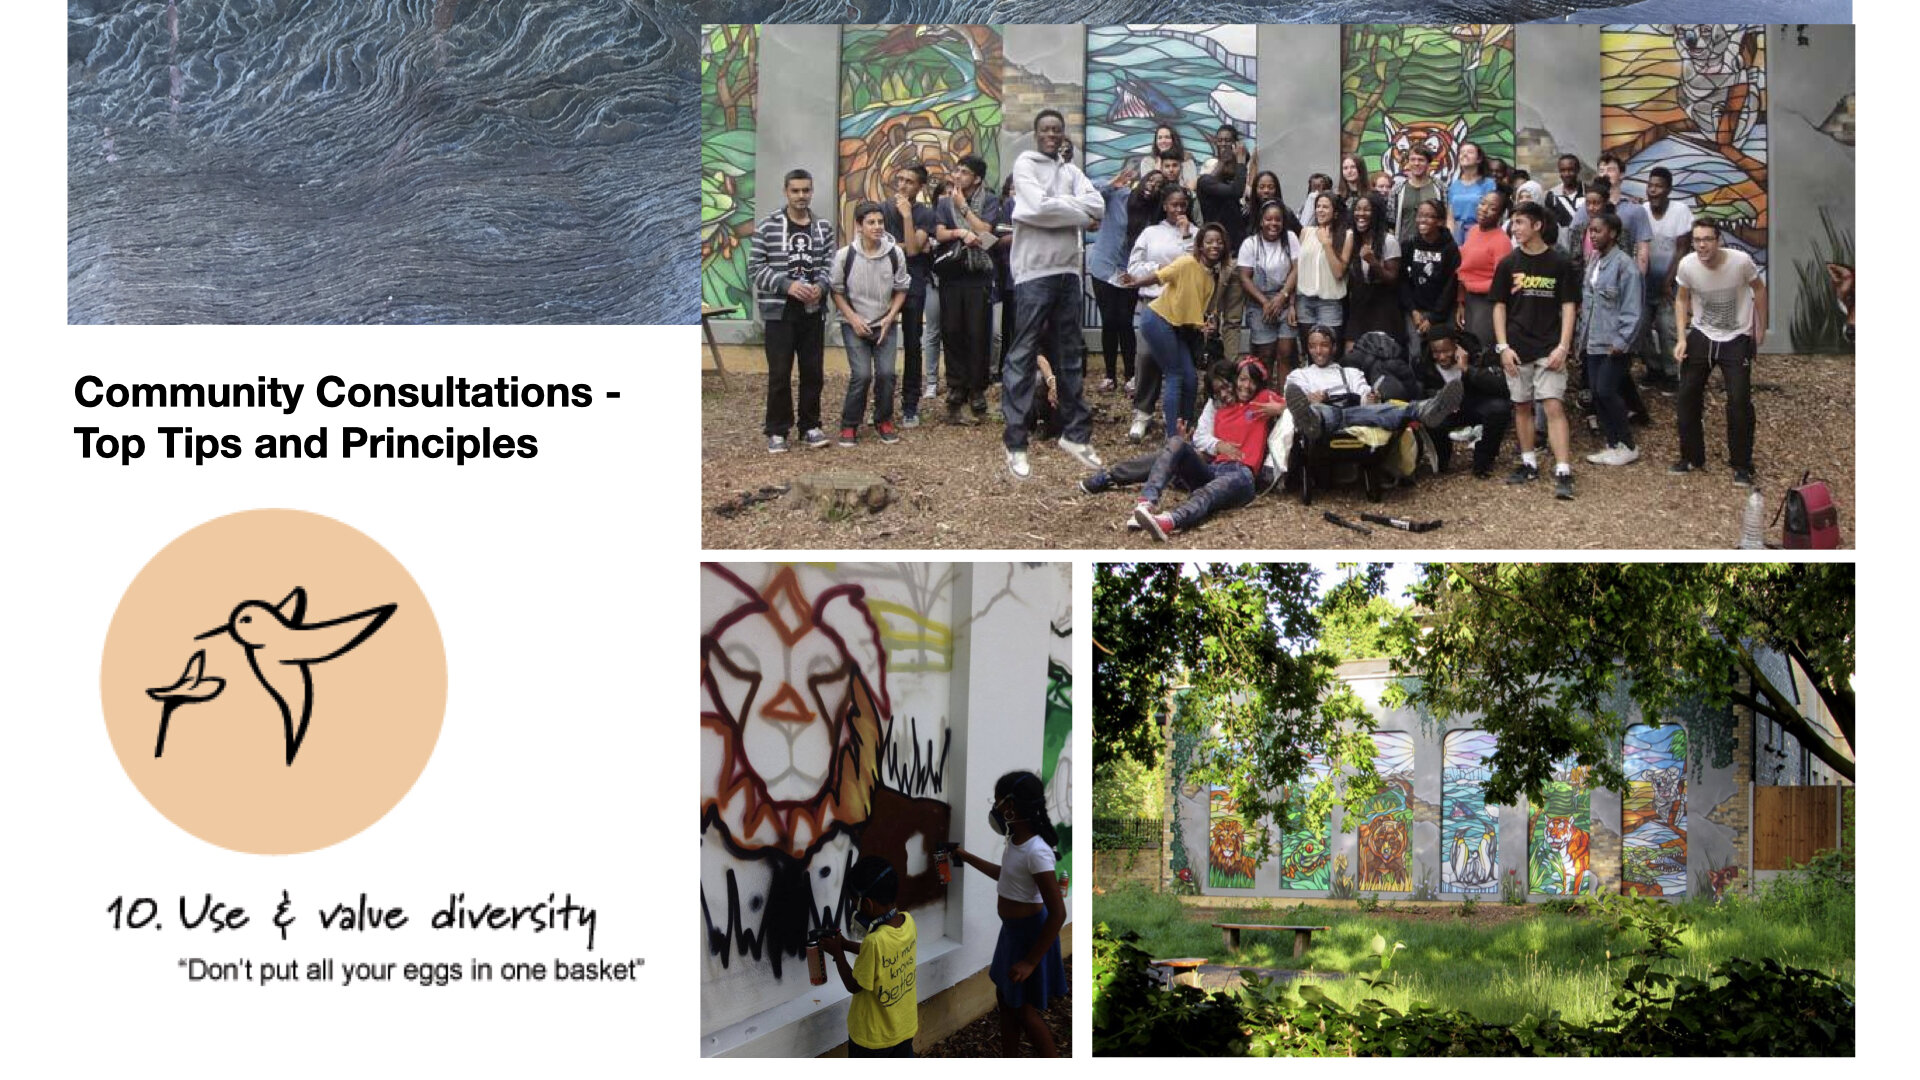
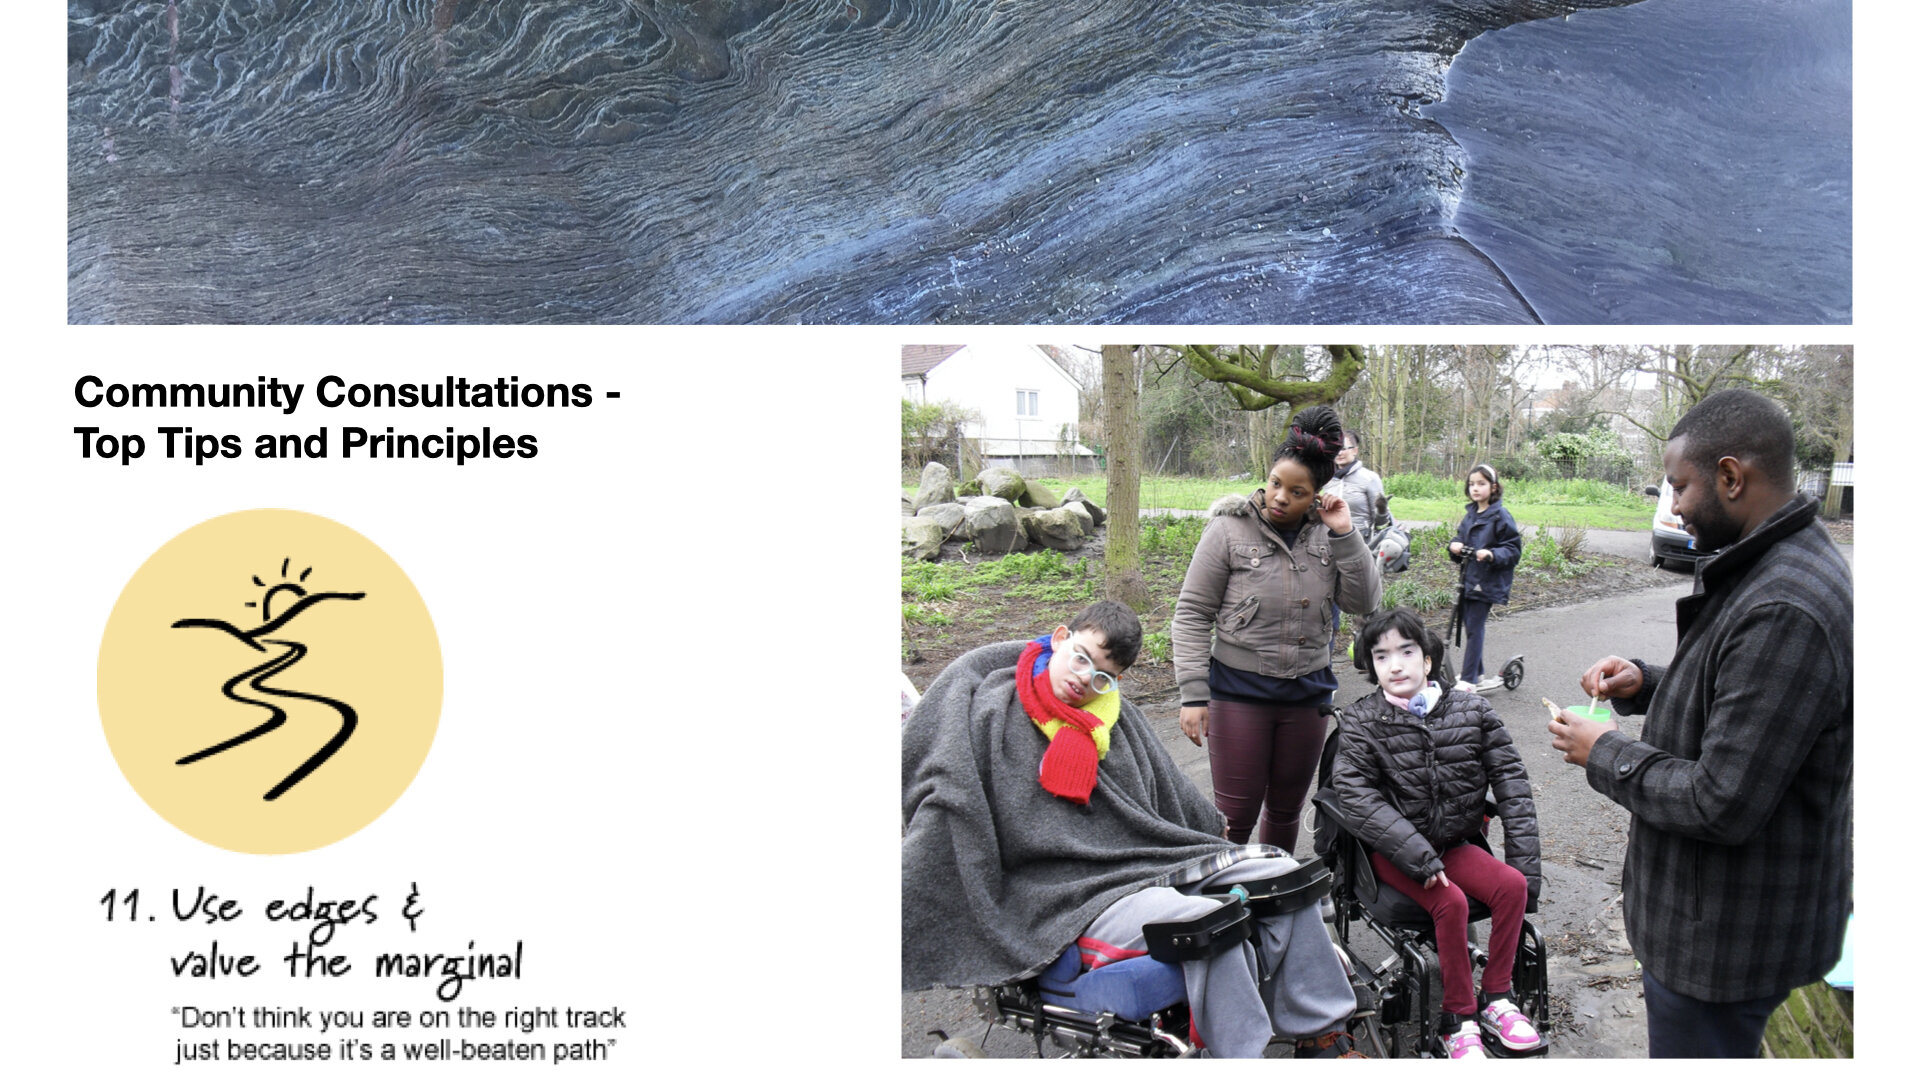
Here the link to Tish’s slides.
Prerecorded sessions
A Brief History of (Agri)culture
Ecosystems, their properties and functions
Scale of Permanence and Survey Tools
Tips and principles for community consultations
The recordings from live sessions will appear here latest 48 hours after recording:
Useful handouts
Design process worksheets from Aranya - these sheets can be very useful to help guide you through your design process:
Additional learning resources
Videos & Films
How to estimate the hight of a tree with just a stick and a tape measure
A film on applied systems theory based on Fritjof Capra’s book The Turning Point.
Articles
Books
Your assignments and coursework
Assignment 1: Make a map and a few overlays for a space
If at this stage you know what final design project you would like to do on this course, and if that is a land-based project, I’d suggest you’d start with making a map for the space applying the skills you have used in session 2.
If you don’t know yet what design project you’ll do or if you design is not land-based, use this opportunity to practice this important skill on a random space, such as your garden, your kitchen or a local park.
Once your map is done, use some tracing or baking paper to create a few overlays for your zone and sector survey.
Base groups
I recommend as part of the course that participants check in with each other in smaller groups between each module. This is an opportunity to integrate your learning in conversation with each other. The video here can give some guidance on learning and support you with some ideas of what to explore.
Your design project: do your survey…
Have you got your idea for what you would like to design on this course?
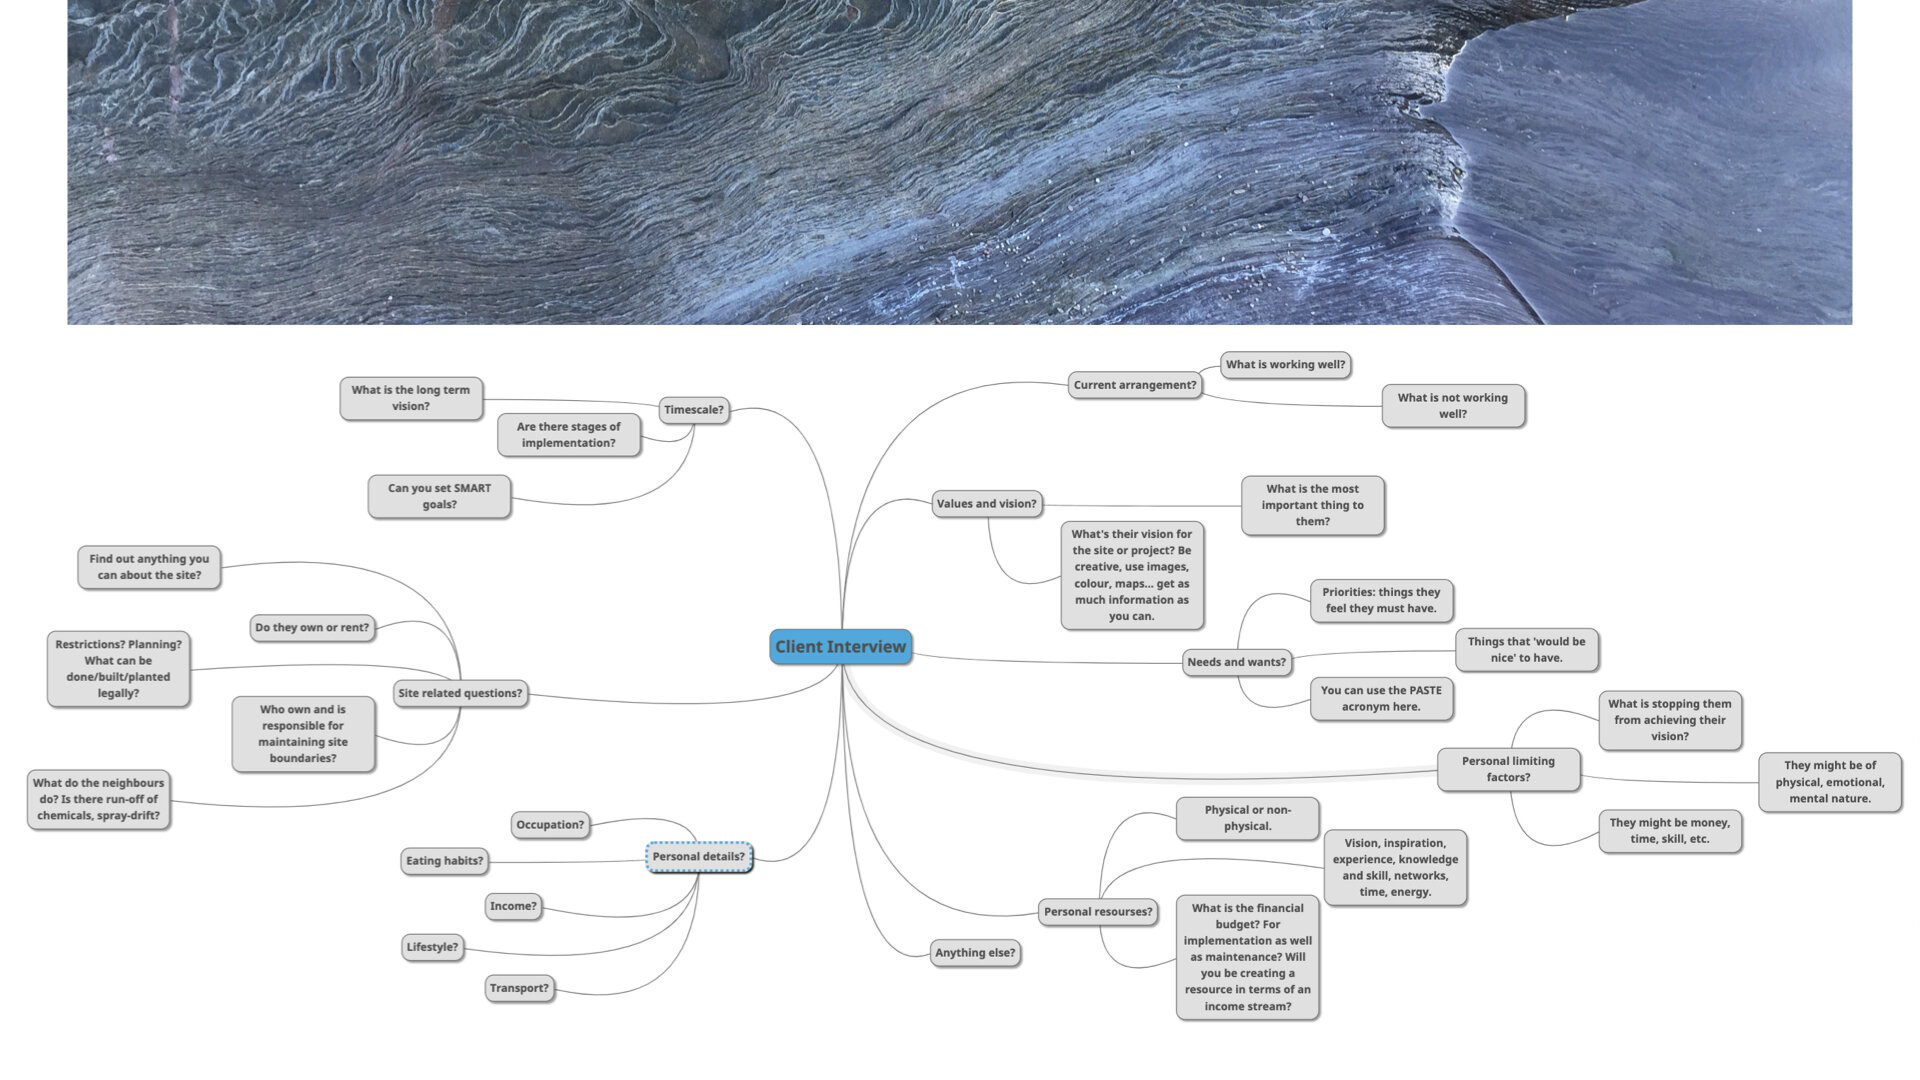
If yes, start your survey with the information you’ve learned so far: create your map and overlays, talk to the client or community, research the climate, the demographics, do your PASTE survey - in short, get to know your site.
Ideas for practicals
As part of the course you will require to do and document 2 practical projects (approx 3 hours of work each). Here are some ideas… if you don’t like them, there will be ideas with each module. Or come up with your own.
Organise a community get-together either in your neighbourhood, your community garden or another project you are involved in. Include some elements of a community consultation/ and exploration of how to improve your area, your community garden or project. You could do this at work in your office?
Choose a spot in a garden that would be well suited for vegetables (using your sector survey) and start preparing a growing bed for next year. Why not look up and use sheet-mulching, a method we talked about on module one? Are there some winter vegetables you could plant now?
Quiz & completion
Taking the quiz and showing that you have understood the material covered in this module is essential for you to receive the Permaculture Design Course Certificate at the end of the course.
Feedback
Receiving your feedback on what we do is essential for us to keep improving our courses - for you and those that learn with us after you. It will take 5 minutes - thank you!


